
One of the most exciting parts of building an experimental aircraft is the sheer volume of new things you get to learn. Whether it’s understanding the intricate details of avionics or the not-so-intricate art of riveting metal sheets, every step is a hands-on education. It’s part airplane construction, part life lesson—and maybe a bit of therapy, too.
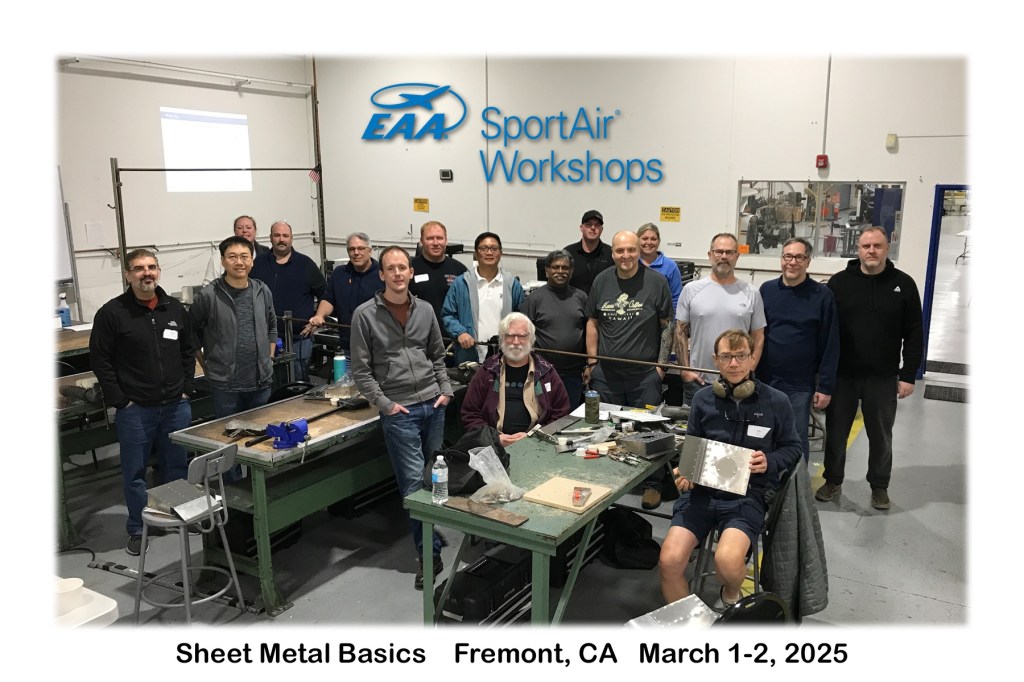
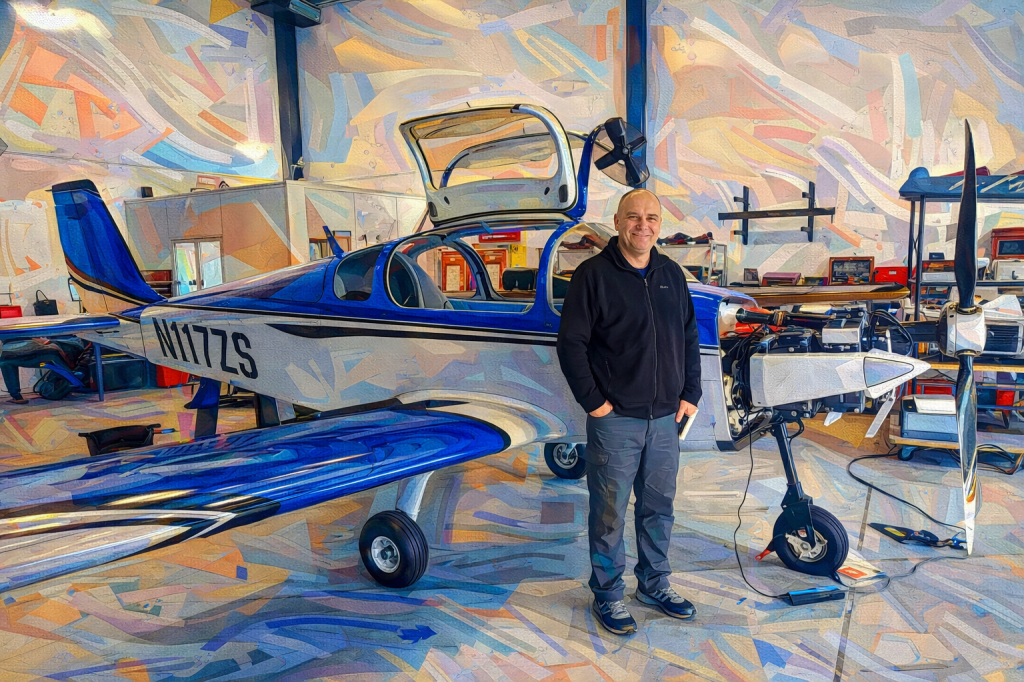
I joined the Experimental Aircraft Association (EAA) last year after deciding to build my Sling TSi. Since then, the EAA has proven to be an incredible resource for learning and connecting with the builder community. Earlier this year, I attended their Builders Week online event, which featured seminars on just about every aspect of the build process. But nothing beats hands-on experience, so when I saw the EAA SportAir Workshop for Sheet Metal Basics in Fresno, CA, I signed up faster than you can say “Cleco.”
Getting Ready to Build: Why Sheet Metal First?
EAA offers a range of hands-on workshops covering everything from avionics to composites, but I chose to start with sheet metal because it aligns perfectly with the early stages of my Sling build. One of the first tasks will involve assembling the frame and skin of the airplane, so understanding how to work with sheet metal felt like a solid foundation.
The workshop took place at the Avionics School of Maintenance, which is as cool as it sounds—a haven for future A&Ps (Airframe and Powerplant mechanics) and, for a weekend, a home base for us ambitious aircraft builders.
The course was led by Mark Forss, an EAA veteran who has been teaching builders for decades. This was his last workshop before retiring, and the honor of learning from him wasn’t lost on me. Mark is a legend in the experimental community, and his blend of expertise and humor made even the most daunting tasks seem manageable.
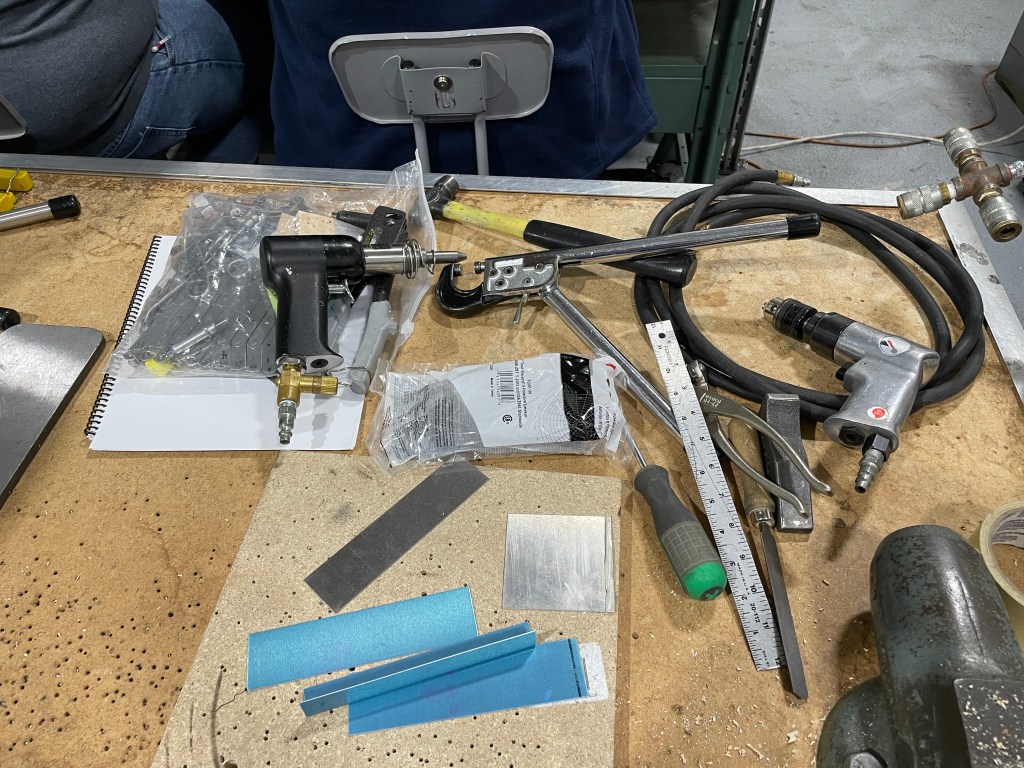
Each participant had their own workstation, fully equipped with tools and materials. It was like the ultimate grown-up version of arts and crafts, except instead of glitter and glue, we had riveting guns and bucking bars.
The Workshop: Learning, Doing, and Fixing Mistakes
The workshop was broken down into four main activities, each designed to build confidence and competence with sheet metal techniques:
1. Introduction to Sheet Metal Basics ~2 hours
Mark started us off with a comprehensive presentation on the fundamentals of working with sheet metal. He covered everything from tool selection and part preparation to the nuances of drilling, hole dressing, and assembly techniques. We learned about different types of fasteners, dimpling, countersinking, and the art of using pop rivets. When he demonstrated the use of a riveting gun and bucking bars, it looked almost too easy—spoiler: it wasn’t.
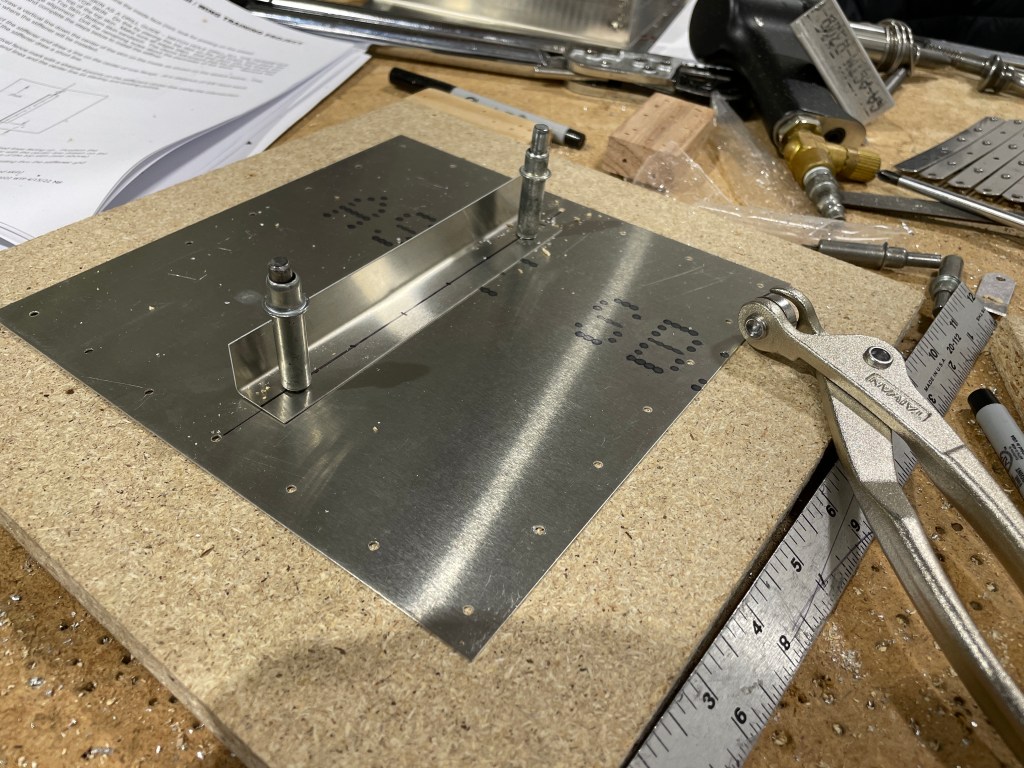
2. The First Project: Keep It Simple (Sort of) ~ 3 hours
Our first practical exercise was a small assembly meant to teach us the basics of working with sheet metal components. The goal was to practice identifying parts, preparing surfaces, and executing basic riveting techniques. Mark demonstrated each step, and then we replicated it at our own workstations. The pace was brisk, and while I did my best to keep up, my first few attempts definitely leaned more “abstract art” than “aeronautical engineering.” It was a steep learning curve, but every misstep was an opportunity to learn.
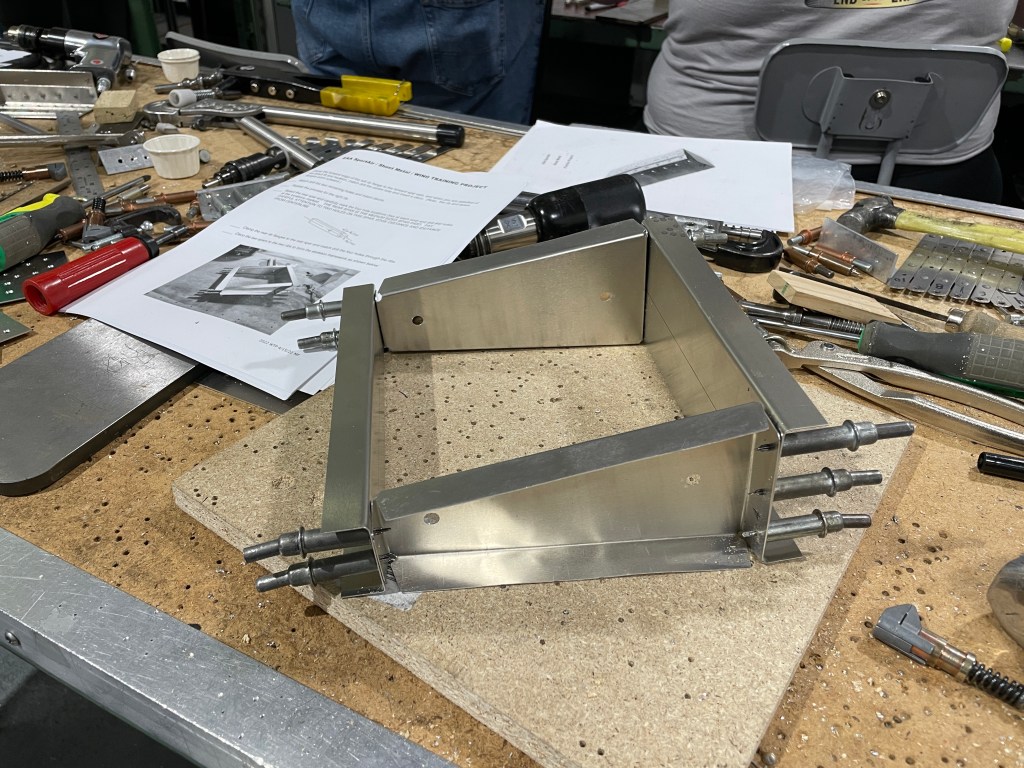
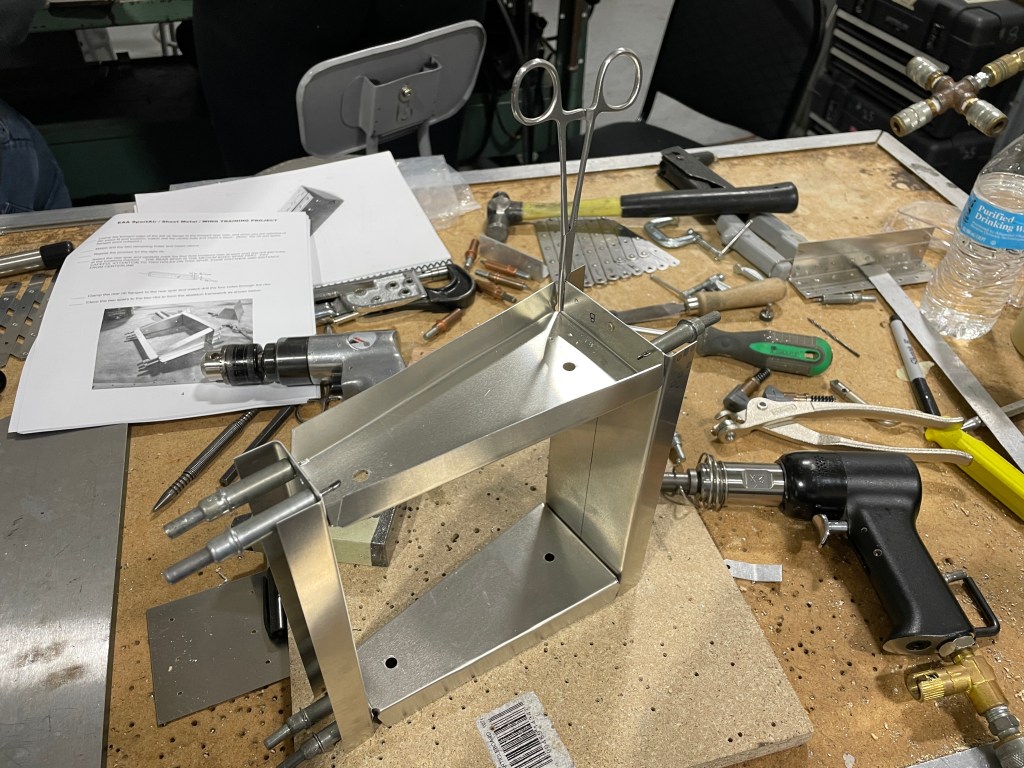
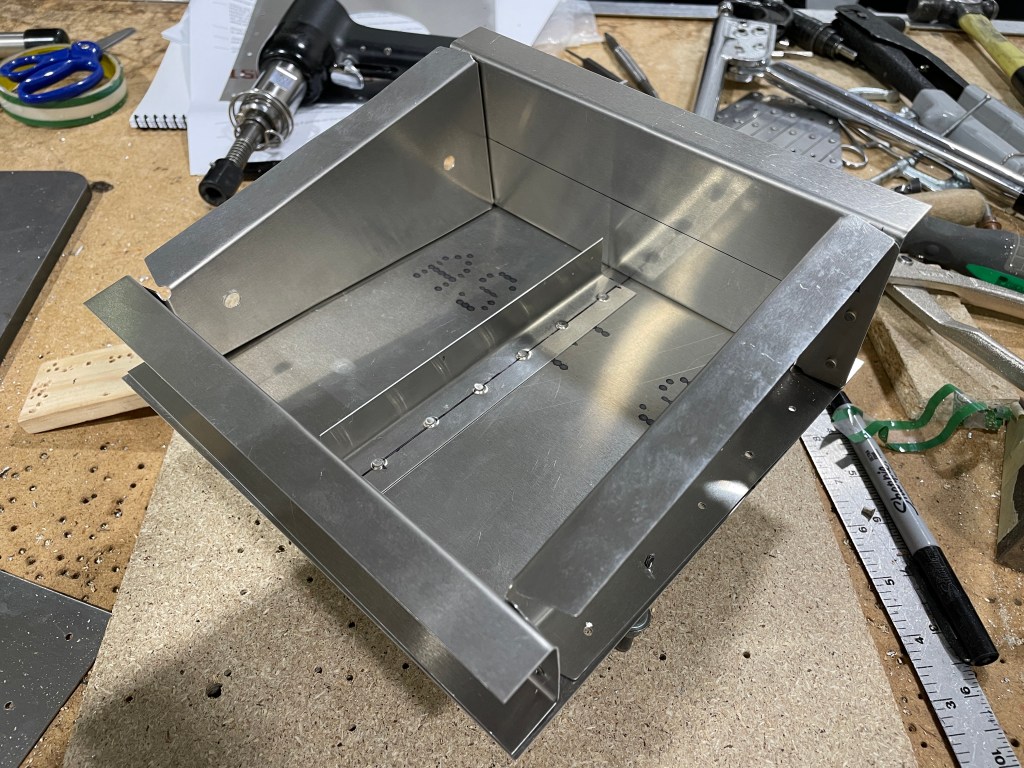
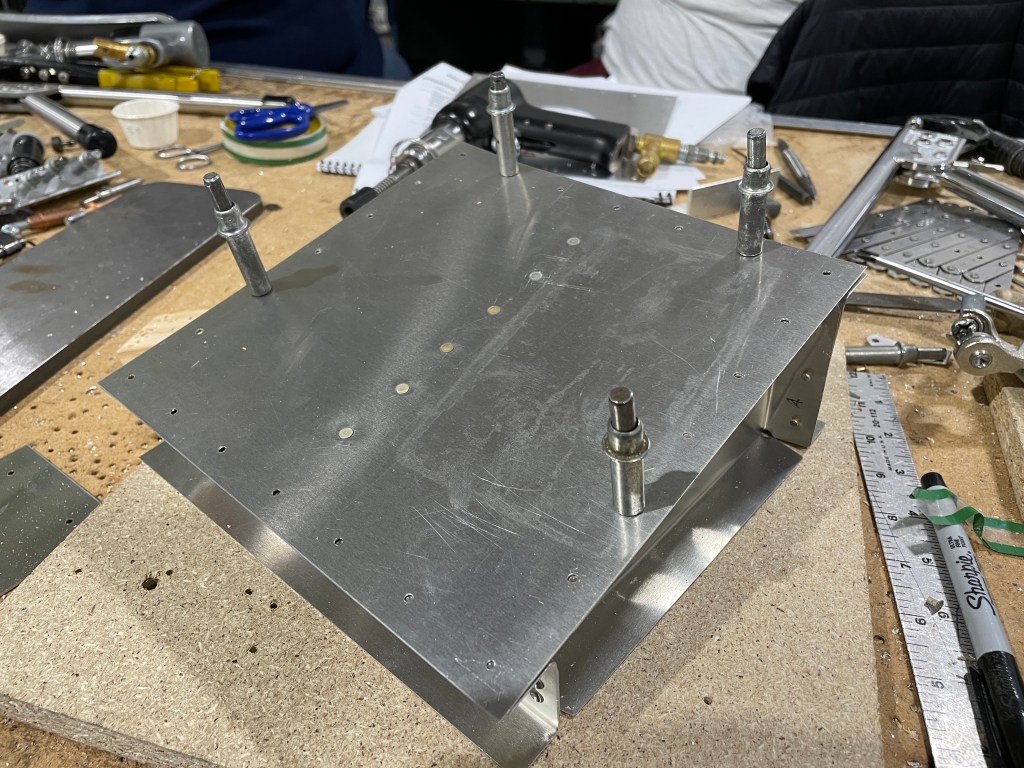
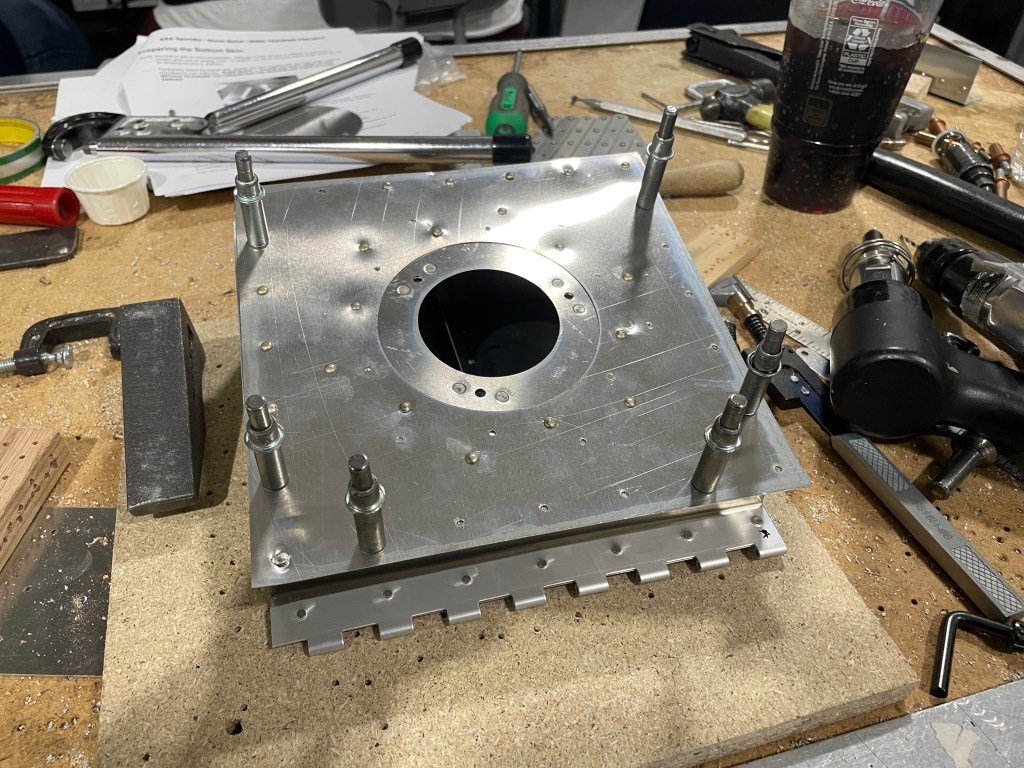
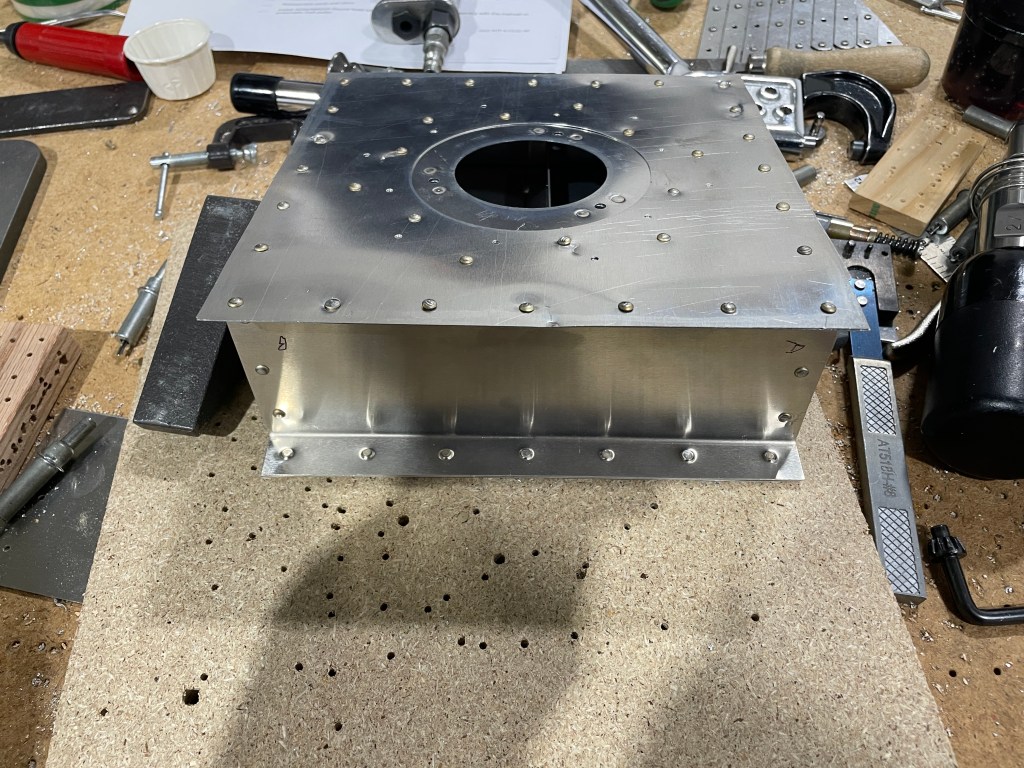
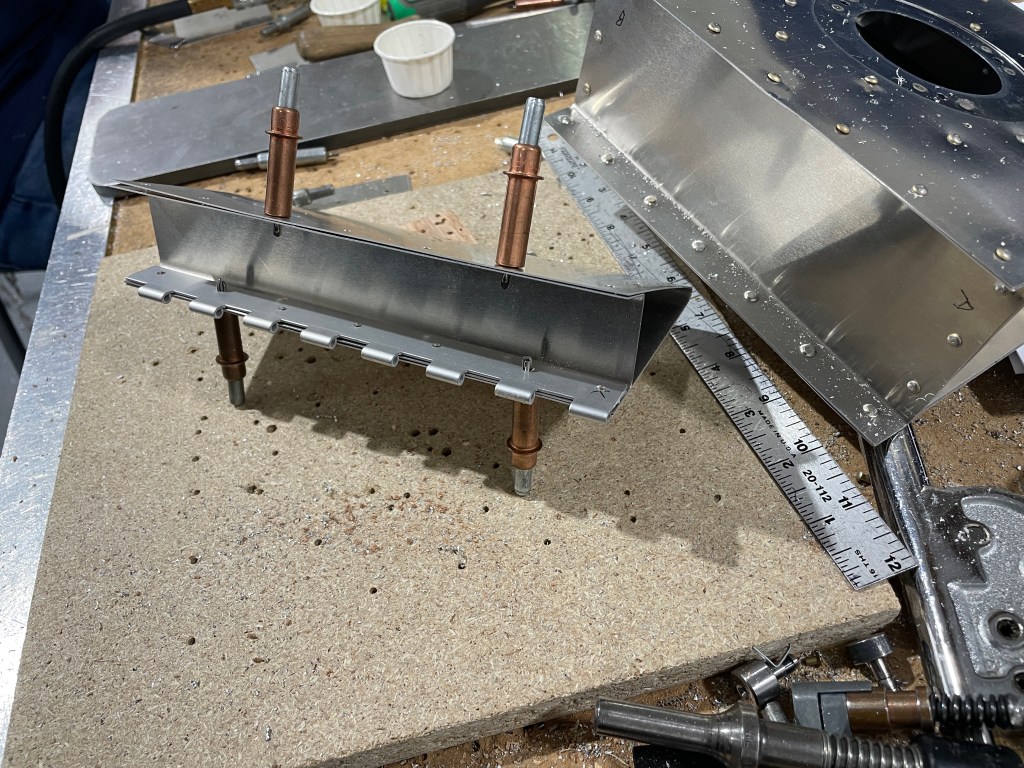
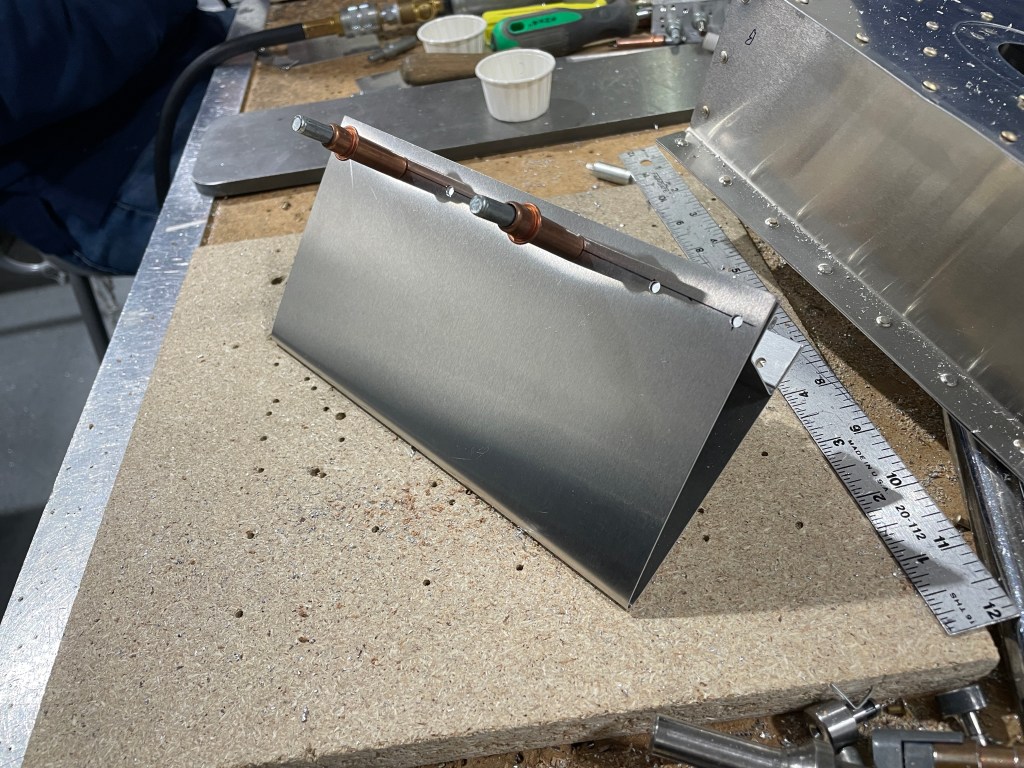
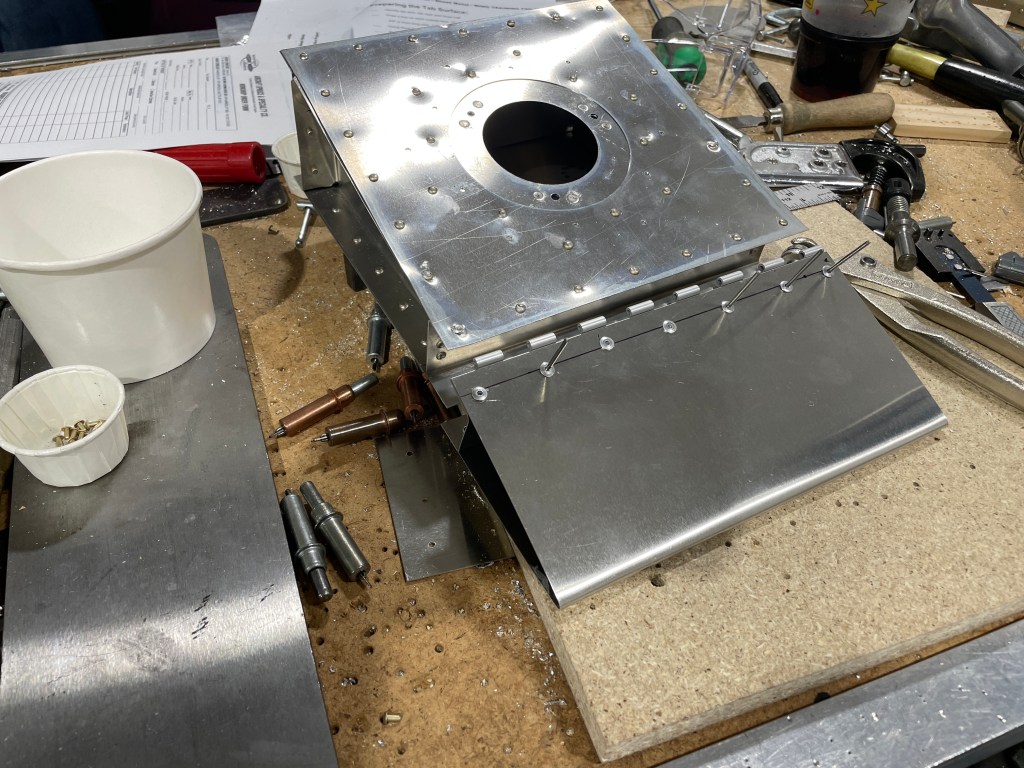
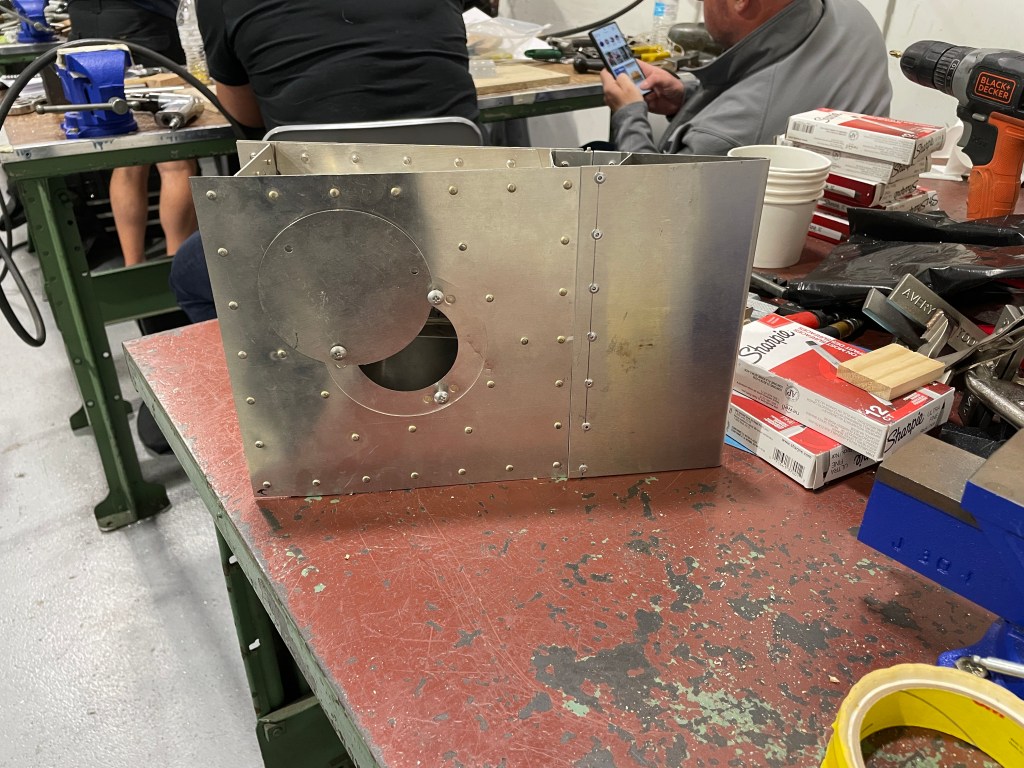
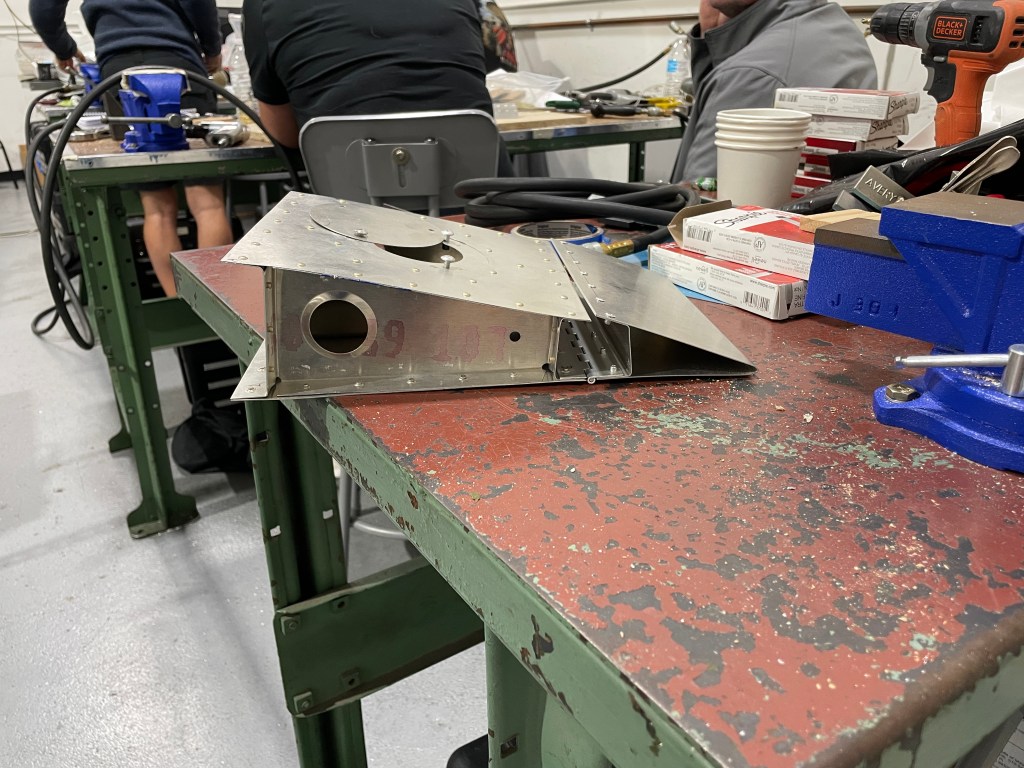
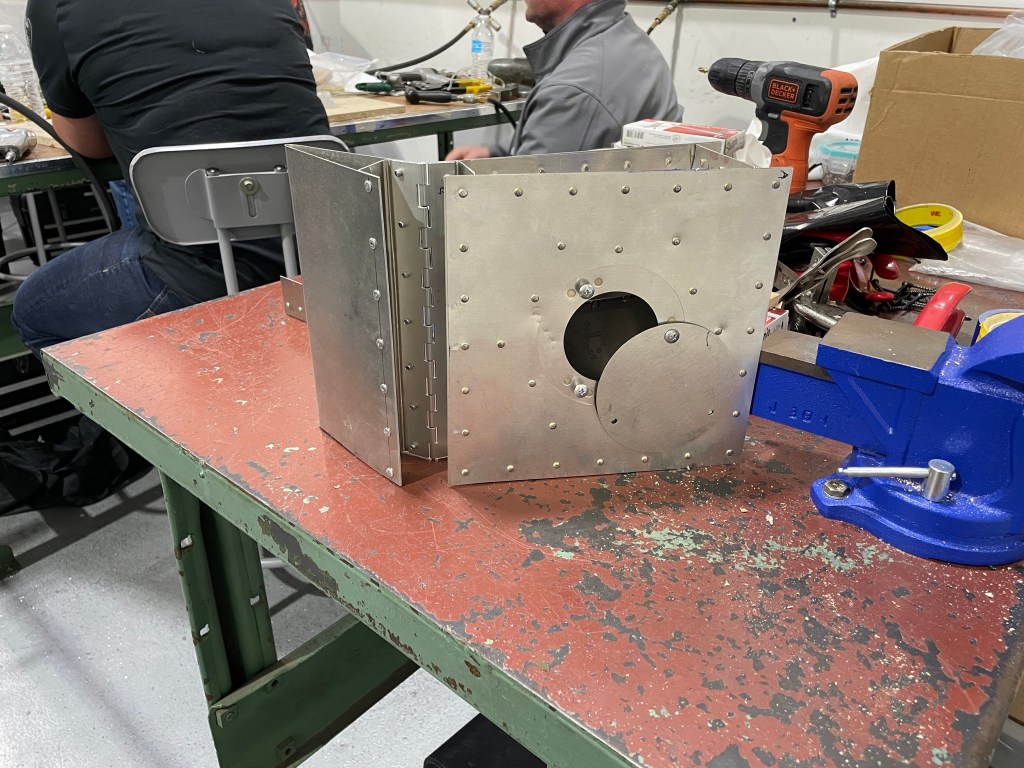
3. The Wing Component Project: Things Get Real ~6 hours
The second project turned up the complexity significantly. We tackled a mock wing section complete with a part of the flap mechanism. This wasn’t just a step up in terms of difficulty—it was more like jumping into the deep end. We had to apply multiple techniques: measuring, marking, drilling, deburring, dimpling, and riveting with different tools and methods. Mark’s demos provided a solid foundation, but it was the hands-on repetition that made the process click. By the end of the second day, I found myself confidently using tools I had never even seen before this workshop. Seeing the final product, a completed wing component, gave me a real sense of accomplishment. You can buy this kit and build it at home but you will need to have all the tools required.

4. Priming and Painting: The Finishing Touches ~ 1 hour
The workshop wrapped up with a presentation on priming and painting metal components. We learned about the types of primers, the importance of corrosion protection, and best practices for achieving a durable, professional finish. It was a great reminder that building an aircraft isn’t just about structural integrity—it’s also about aesthetics and longevity.
Final Thoughts: Why Every Builder Should Take This Workshop
If you’re a new builder—or even if you’ve got some experience under your belt—I highly recommend the EAA Sheet Metal Workshop. It’s not just about learning techniques; it’s about building confidence. I know what I learned here will be essential when I head to The Airplane Factory for my build assist program.
I’m already looking forward to signing up for the EAA SportAir Avionics Workshop next.


Leave a comment