
First week at the Airplane Factory: complete.
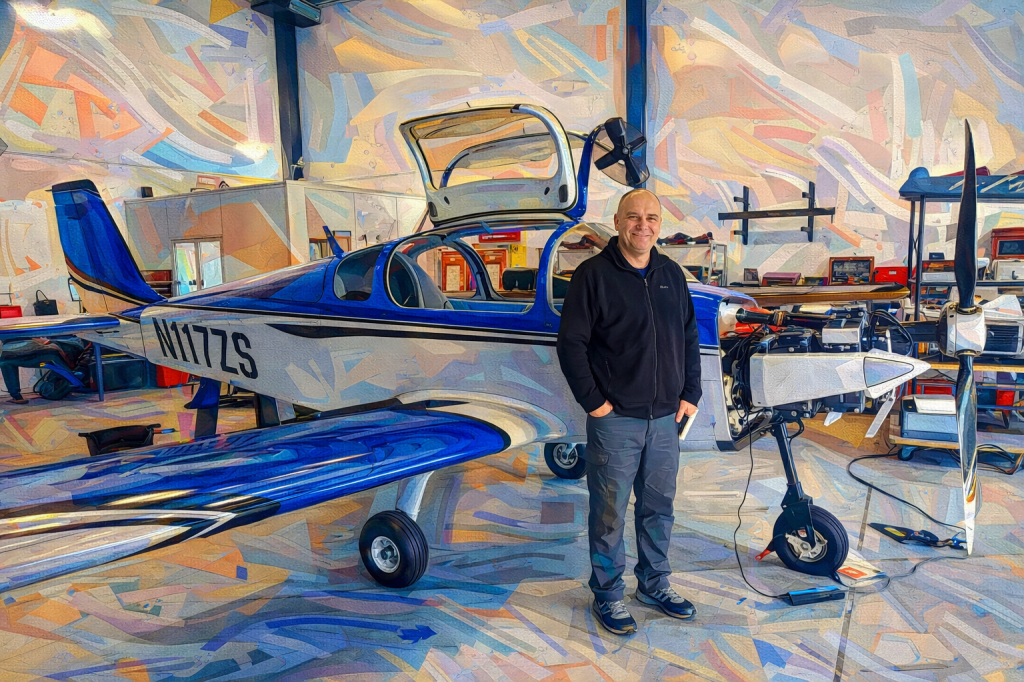
Walking into the factory on Monday morning felt a little surreal—this airplane I’ve been dreaming about wasn’t just an idea on a blog anymore, it was there, sitting in a hangar with its landing gear already bolted on and its fuselage gleaming in semi-finished form. The Sling quick-build kit does a lot of the heavy lifting: the fuselage comes mostly assembled, the wings are largely complete, and even some of the tricky parts—like the parachute cables and canopy frame—are already in place. Still, there’s no mistaking that this is a build, not a handoff.
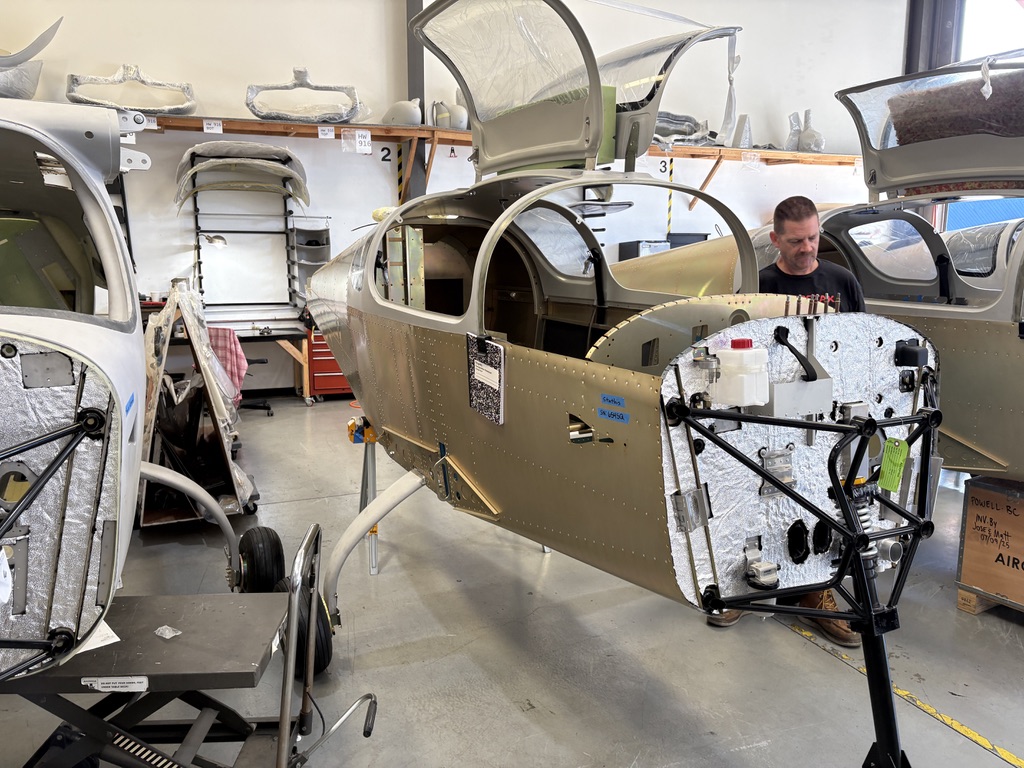
What surprised me most wasn’t the kit itself, but the number of people working around me. In the hangar where my TSi lives, technicians were busy on five different airplanes at various stages of completion. My project wasn’t just mine—it was part of a buzzing ecosystem of aluminum, rivets, wiring looms, and the occasional whiff of fresh composite resin.
As part of the FAA’s 51% rule, I have to complete a set of specific builder tasks myself. Compared to the total effort of putting together a plane, my contributions are a fraction of the hours. But each task is a window into the craft—drilling, riveting, fitting, and checking tolerances under the eye of experienced Sling builders. It’s like on-the-job training for airplane ownership.
After a week in the factory, I have huge respect for the homebuilders who really do start from a pile of flat aluminum sheets, jigging ribs and skins together in their basements, garages, or rented hangars. That’s commitment. Here, with the factory assist program, I get to stand on their shoulders and still come away with deep knowledge of what makes my airplane tick.
Of the six airplanes being worked on in my hangar, it was an even split between Sling TSis and Sling High Wings. All but one were further along than mine, so I got a preview of what’s to come. I was struck by how much more composite structure goes into the High Wing—it gives the whole airframe a very modern look. As cool as it is, I’ve always preferred the sleek lines and feel of a low wing, which is why the TSi was the obvious choice for me.
Originally, I had planned to organize these posts by airplane components—wings, fuselage, engine, and so on. But the reality of a factory build is that work happens in parallel, and some of those parts won’t be “done” for quite a while. So instead, I’ll tell the story chronologically, week by week, as it unfolds. That way you’ll see the same sequence I do: a living build diary rather than a neatly indexed manual.
Starting Point
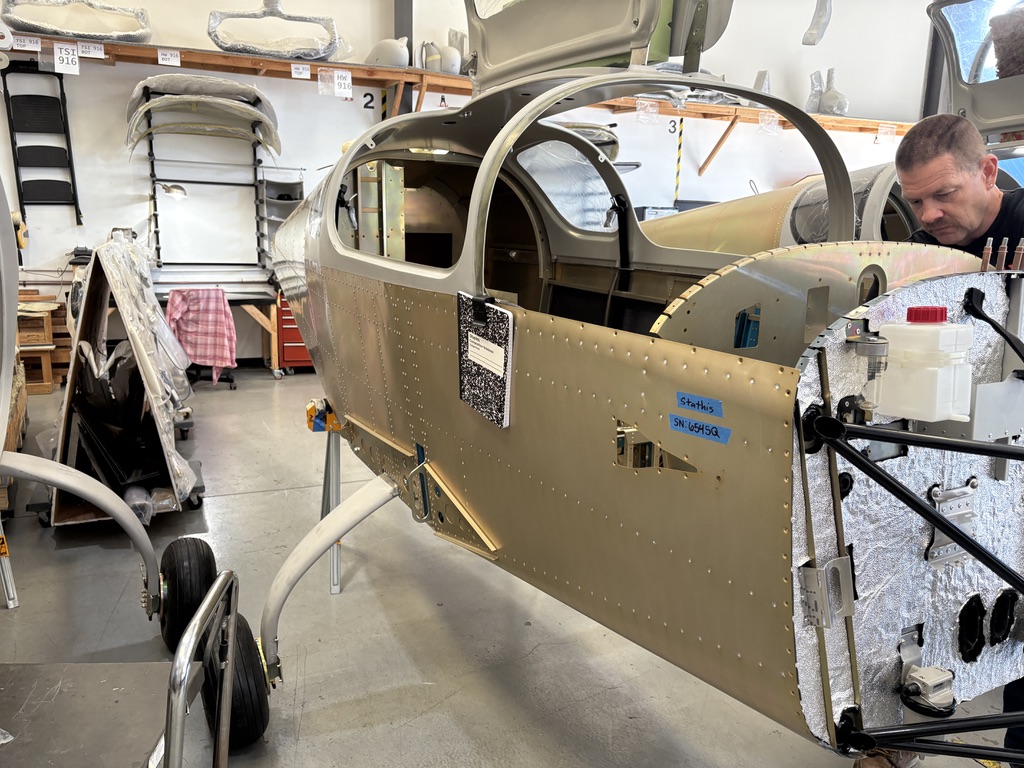
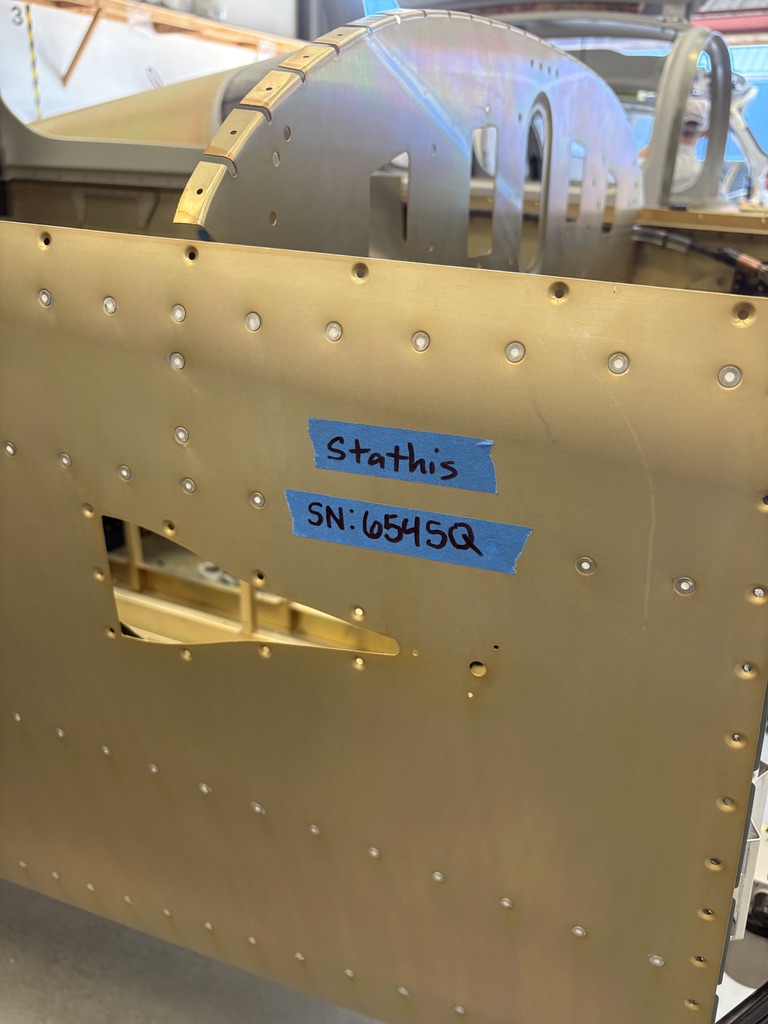
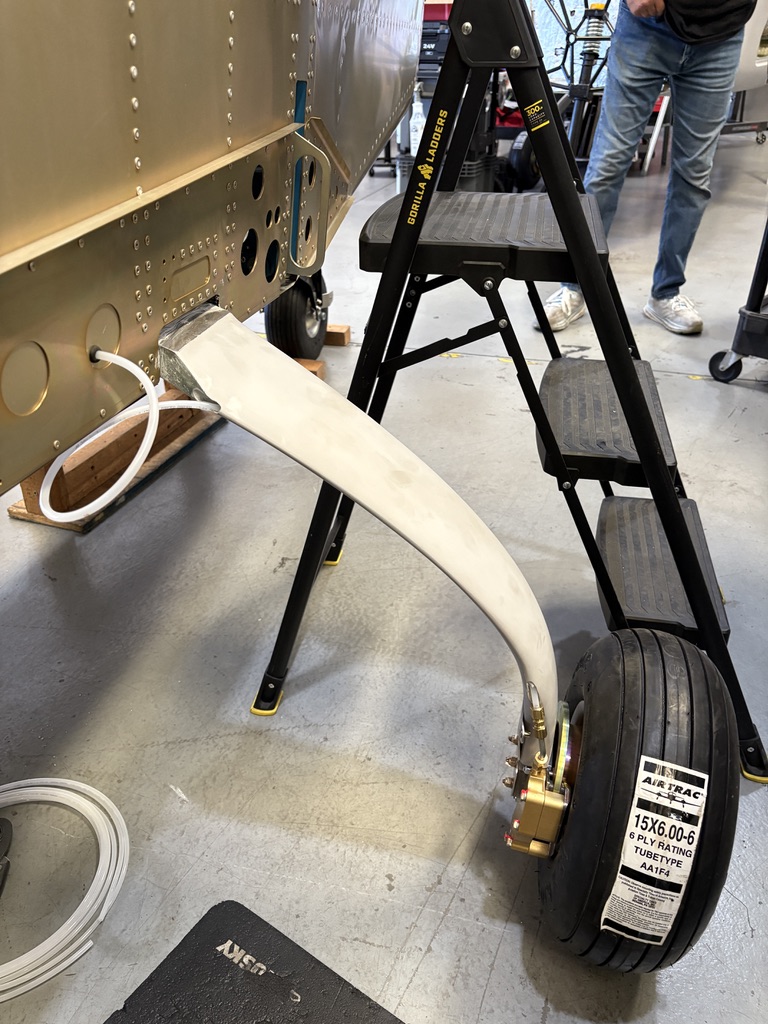
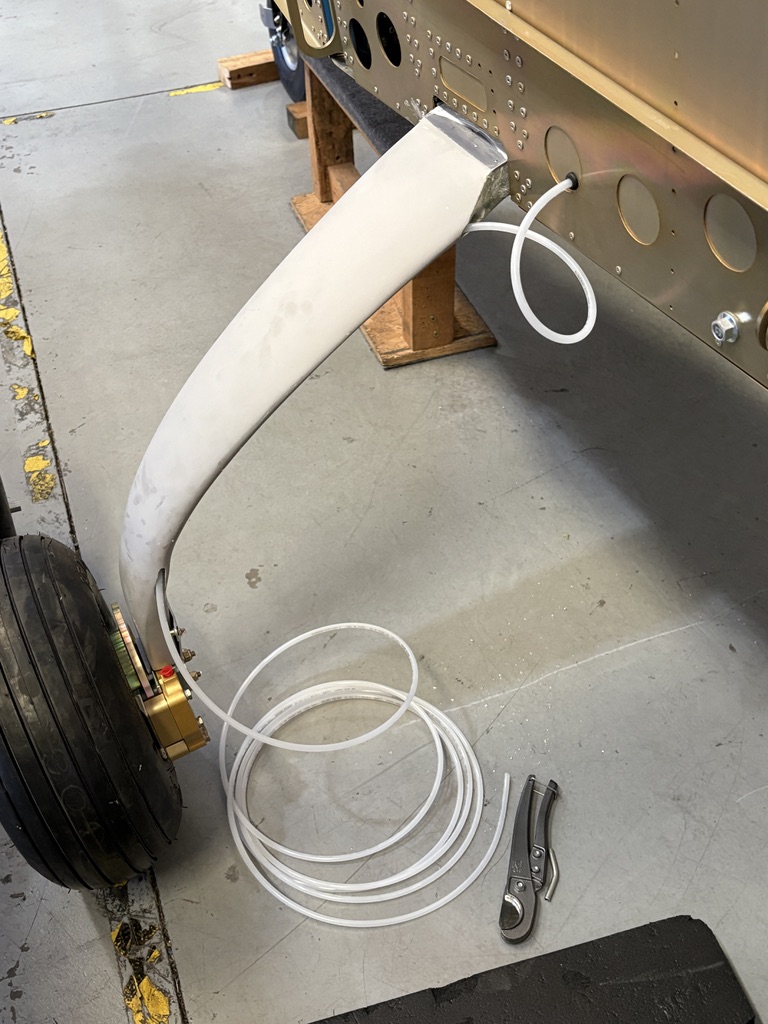
So here’s where it all began. When I first rolled into the hangar, the undercarriage and wheels were already installed, giving the fuselage that first “airplane stance.” Inside, some early work was underway in the cabin. The parachute cables were already run, the canopy frame fitted, the beefy main wheel axle bolted in, and the brake calibers installed. It doesn’t look like much in photos yet, but trust me: this was the moment it stopped feeling like an idea and started feeling like a plane.


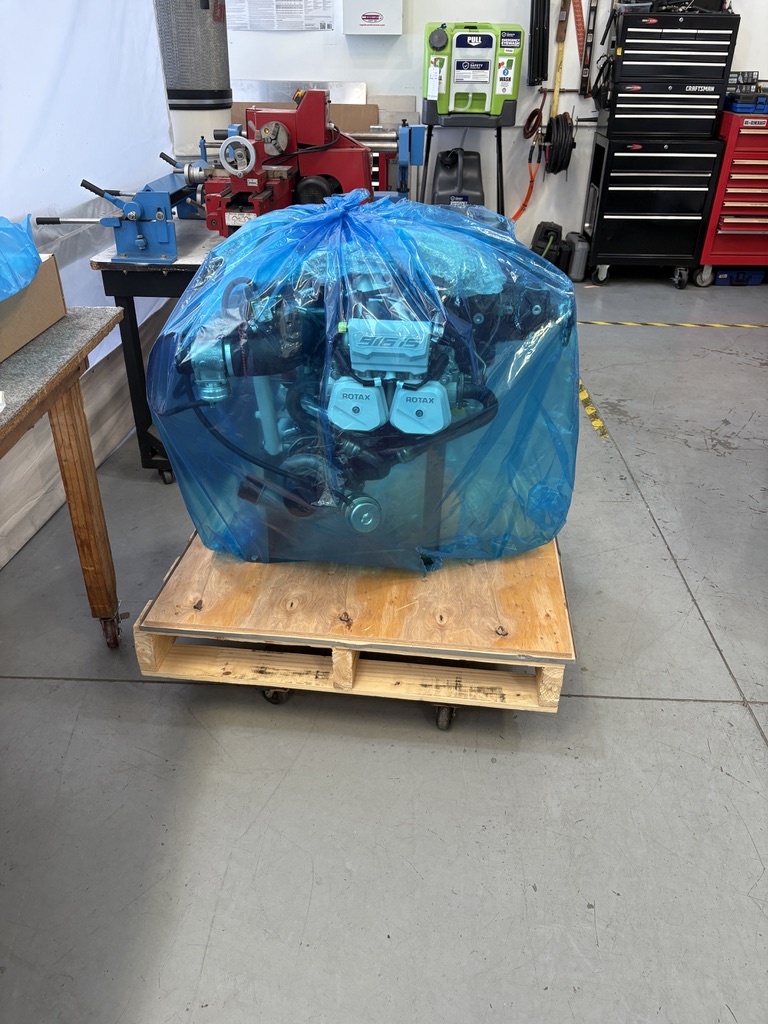
Engine Hang
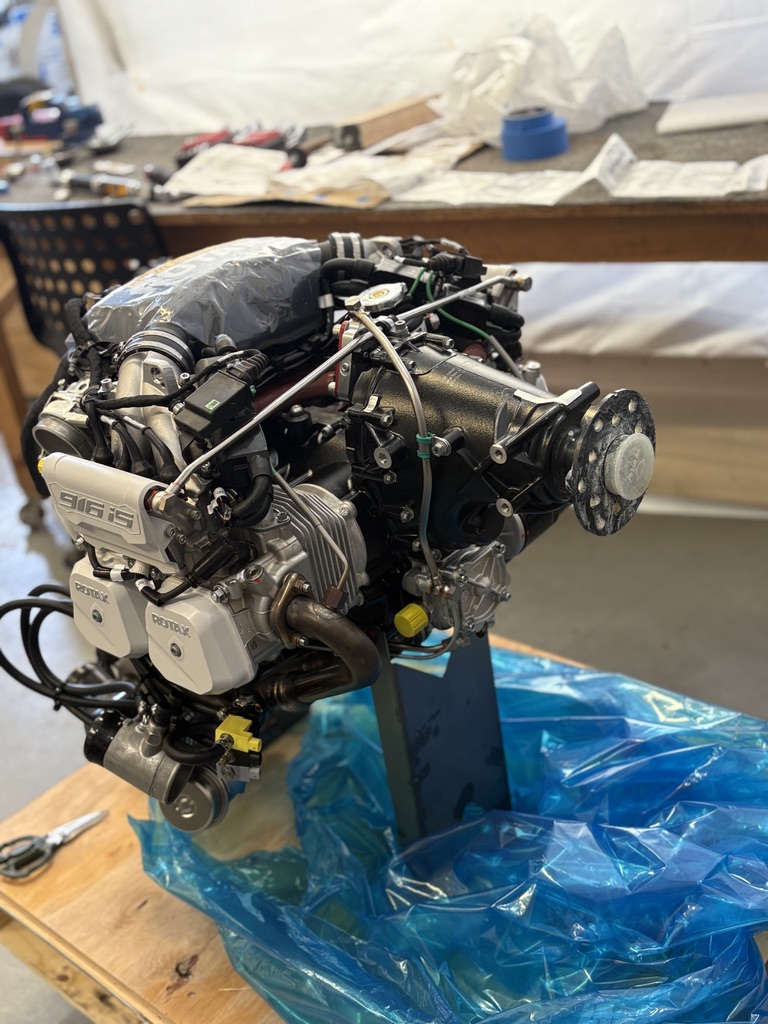
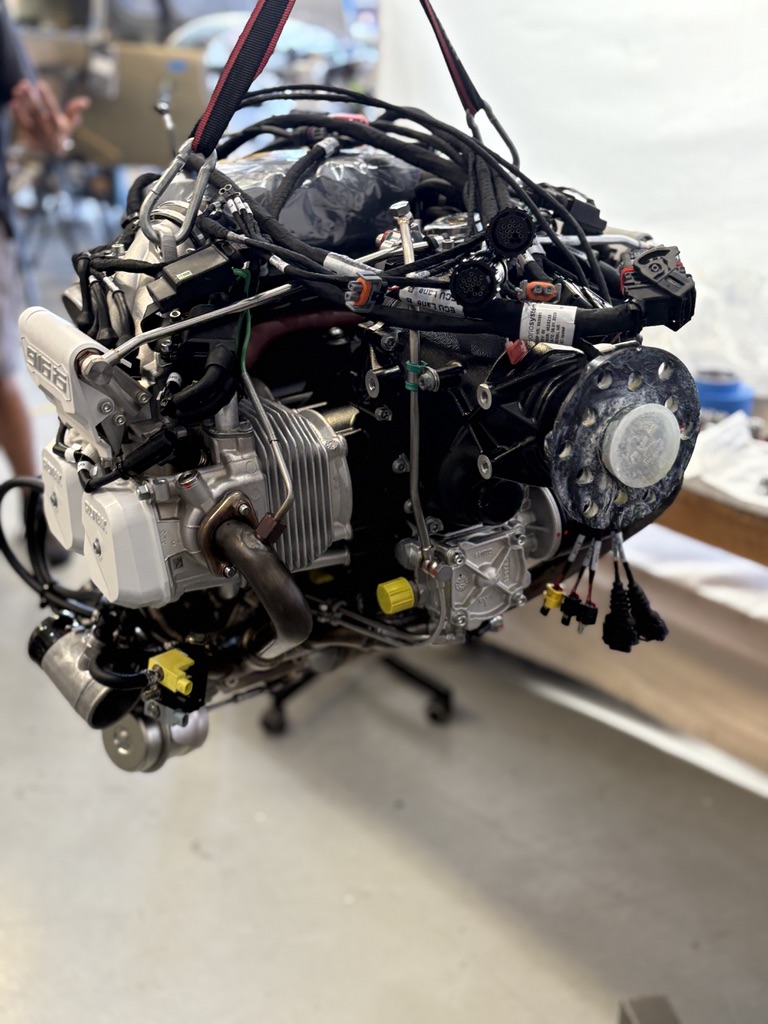
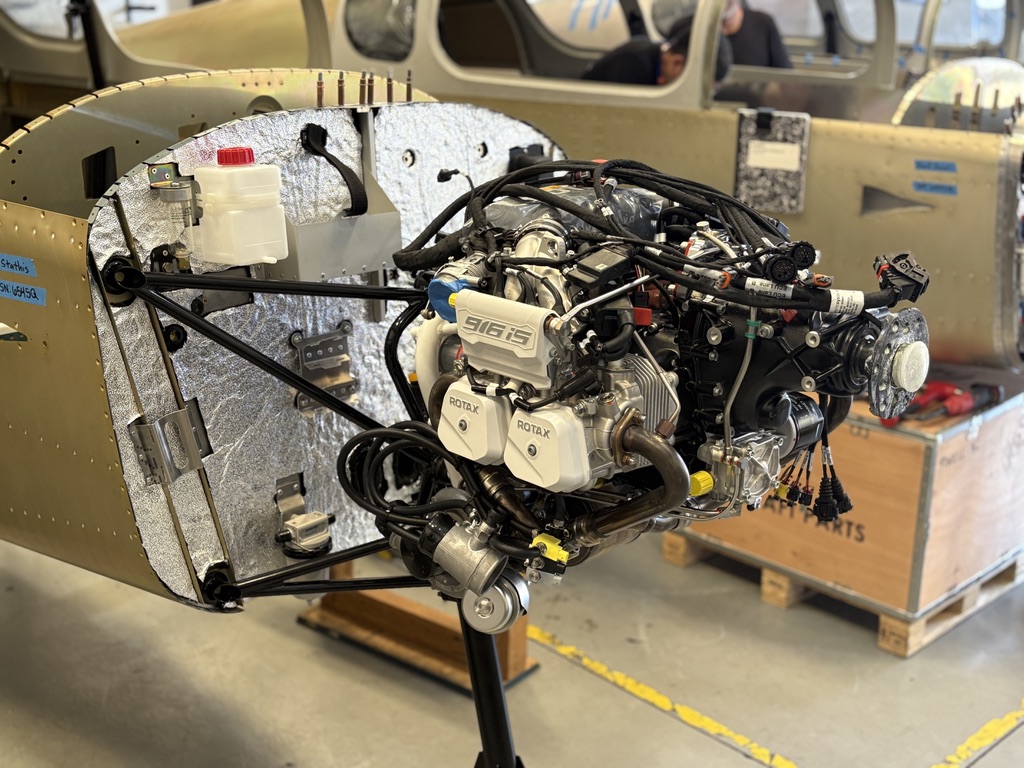
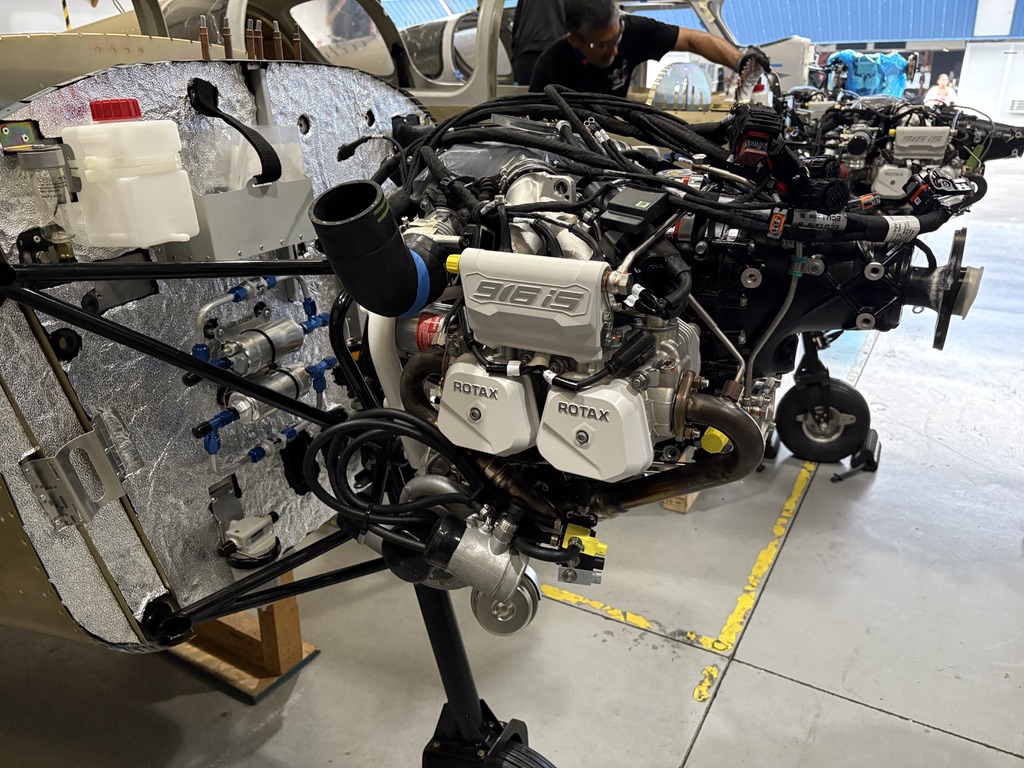
The first major task this week was hanging the engine—a big milestone in the build. We carefully removed the Rotax 916iS from its crate and hoisted it into position using an overhead crane. I had the honor of bolting the engine to the frame myself, which was both exciting and a little surreal. The 916iS looks absolutely gorgeous mounted on the airframe.
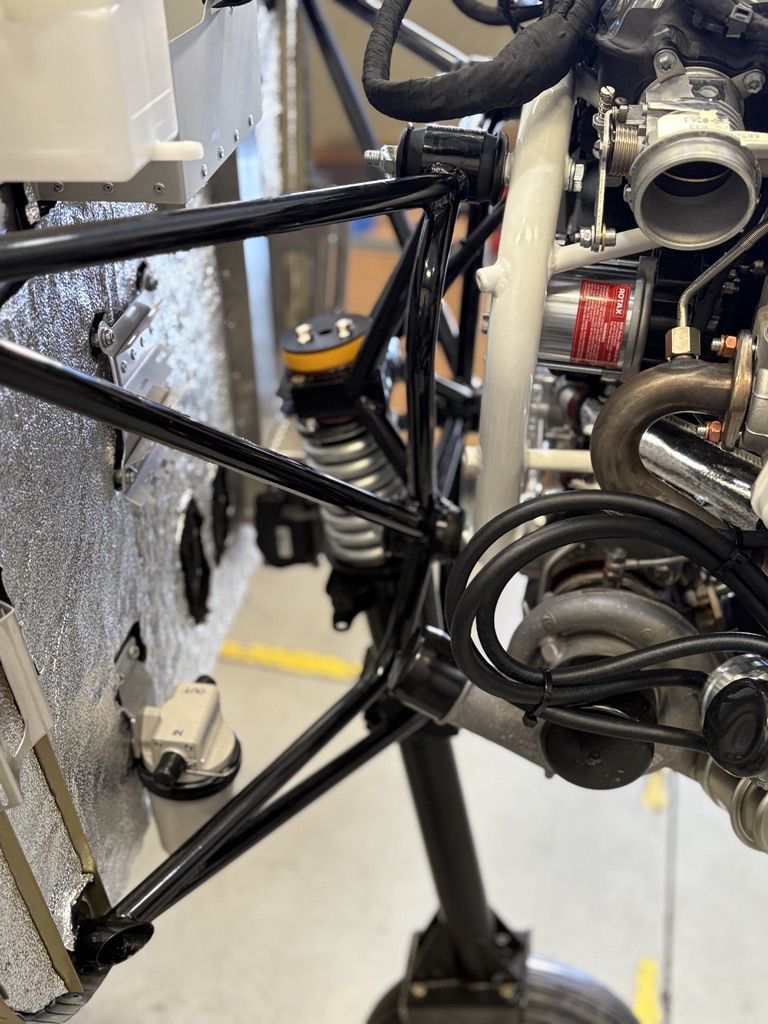
Now begins the intricate firewall-forward work: installing engine accessories, routing lines, and connecting all the critical systems that tie the engine to the rest of the aircraft.
Other builders often mention that the firewall-forward phase is one of the most complex parts of the entire build. Fortunately, at the factory, this stage is guided by experienced technicians who really know their stuff—so I’m in good hands.

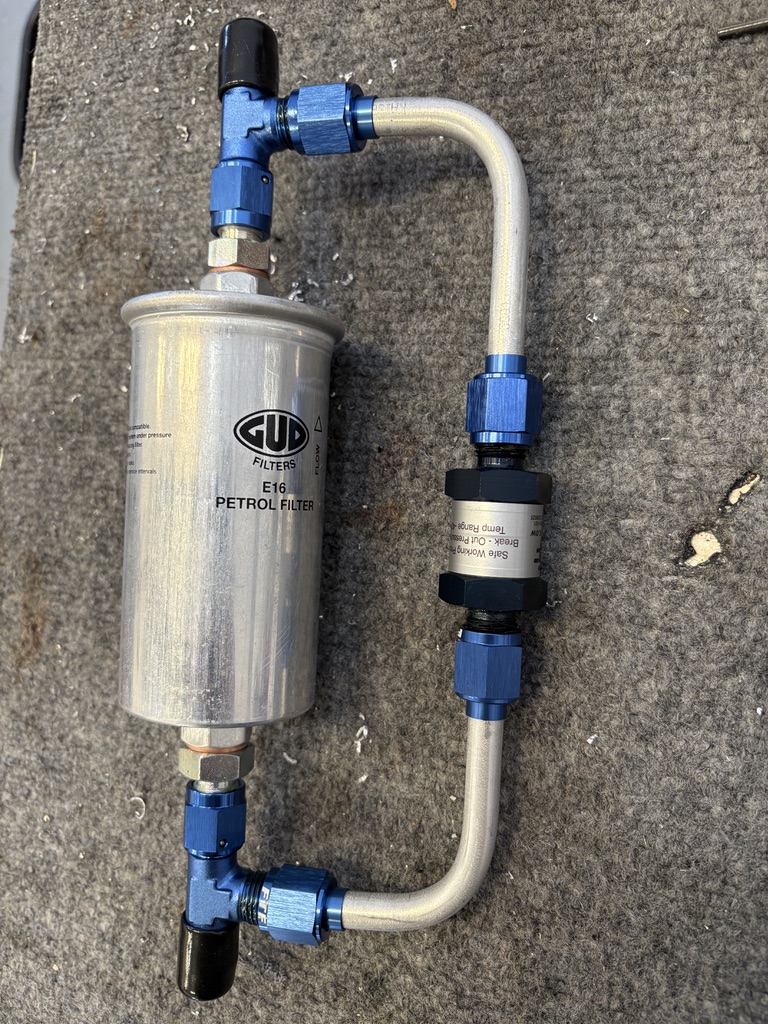
Fuel Pump
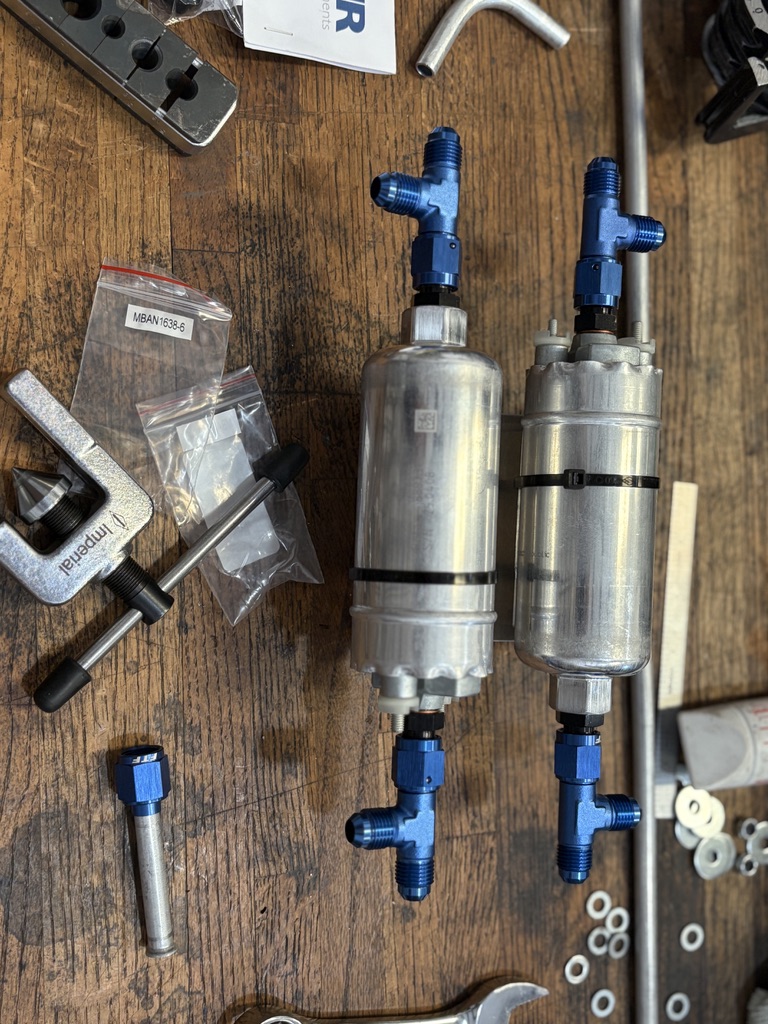
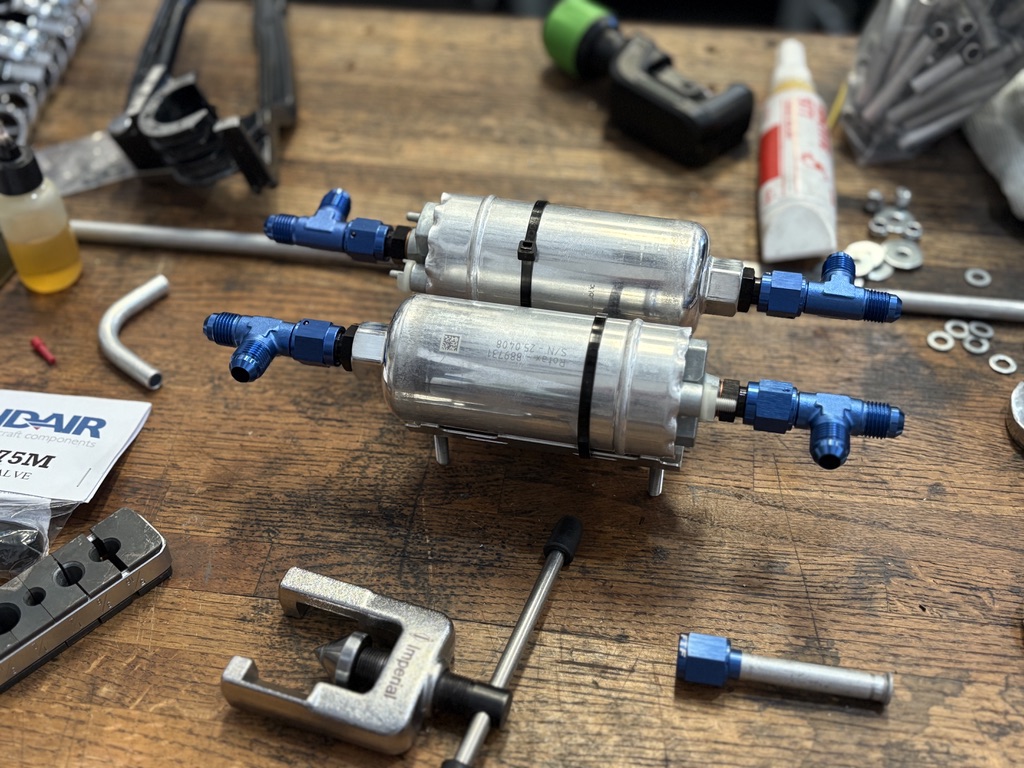
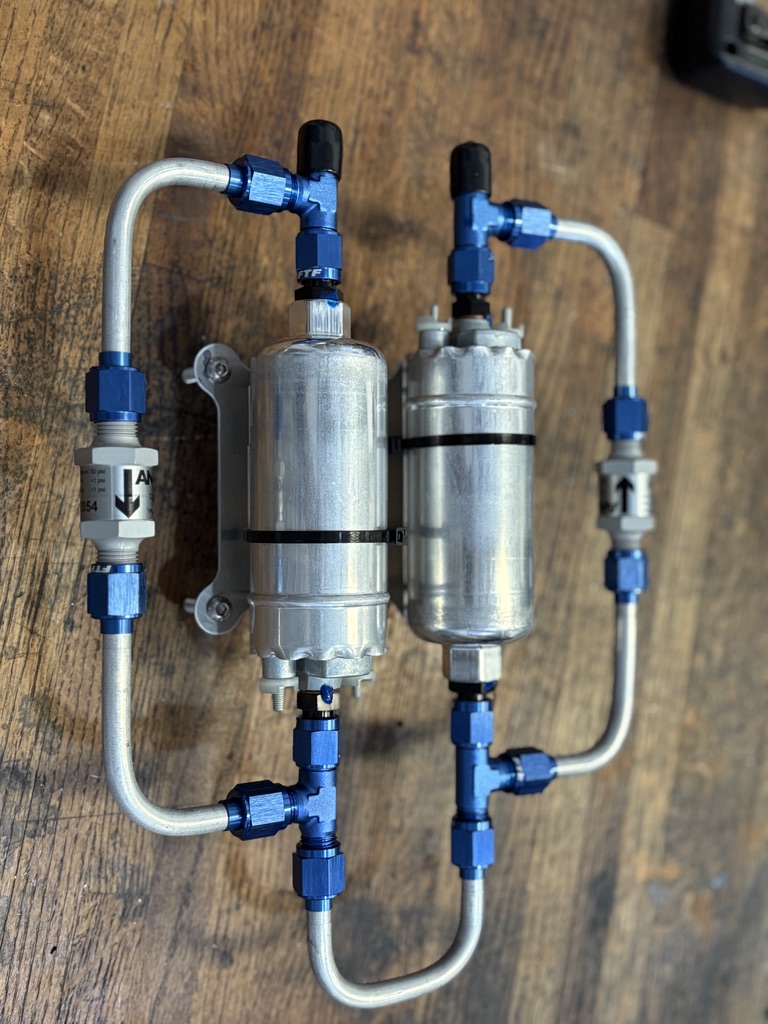
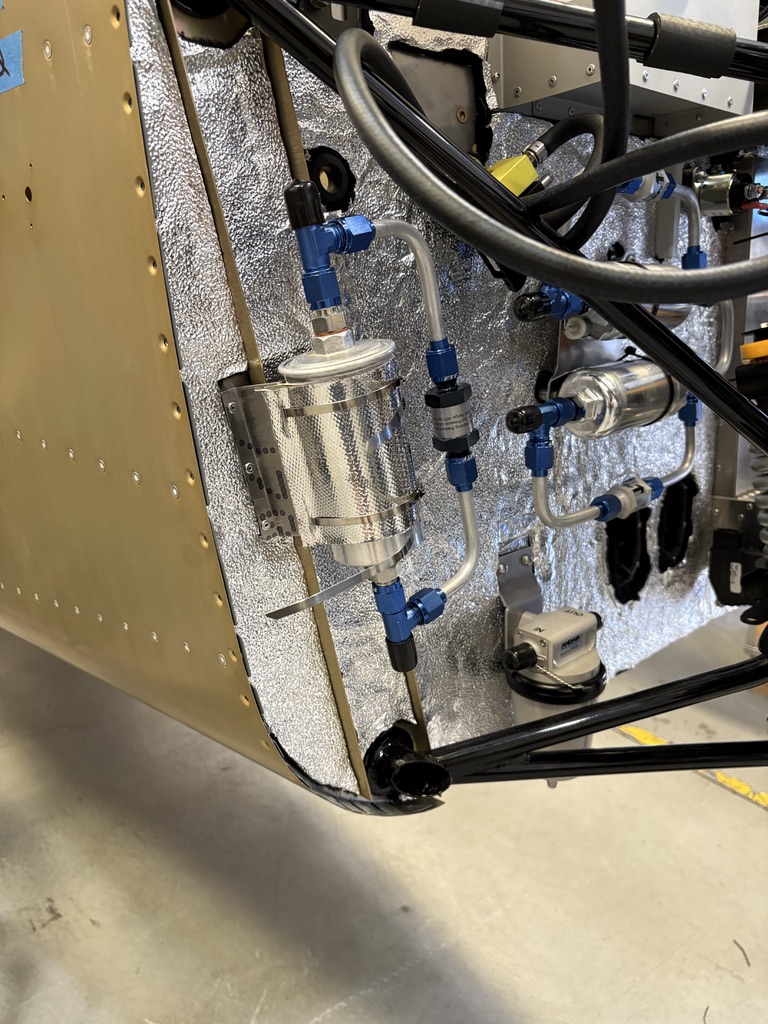
One of my first “real” builder contributions to the 51% rule was assembling the fuel pump system. This is a key task—and one where I immediately saw the benefit of being in the factory. Instead of following the stock Sling instructions to the letter, we incorporated an improved design the factory now uses. The original setup relied on a series of metallic fittings and adapters, which worked but introduced extra complexity (and more potential leak points). The updated version replaces much of that with clean aluminum tubing runs, fewer parts, and a more elegant layout.
For me, this was a crash course in fuel system plumbing. I got hands-on practice flaring and bending aluminum tubes, learning how to get just the right angle without kinking the line, and assembling the fittings so everything sealed up tight. It was a satisfying mix of craft and engineering—and a reminder that even “hidden” systems like this are critical to both safety and performance.

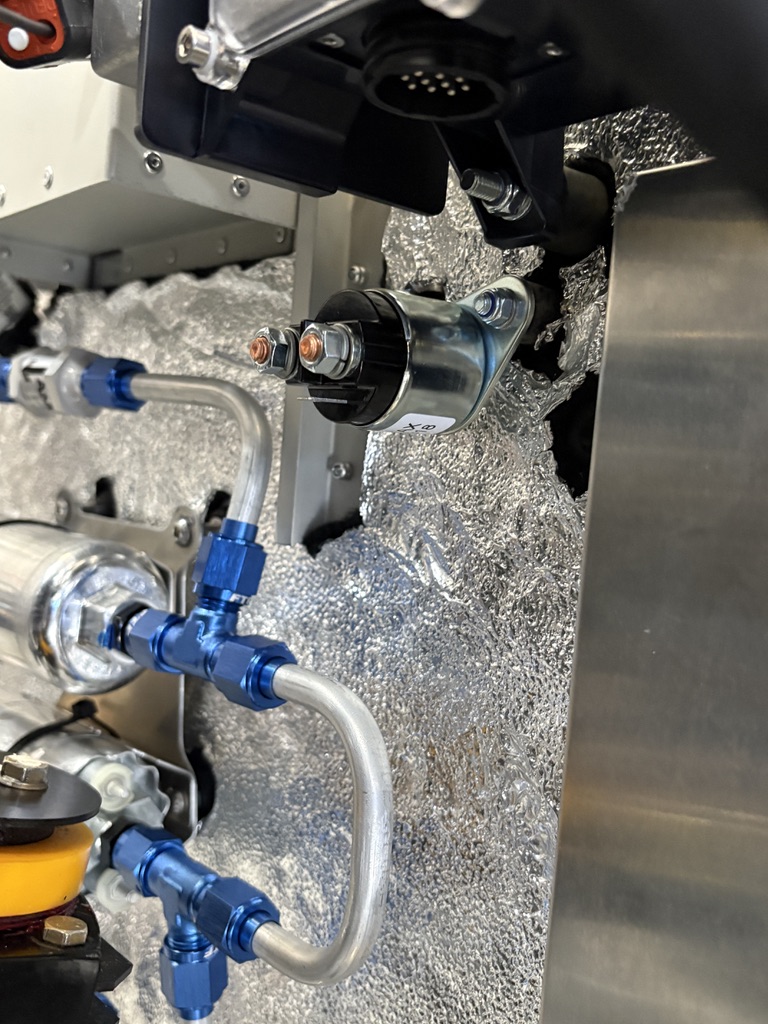
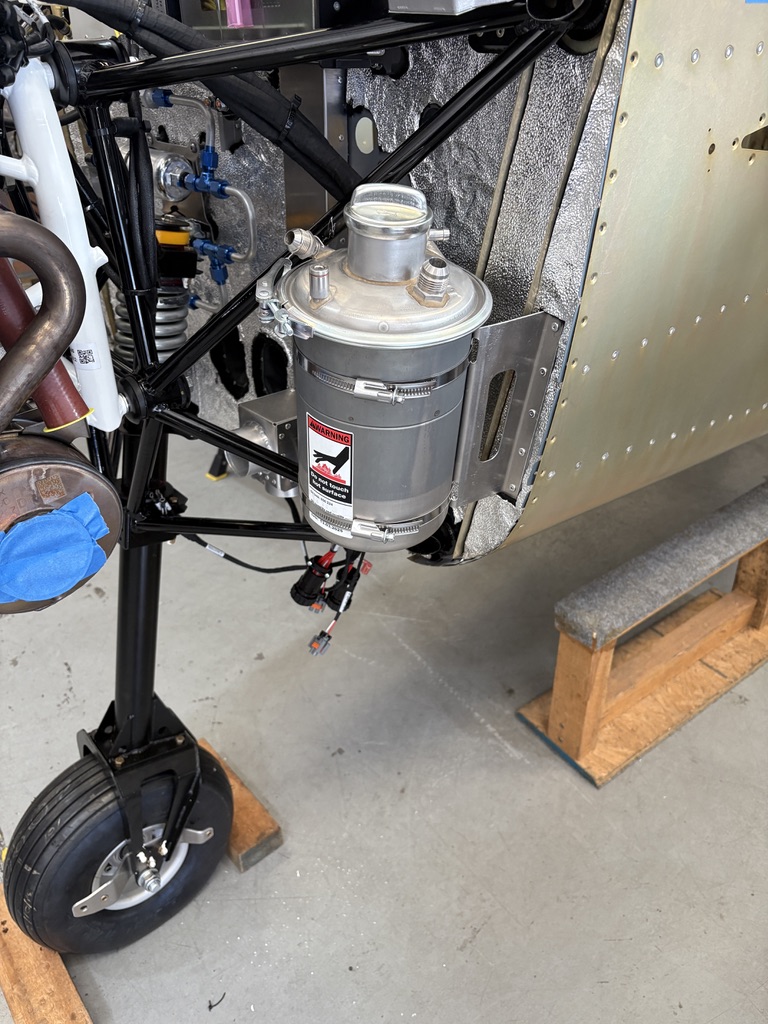
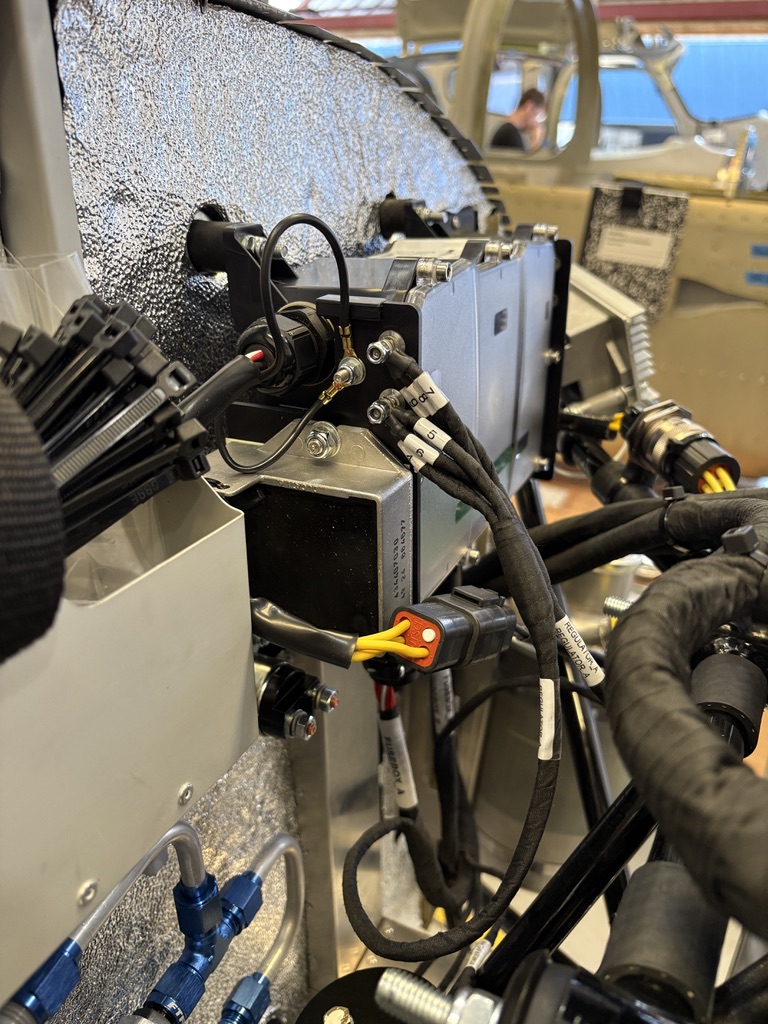
Engine Accessories
The next set of tasks brought me to the firewall, where I started installing some of the engine’s supporting hardware. On went the oil tank, the fuse box (complete with wiring connections), the engine starter, and the fuel filter. The fuel filter installation followed a similar approach to the updated fuel pump assembly—using aluminum tubing, carefully flared ends, connectors, and check valves instead of the older, more cluttered arrangement of fittings.
This work gave me a much better appreciation for how tightly everything has to fit in the firewall-forward environment. There’s not much room to spare, so every bend in a tube and every mounting bracket has to be thought through. It’s like building a three-dimensional puzzle where each piece matters—not just for functionality, but for serviceability down the road.

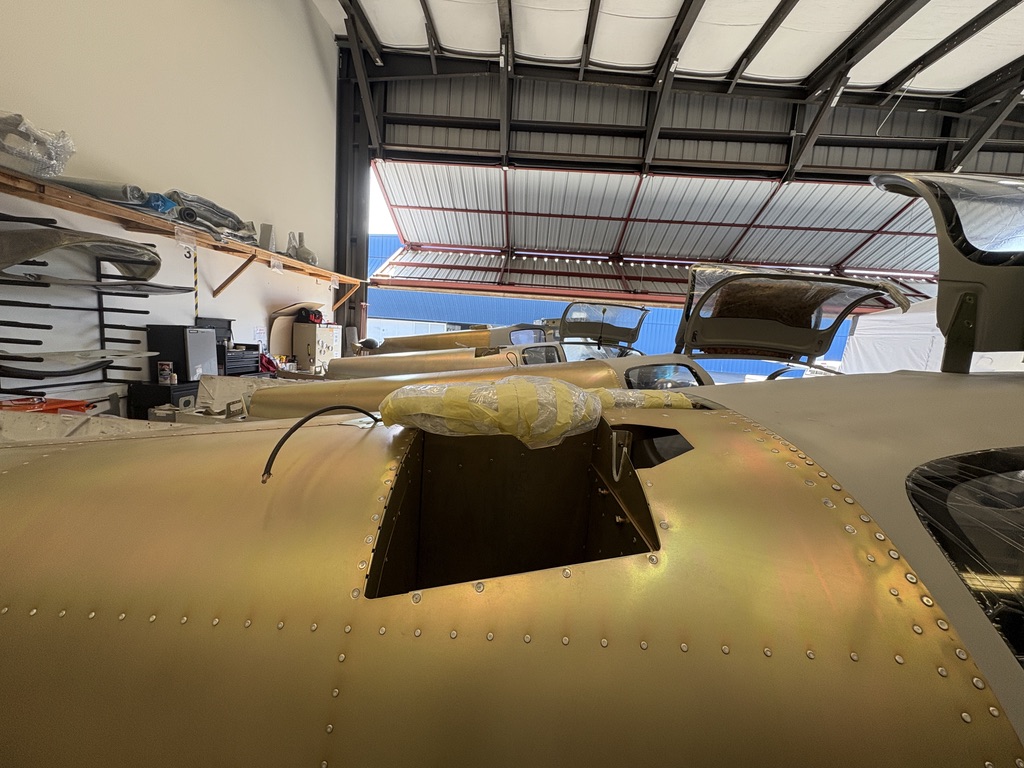
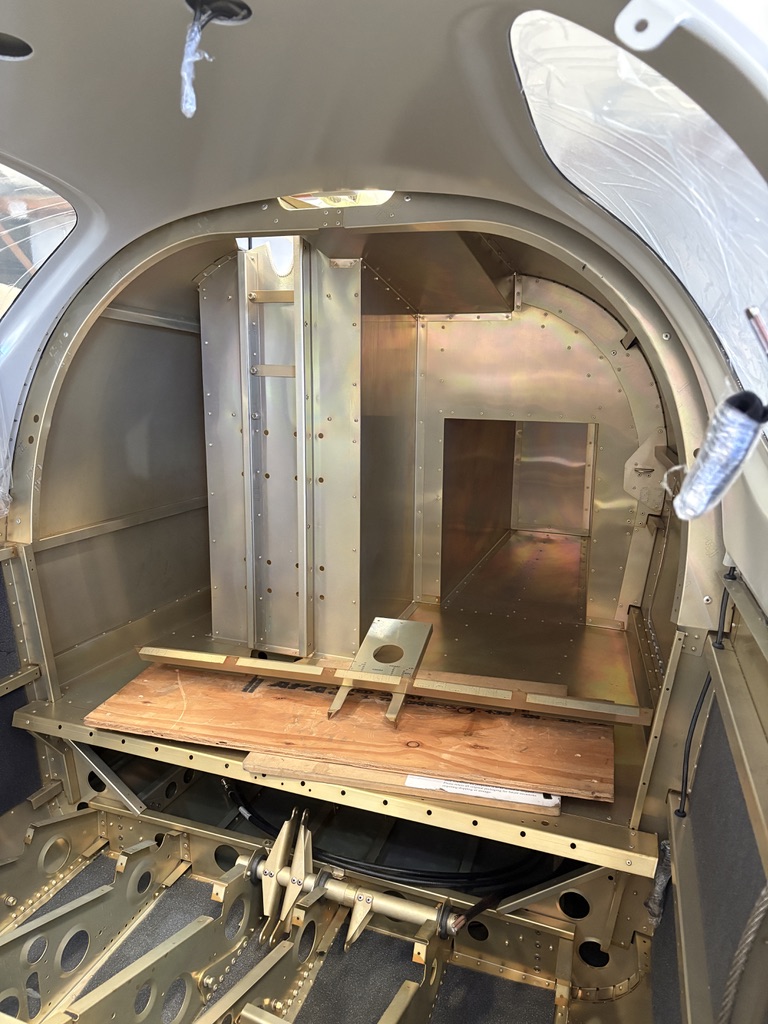
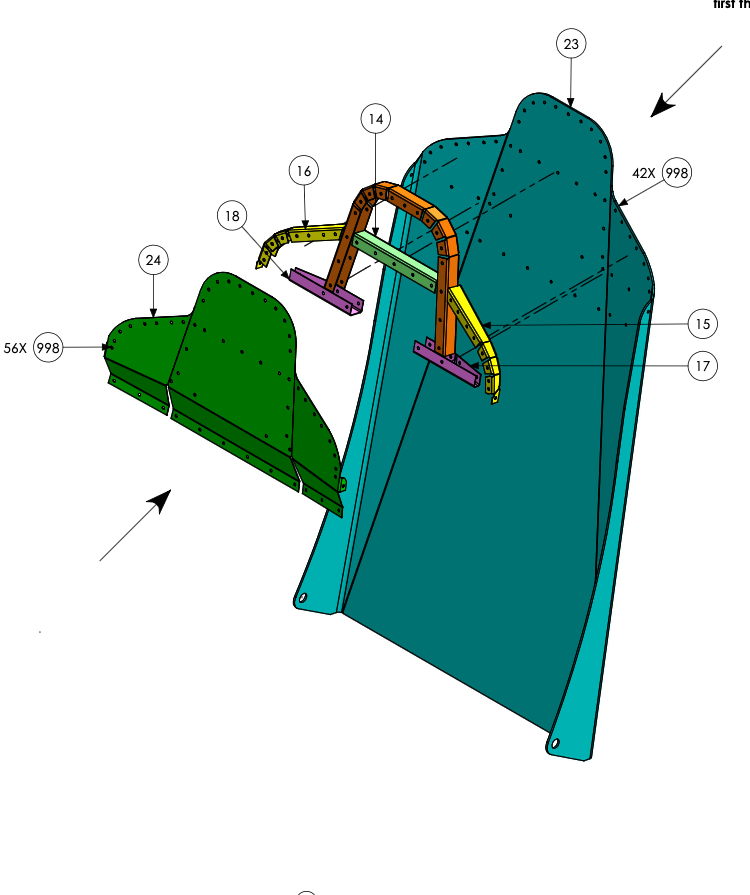
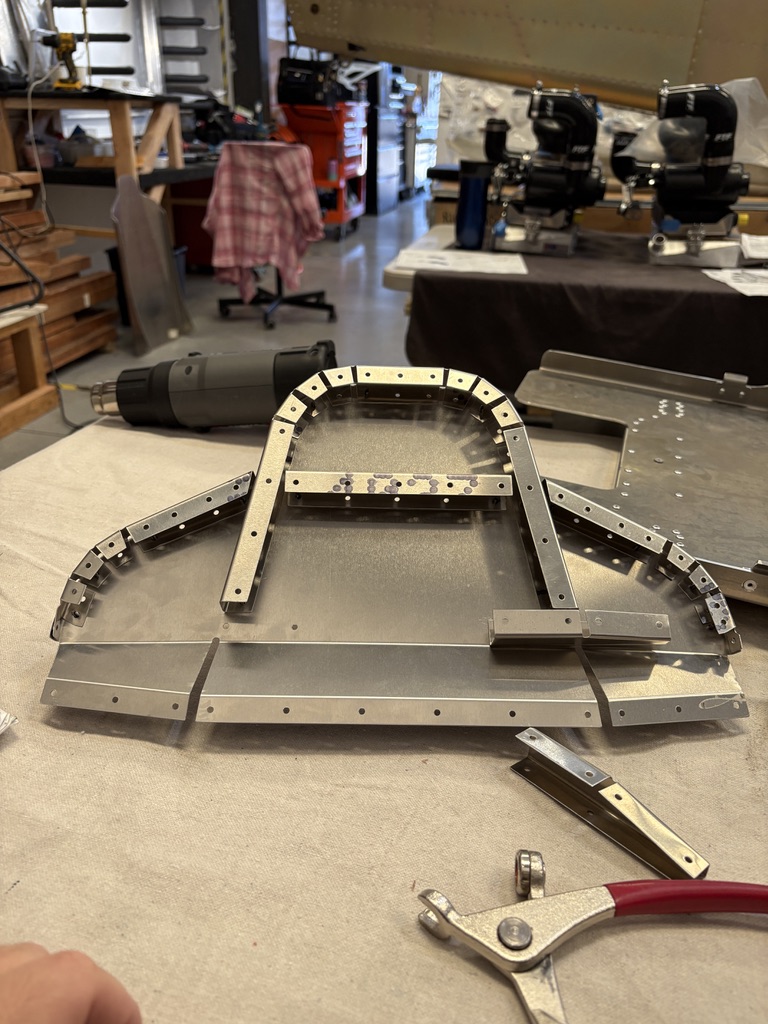
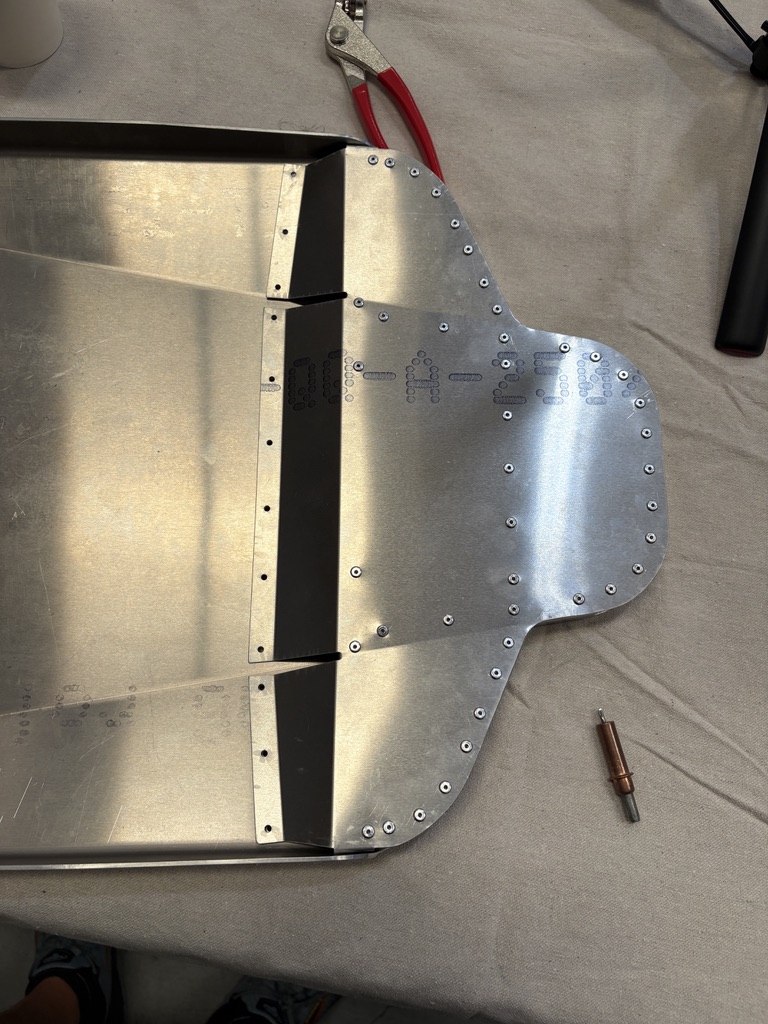
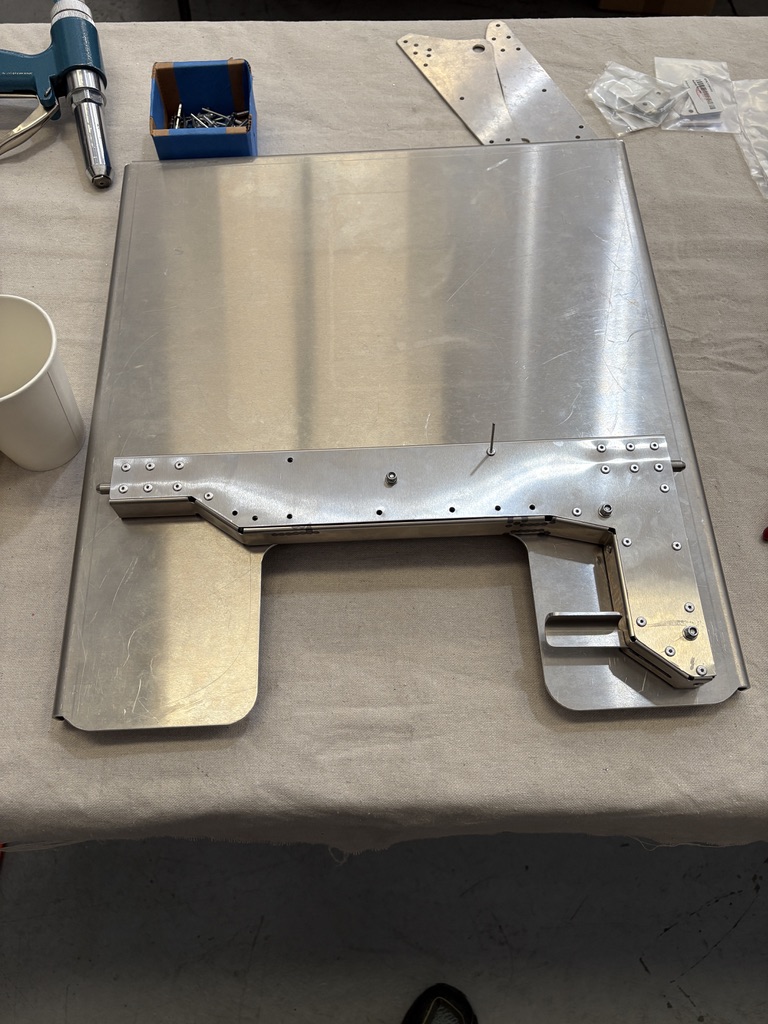
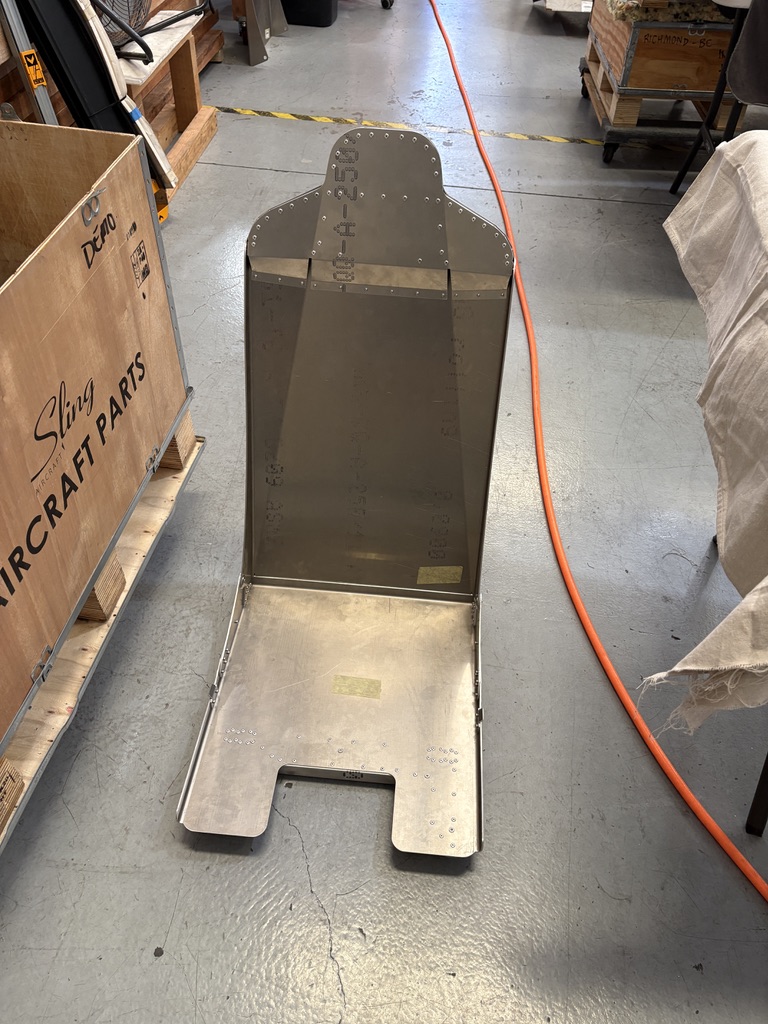
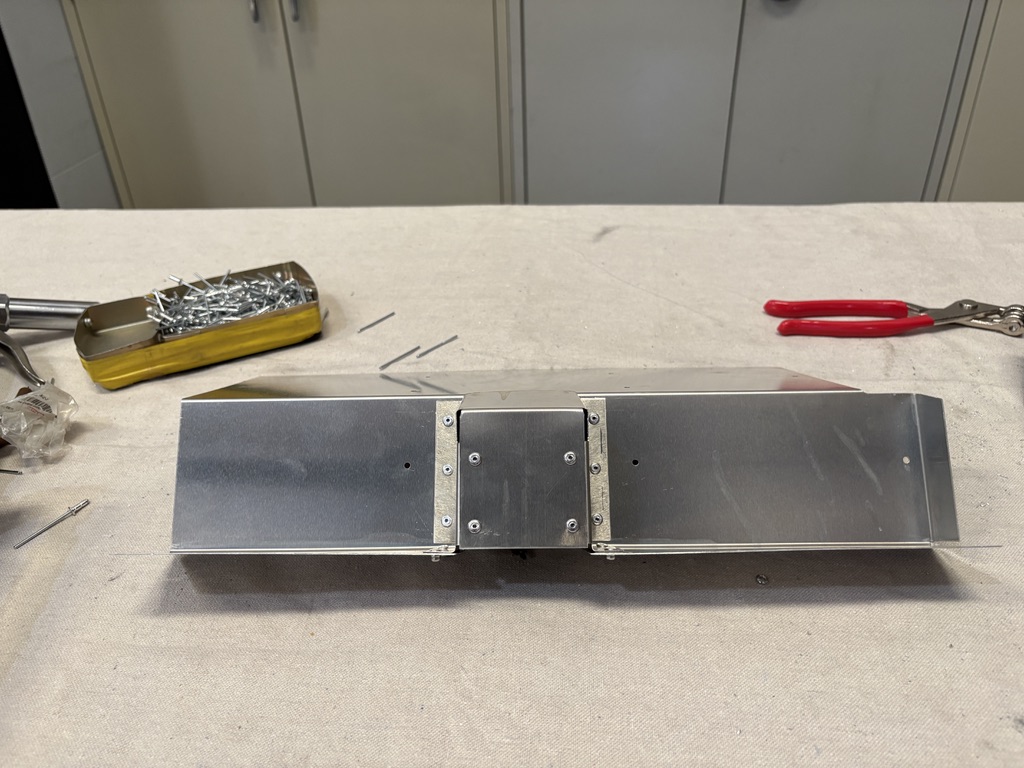
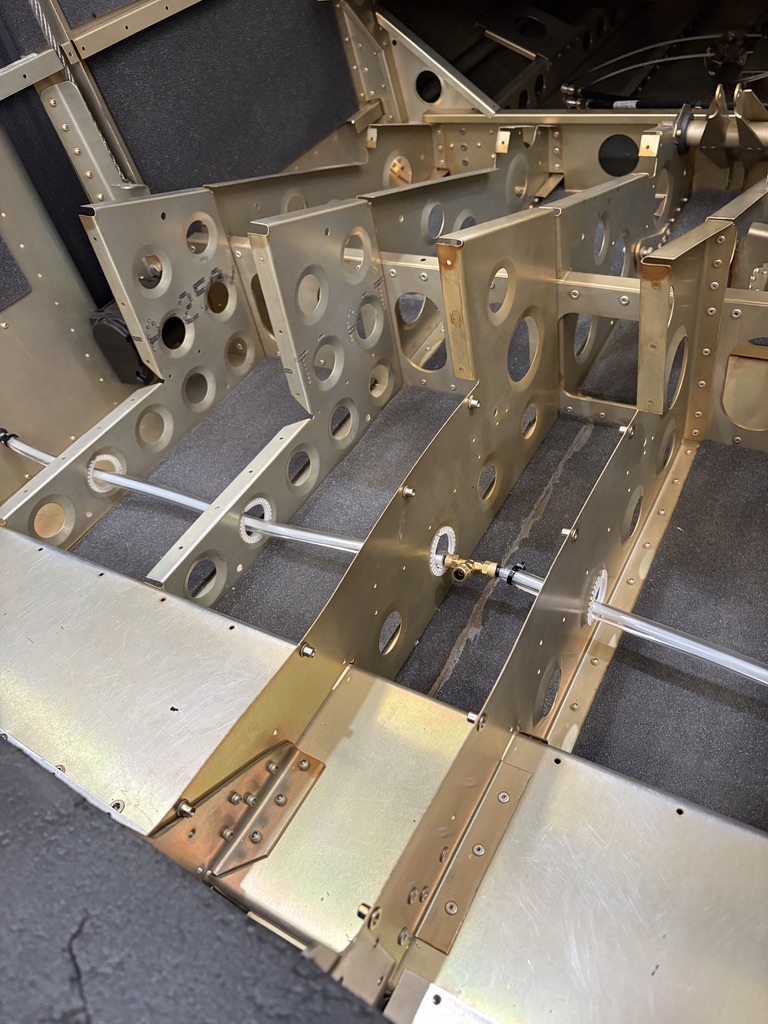
Front Seats and Interior Floor Skin
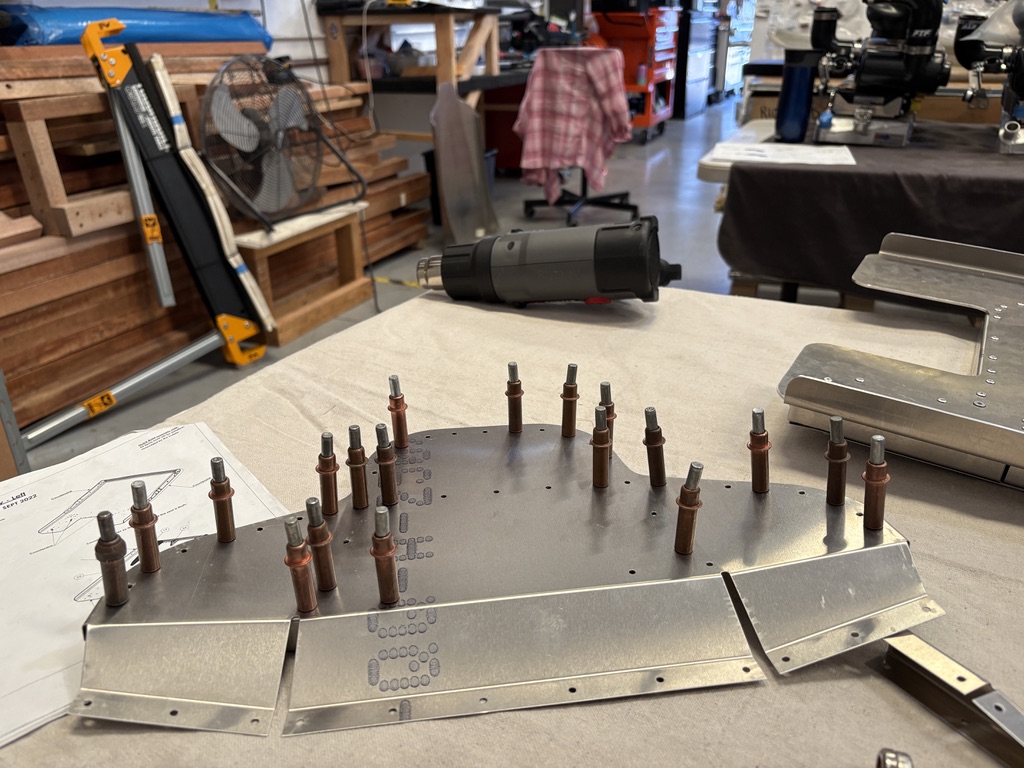
After working firewall-forward, my next task shifted gears completely: the front seats and interior floor. This was pure sheet metal work—lots of aligning, debarring, and riveting aluminum pieces into place. I can’t overstate how valuable the EAA Metal Workshop was here. The seat assemblies in particular were tricky, with plenty of rivets that had to go into angled surfaces.
There was definitely a learning curve. A few rivets had to be drilled out and redone (a rite of passage for any builder, I’m told), but by the end of the process my technique had noticeably improved. That practice will pay off in a big way when I tackle the wings and empennage later—places where mistakes are not so easily forgiven. Getting to “make my mistakes” on the seats felt like a safe and very worthwhile training ground.
I also worked on part of the floor skins, which were much simpler by comparison. Those rivet lines were straightforward and gave me a bit of a breather after the seat assemblies—almost like a confidence boost before moving on to the more demanding tasks.
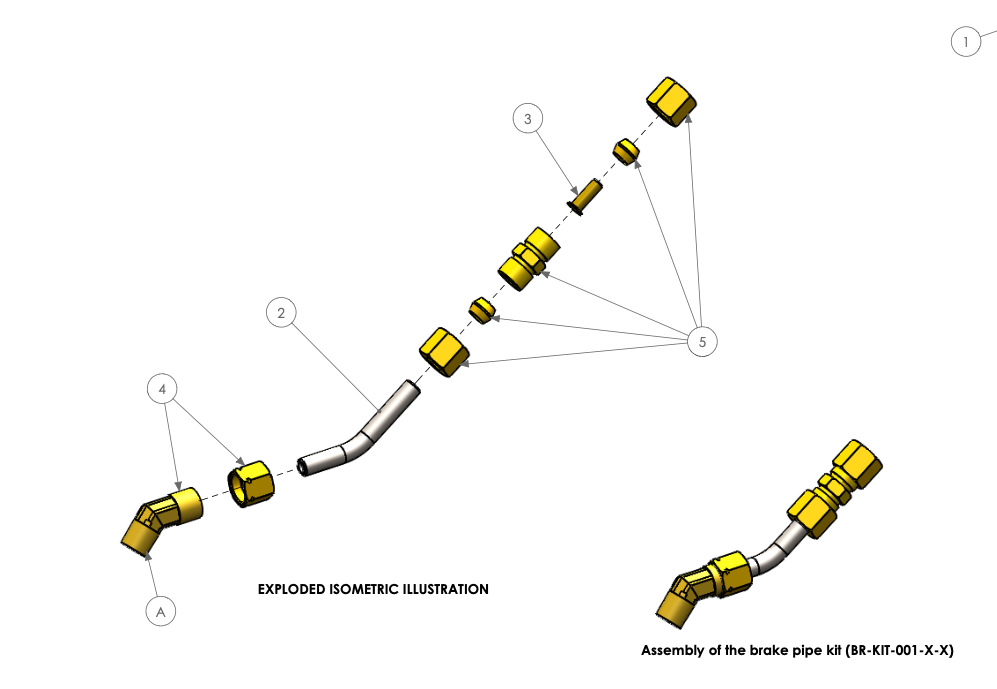
Brake Lines
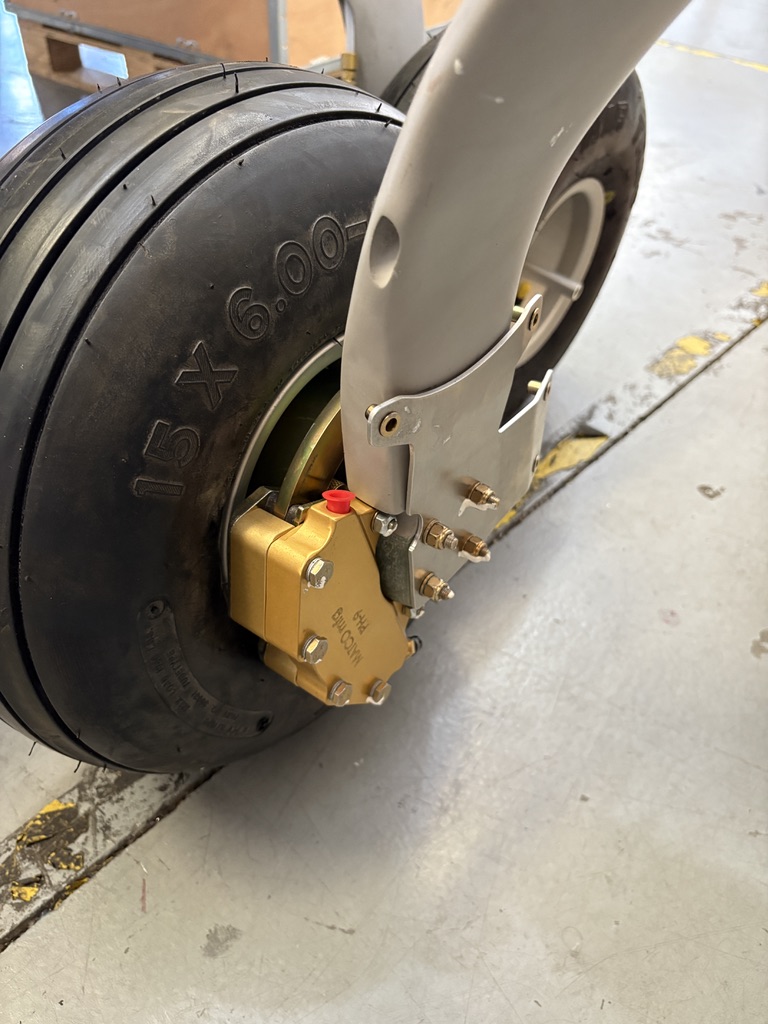
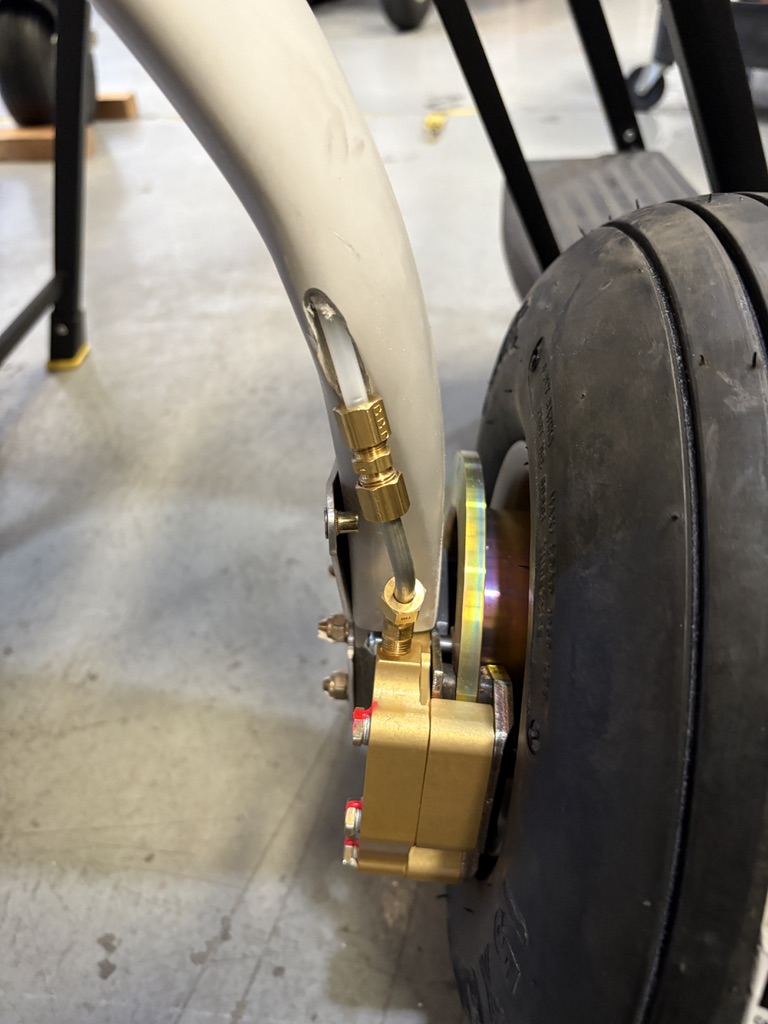
The last task I tackled before wrapping up the week was the installation of the brake lines—a delicate job that demands both precision and patience. I didn’t quite finish before I had to head out, but the technicians will complete the remaining work before my next visit. The assembly involves carefully routing and securing the extension tubes, calipers, and fittings that tie into the brake system.
This build also benefits from the latest Sling improvements: the new double brake pad setup, which helps resolve some of the heavy braking issues reported in earlier TSi models. After weighing the options, I decided to stick with the factory-standard Matco brakes rather than upgrading to the optional Beringer system.
While Beringer brakes are undoubtedly well-engineered, I ultimately couldn’t justify the higher cost and potential serviceability issues for my mission. If I were planning backcountry flying, frequent short-field operations, or wanted the absolute best braking performance, I might have leaned toward Beringer.
However, for my needs—long cross-country travel, reliability, and ease of maintenance—Matco provides solid performance at a fraction of the cost. Plus, since the upgrade is possible later, I always have the option to switch to Beringer brakes down the road if I feel they’re worth the investment.
Wrapping Up Week 1
By the end of my first week, I had touched everything from fuel and brake systems to interior riveting and firewall components. Each task on its own may seem small, but together they’re giving me a real understanding of how this airplane comes together. The 51% rule contributions might only be a slice of the total build effort, yet they’re invaluable for learning the craft and developing respect for the complexity behind even the “simpler” systems.
What struck me most is how the process is less about a straight line and more about weaving threads in parallel—multiple systems advancing at once, with technicians and builders contributing their parts in a kind of organized dance. It’s both humbling and exciting to see the airplane take shape this way.
I leave this first week with new skills, a stronger grasp of what it means to be a builder, and even more appreciation for the Sling team and the community of homebuilders who’ve blazed this path.
Next week, I’ll either continue with firewall-forward and fuselage work, or—if the next hangar has space—move on to the empennage and wings. Either way, the build is about to open up into some of the airplane’s biggest assemblies.
One week down, many more to go. The journey has started, and my Sling is already beginning to feel like my airplane.


Leave a comment