

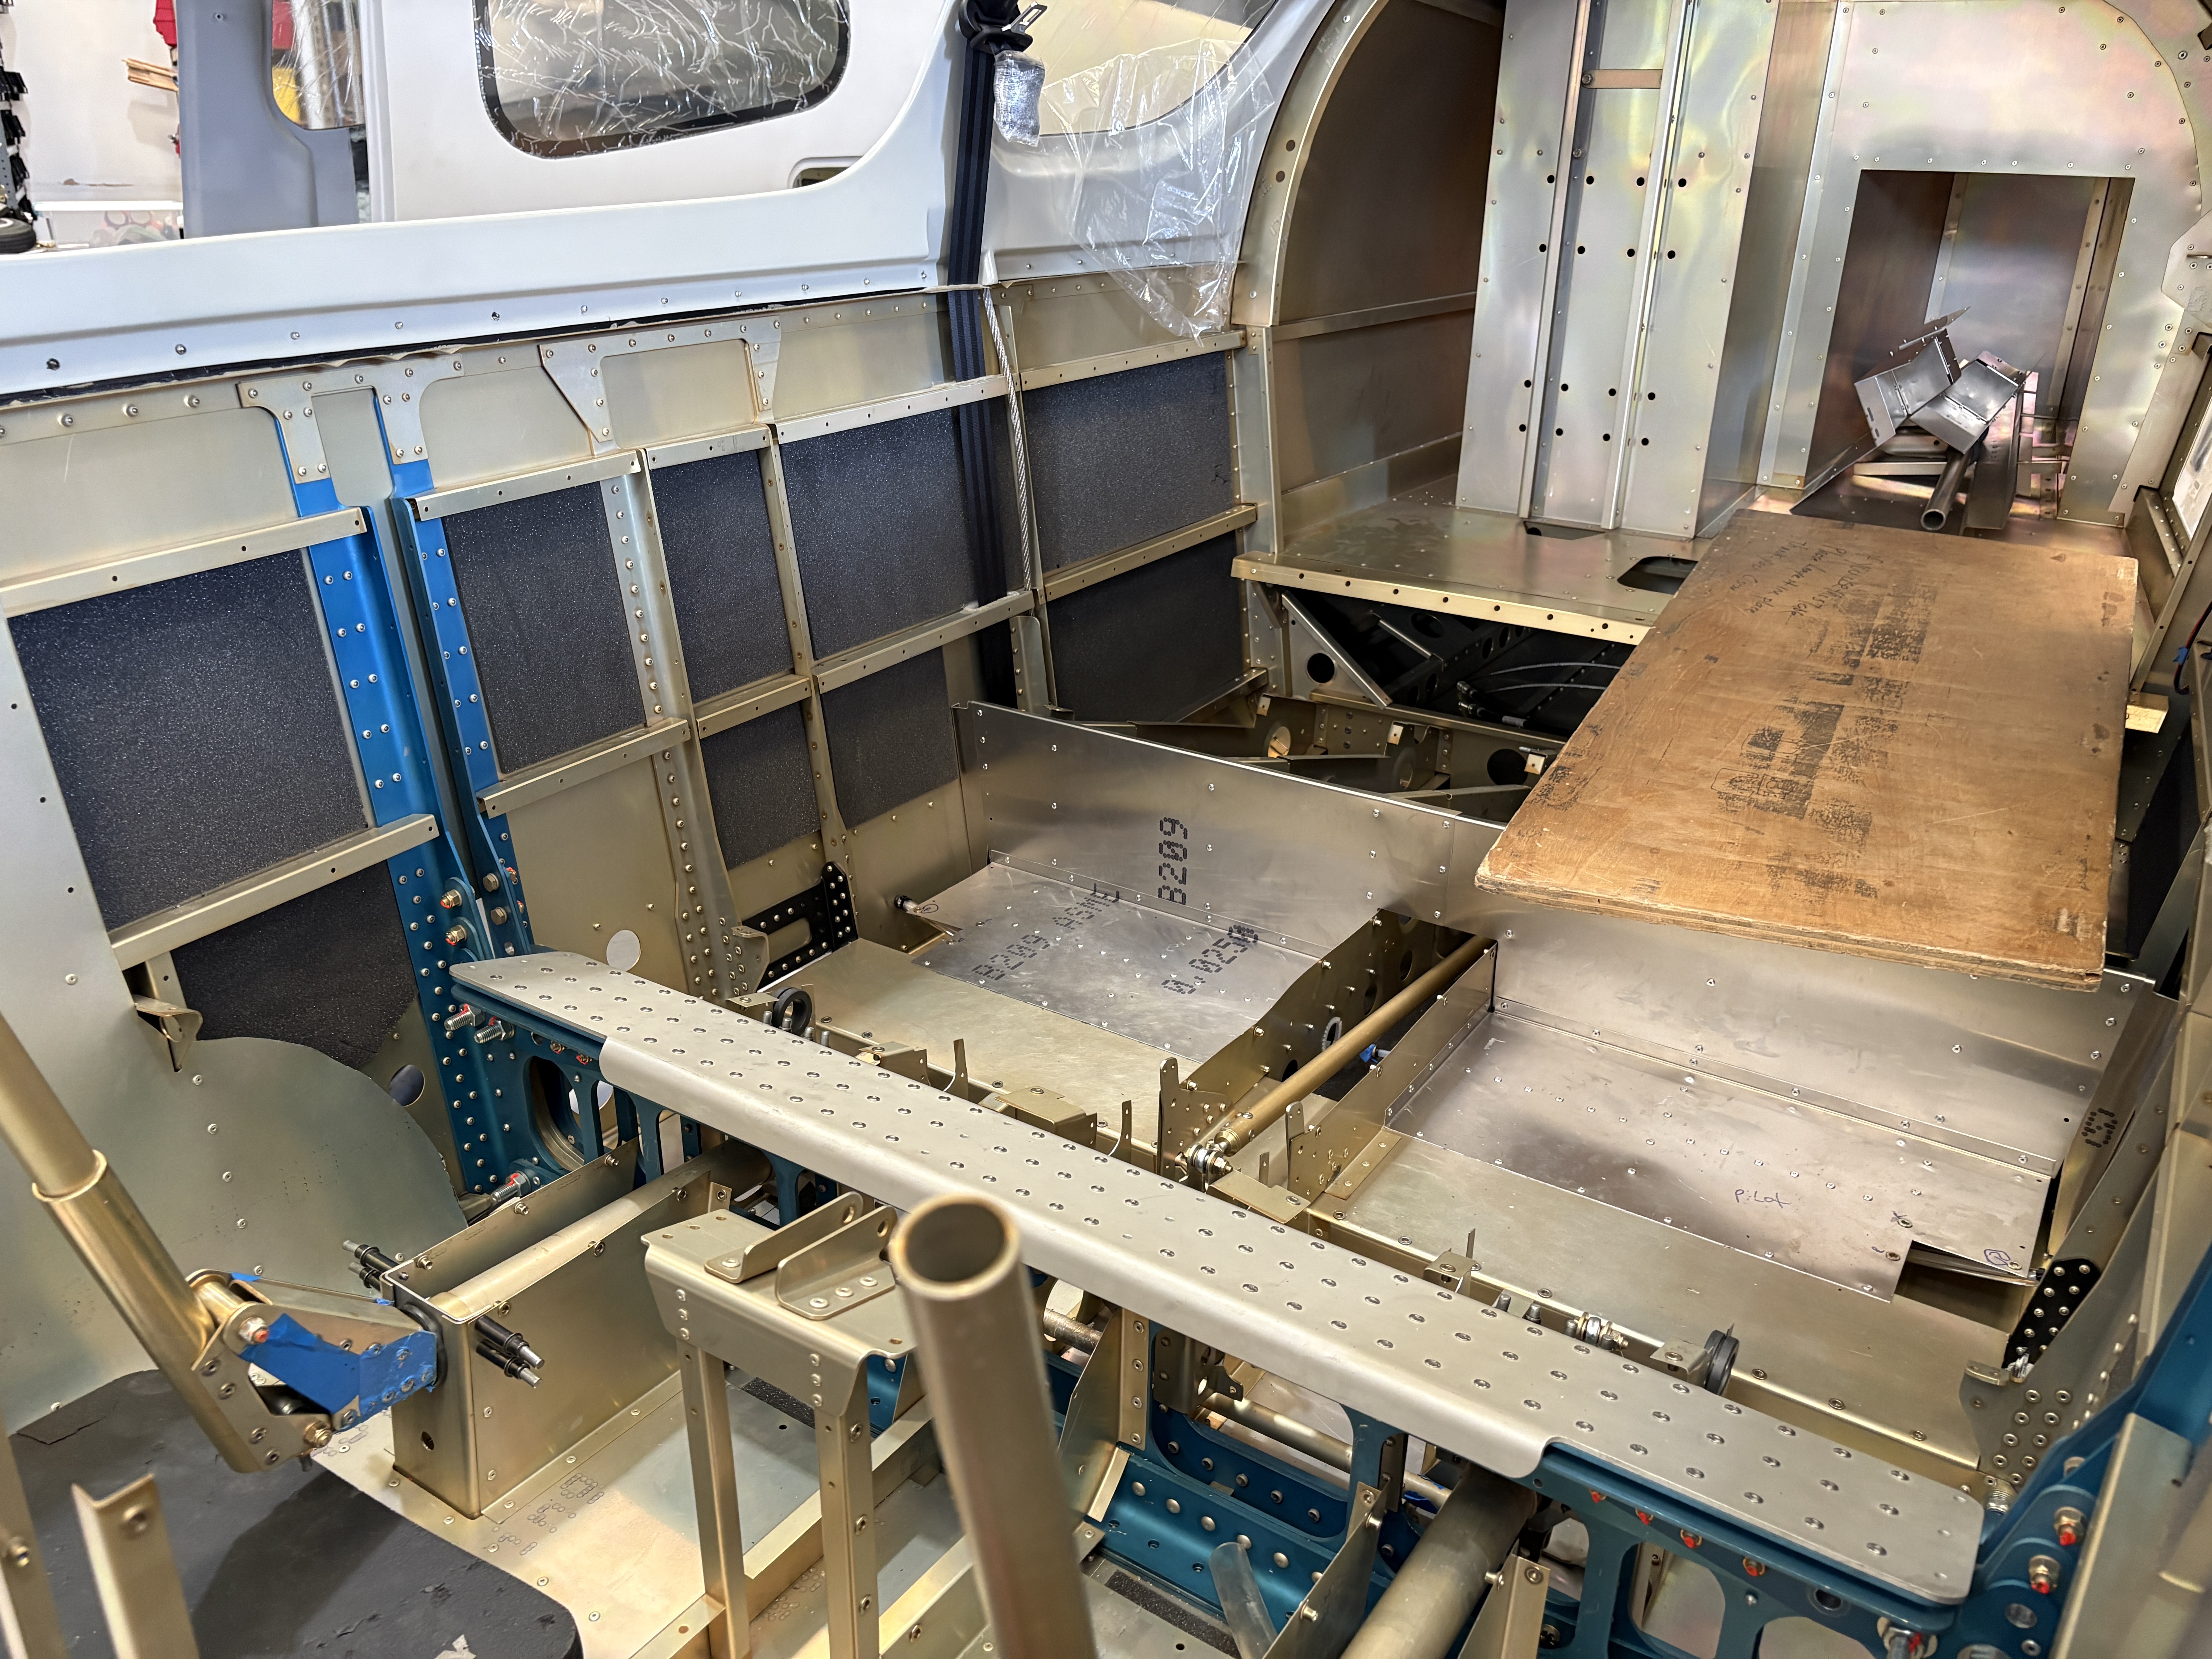
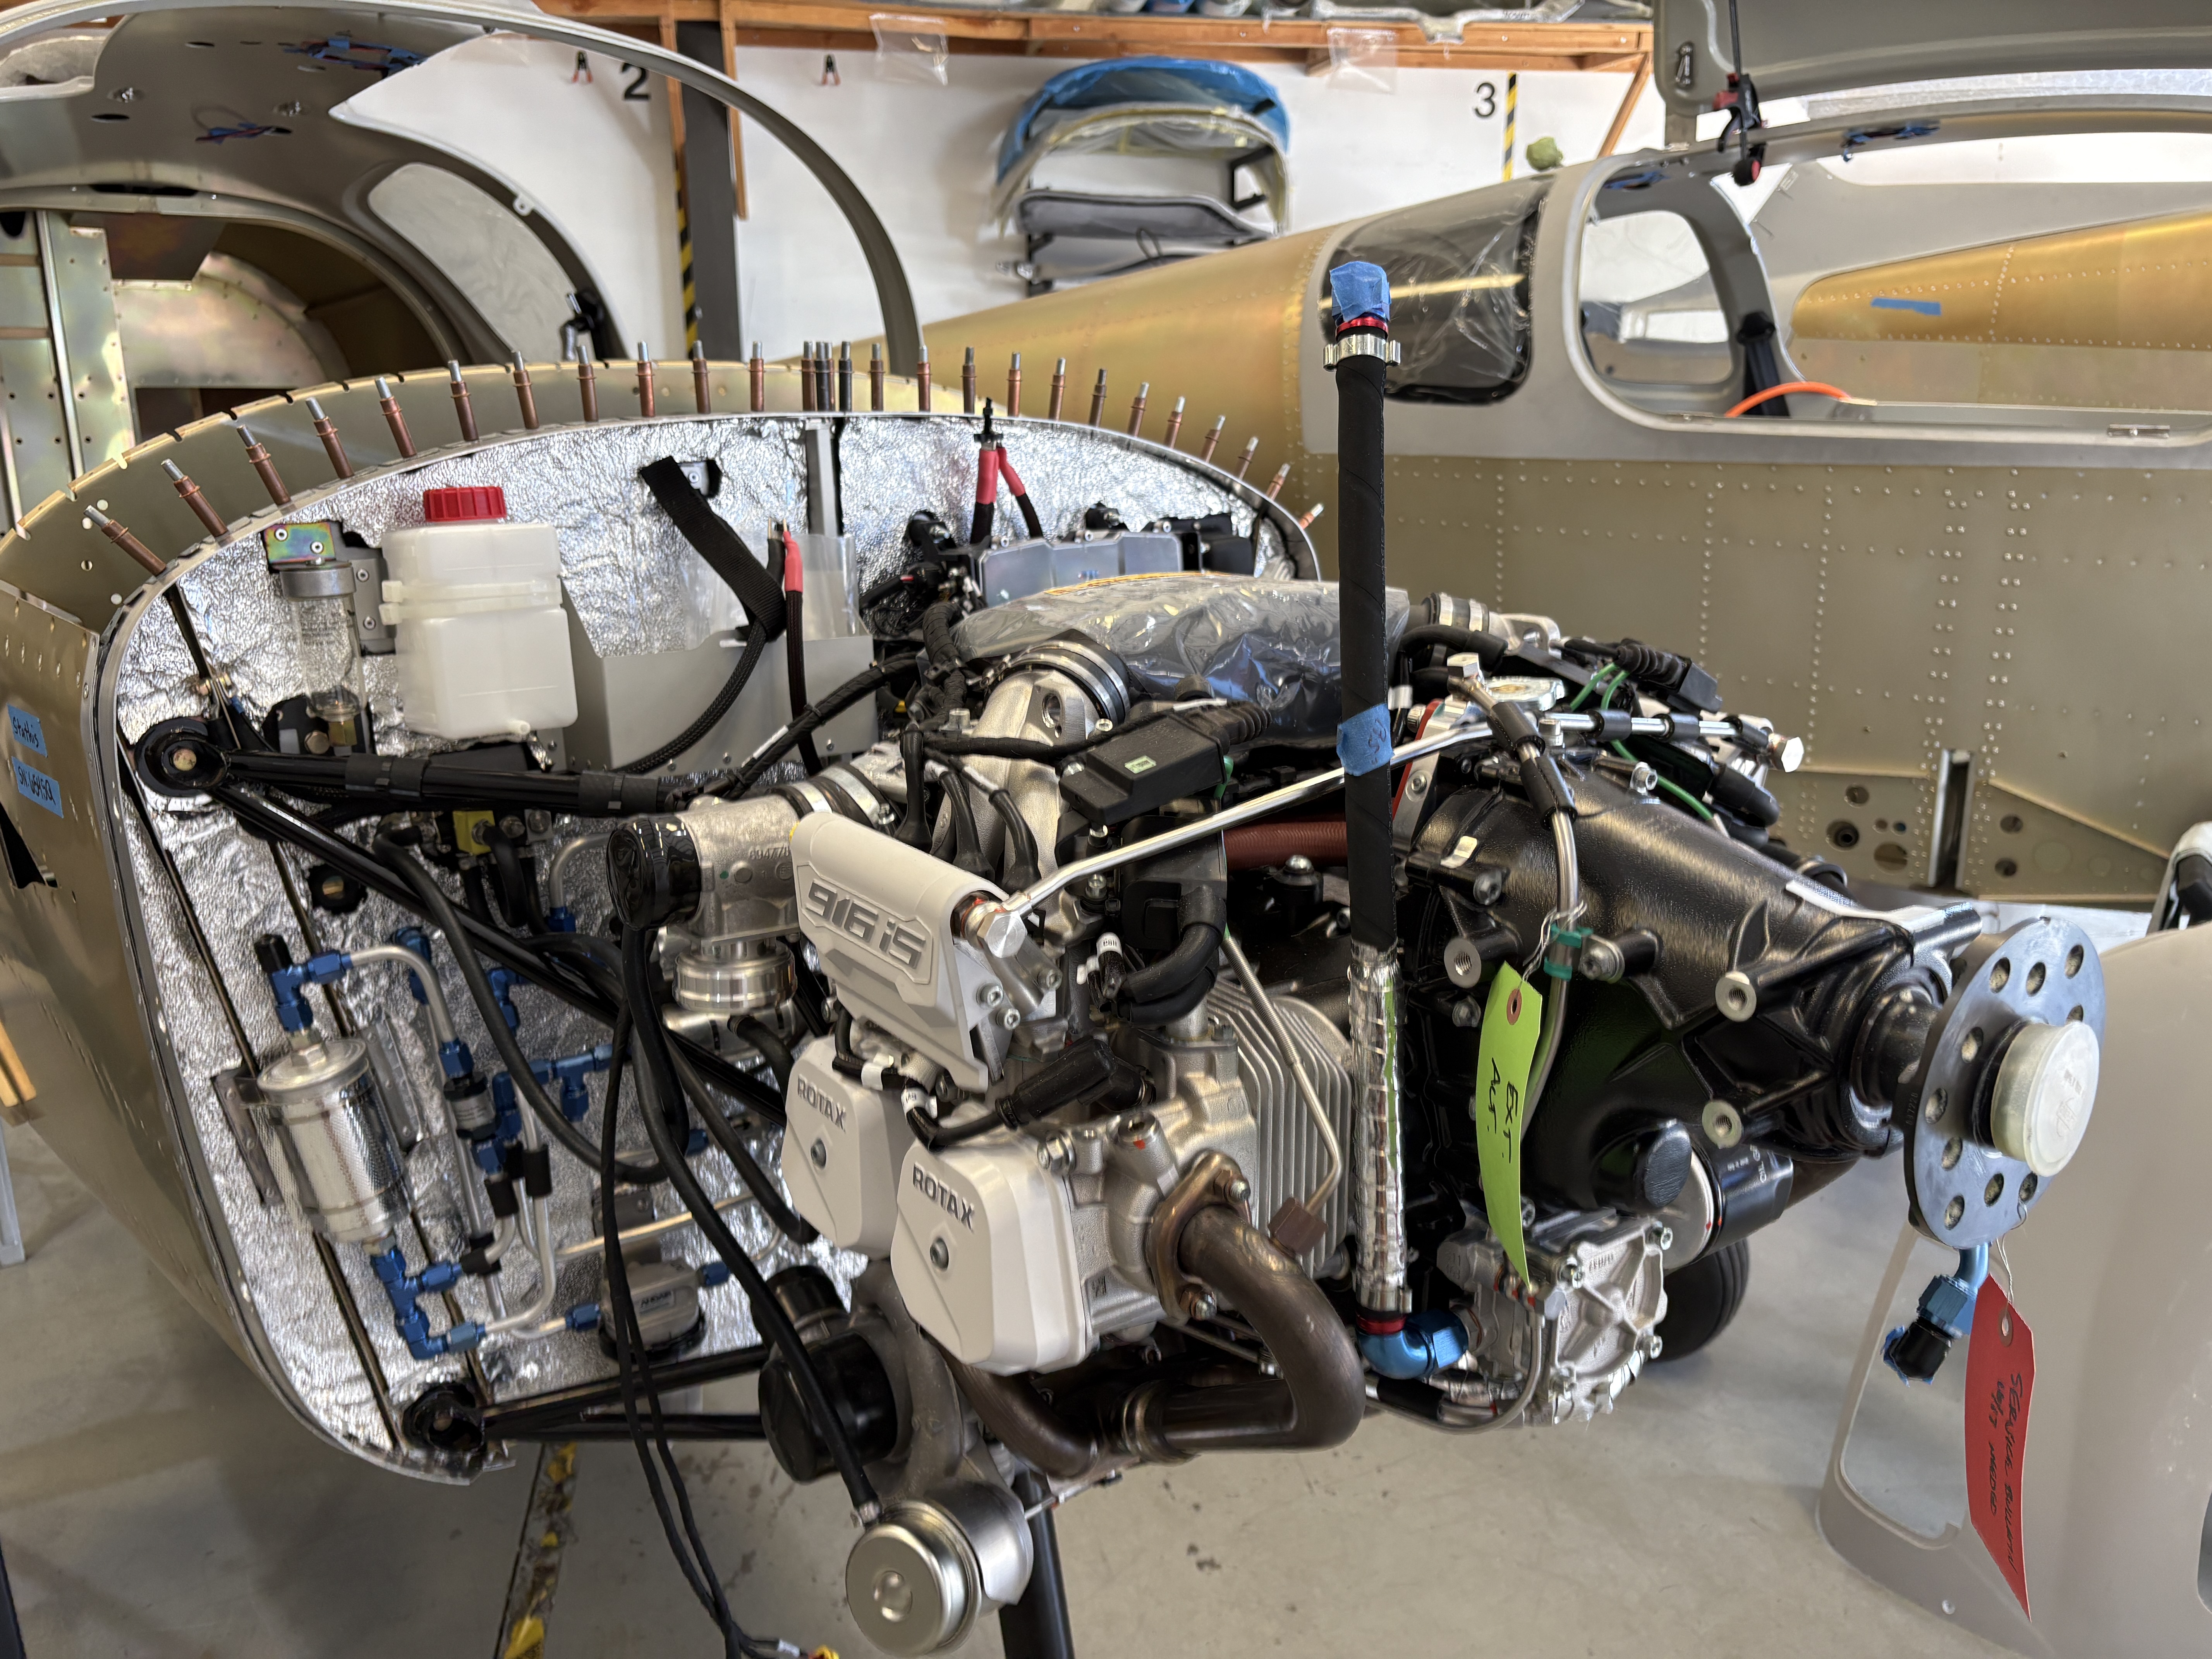
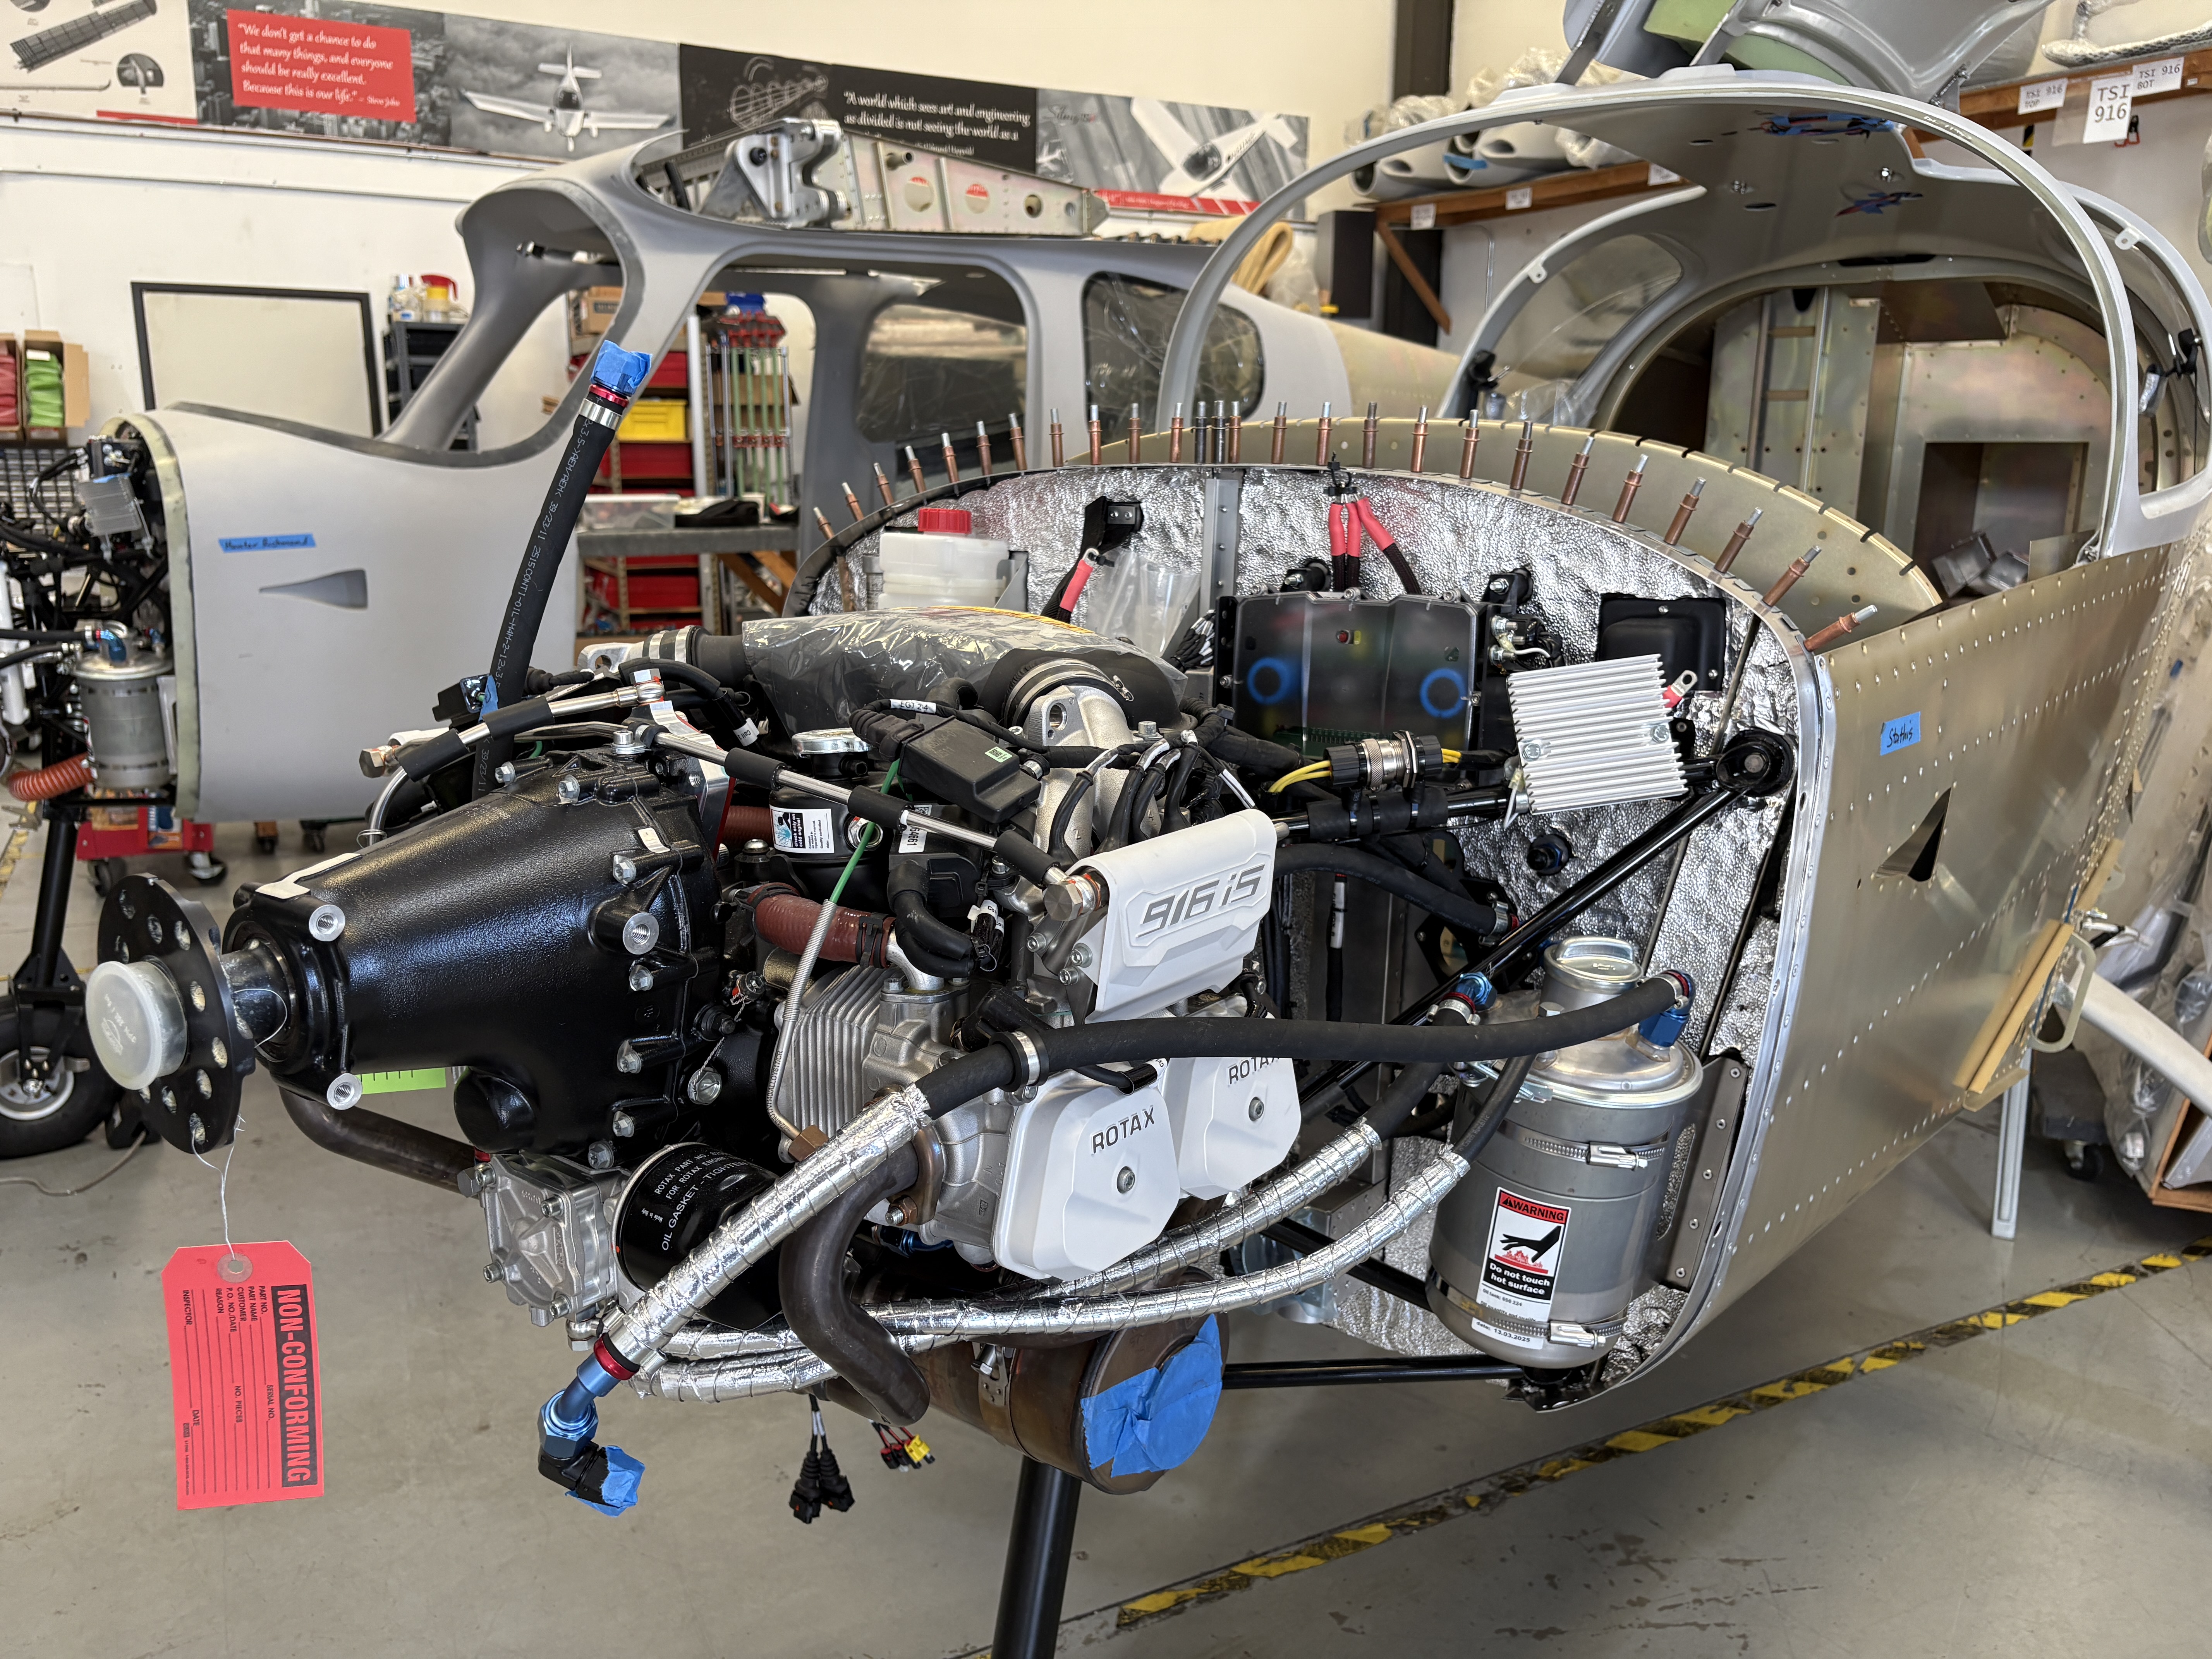
Since my last visit, the Torrance team kept humming along on the engine and cockpit structure. The brake lines are now tucked neatly under the floor skins, pushrods stretch aft to the tail, and more hoses snake their way around the engine bay. It’s the kind of quiet, behind-the-scenes progress that doesn’t make headlines but sets the stage for everything else.
This trip, though, was all about wings — and it felt like moving from tuning the pit orchestra to suddenly banging out the drum solo.
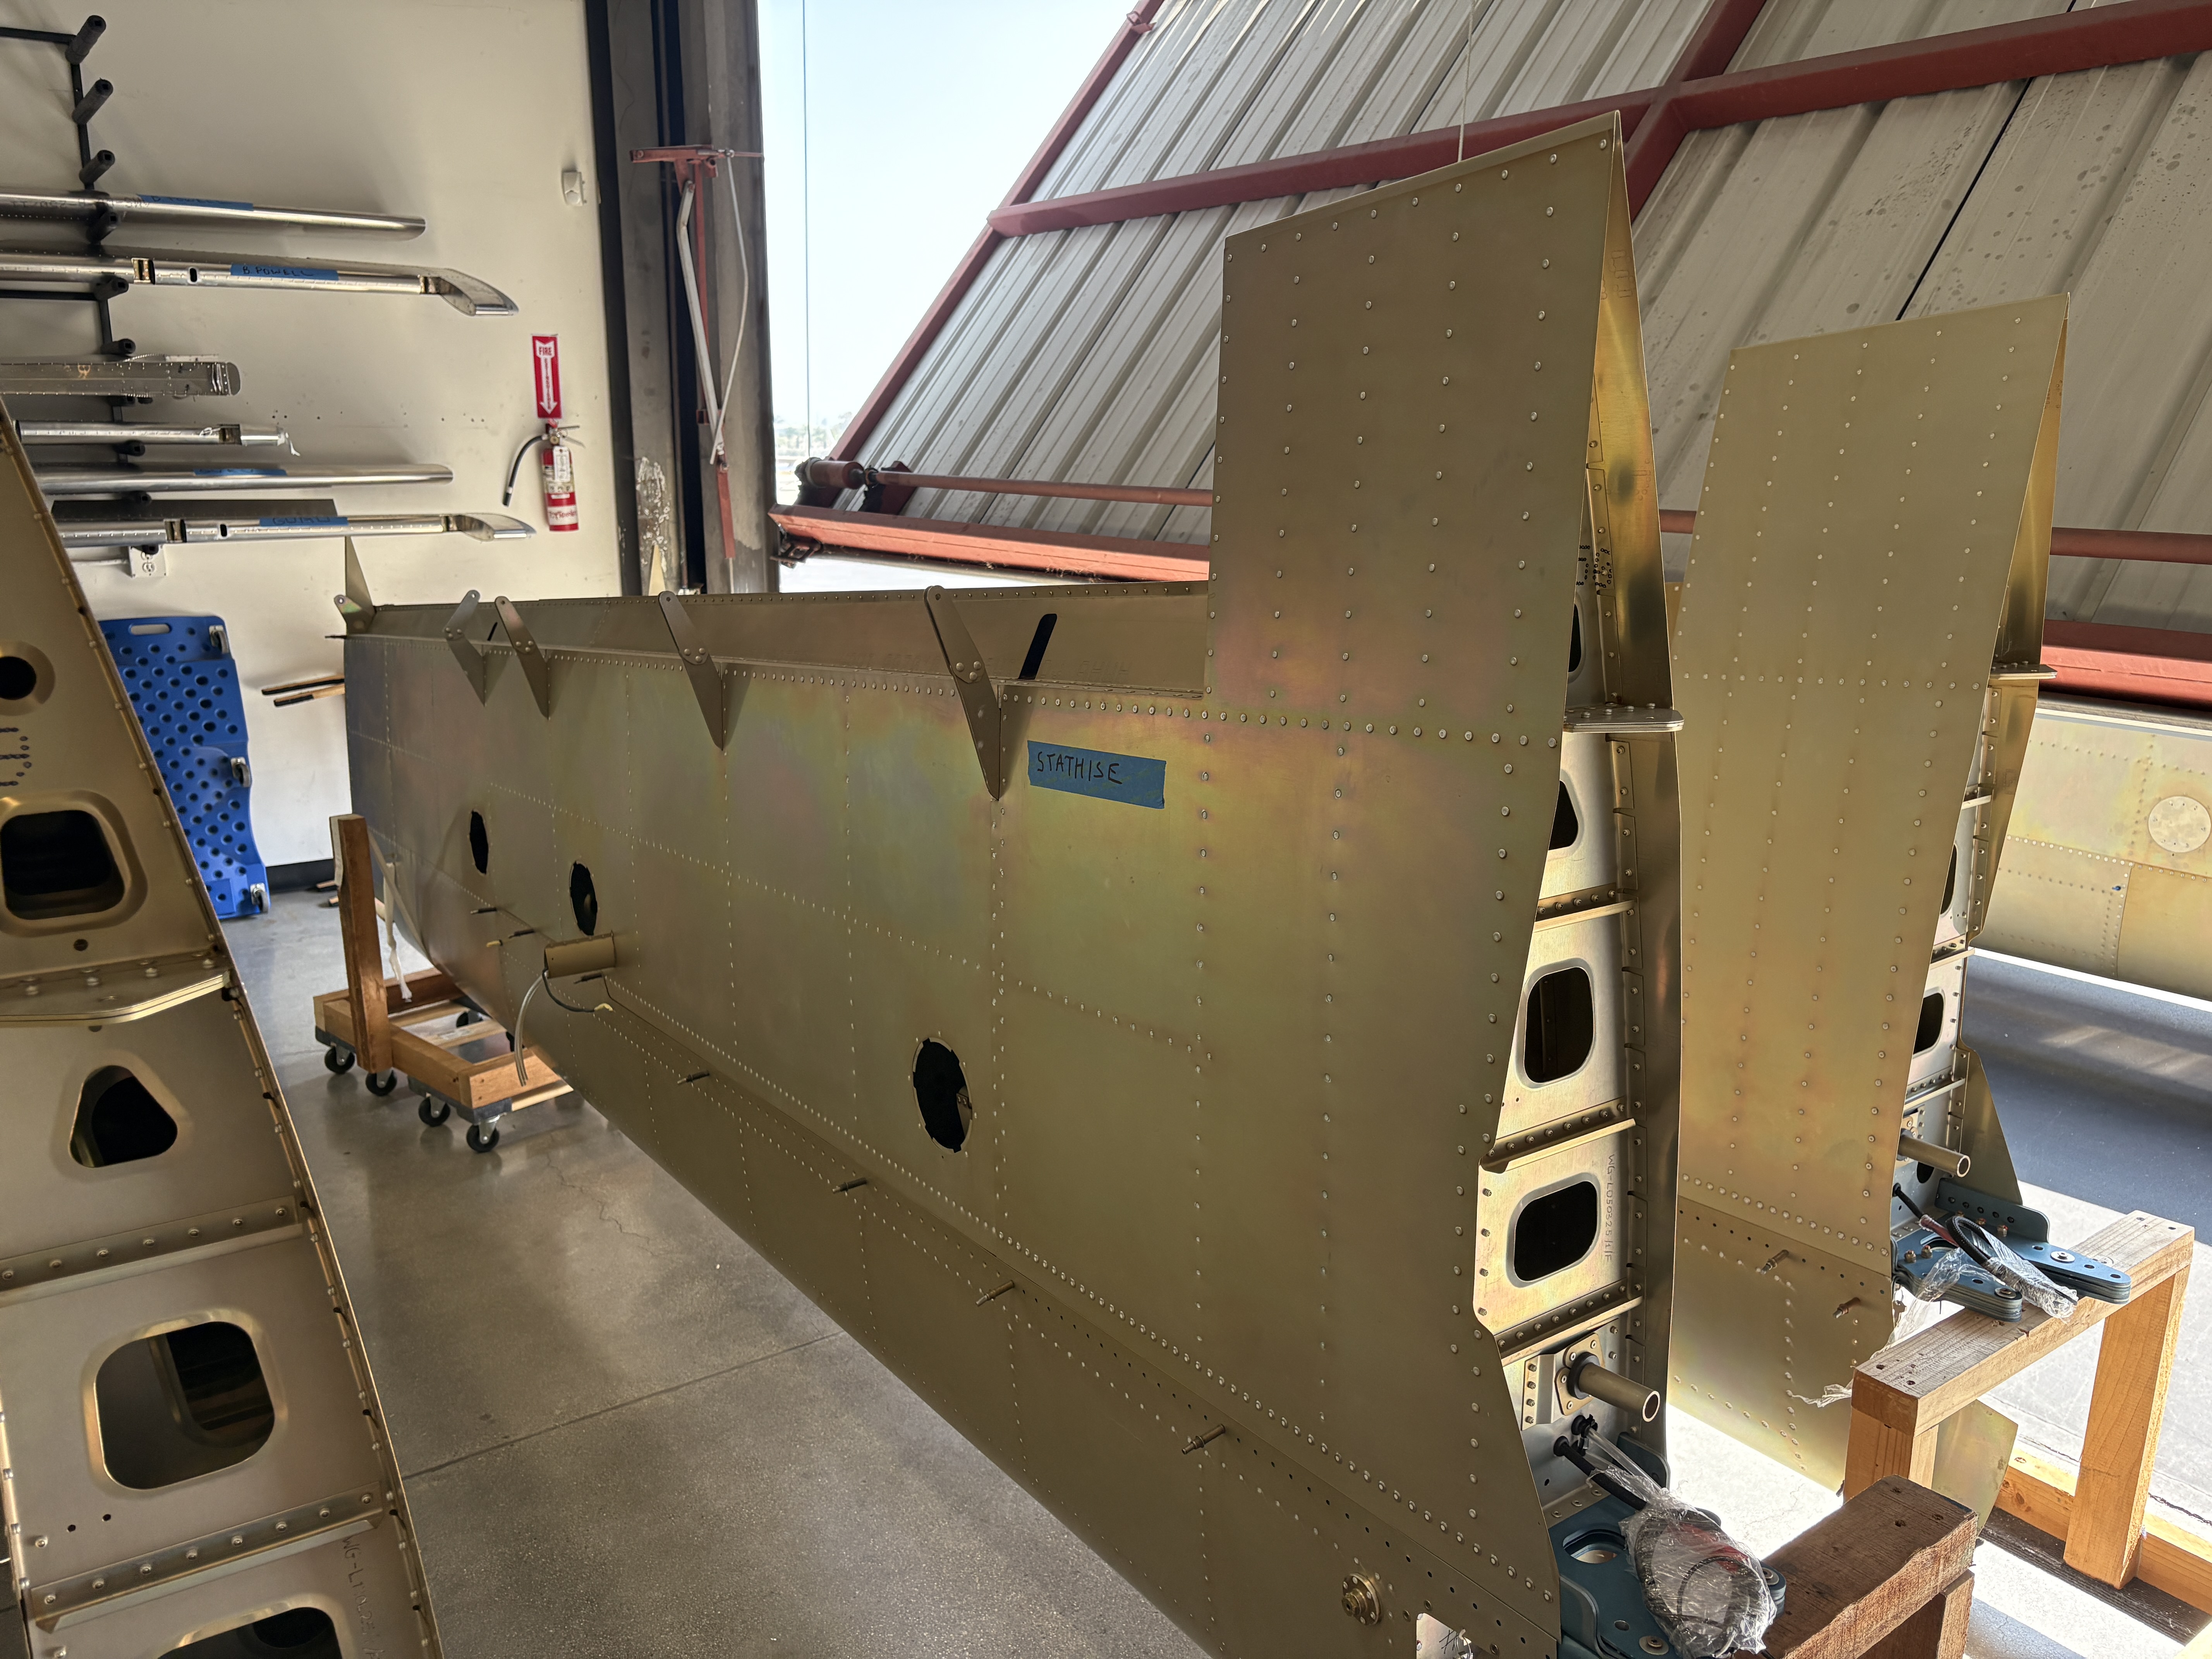
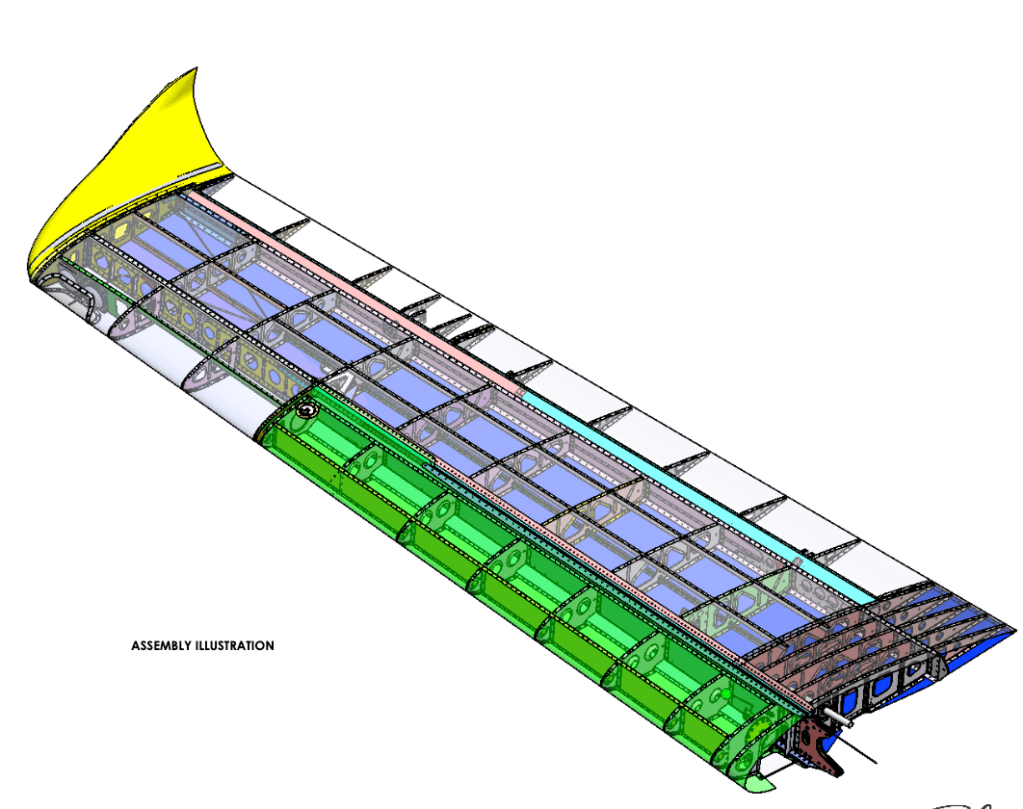
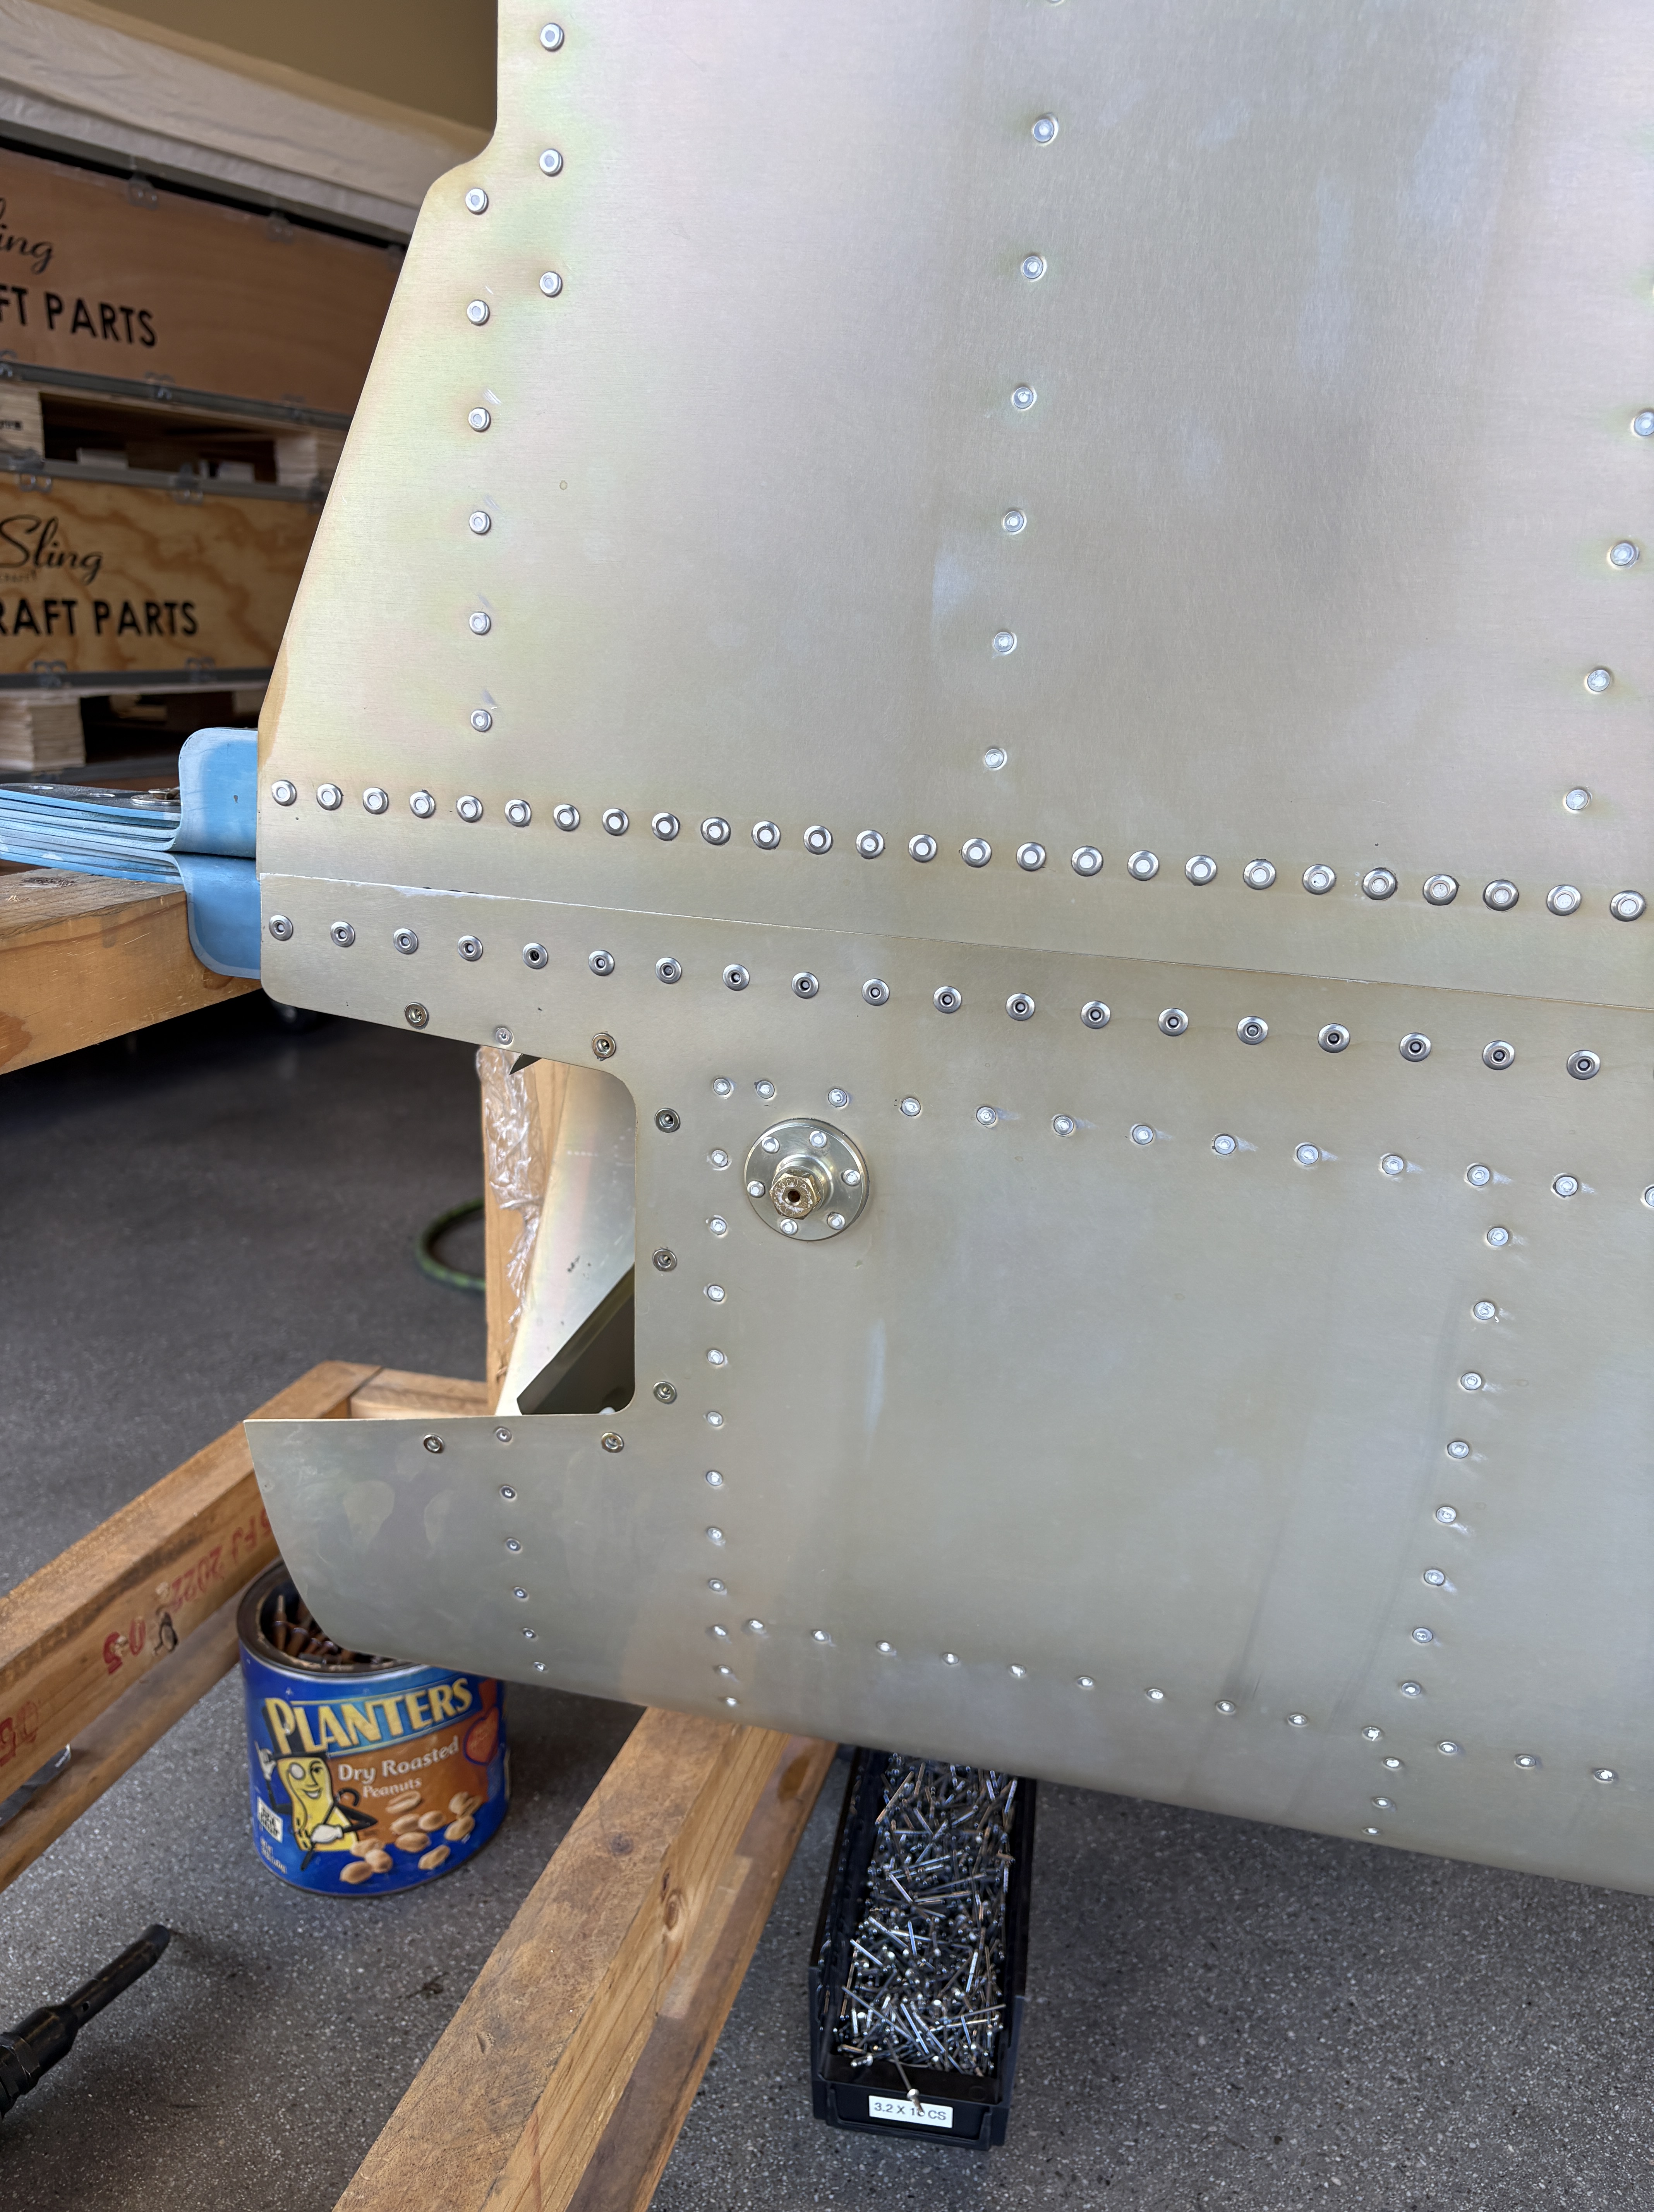
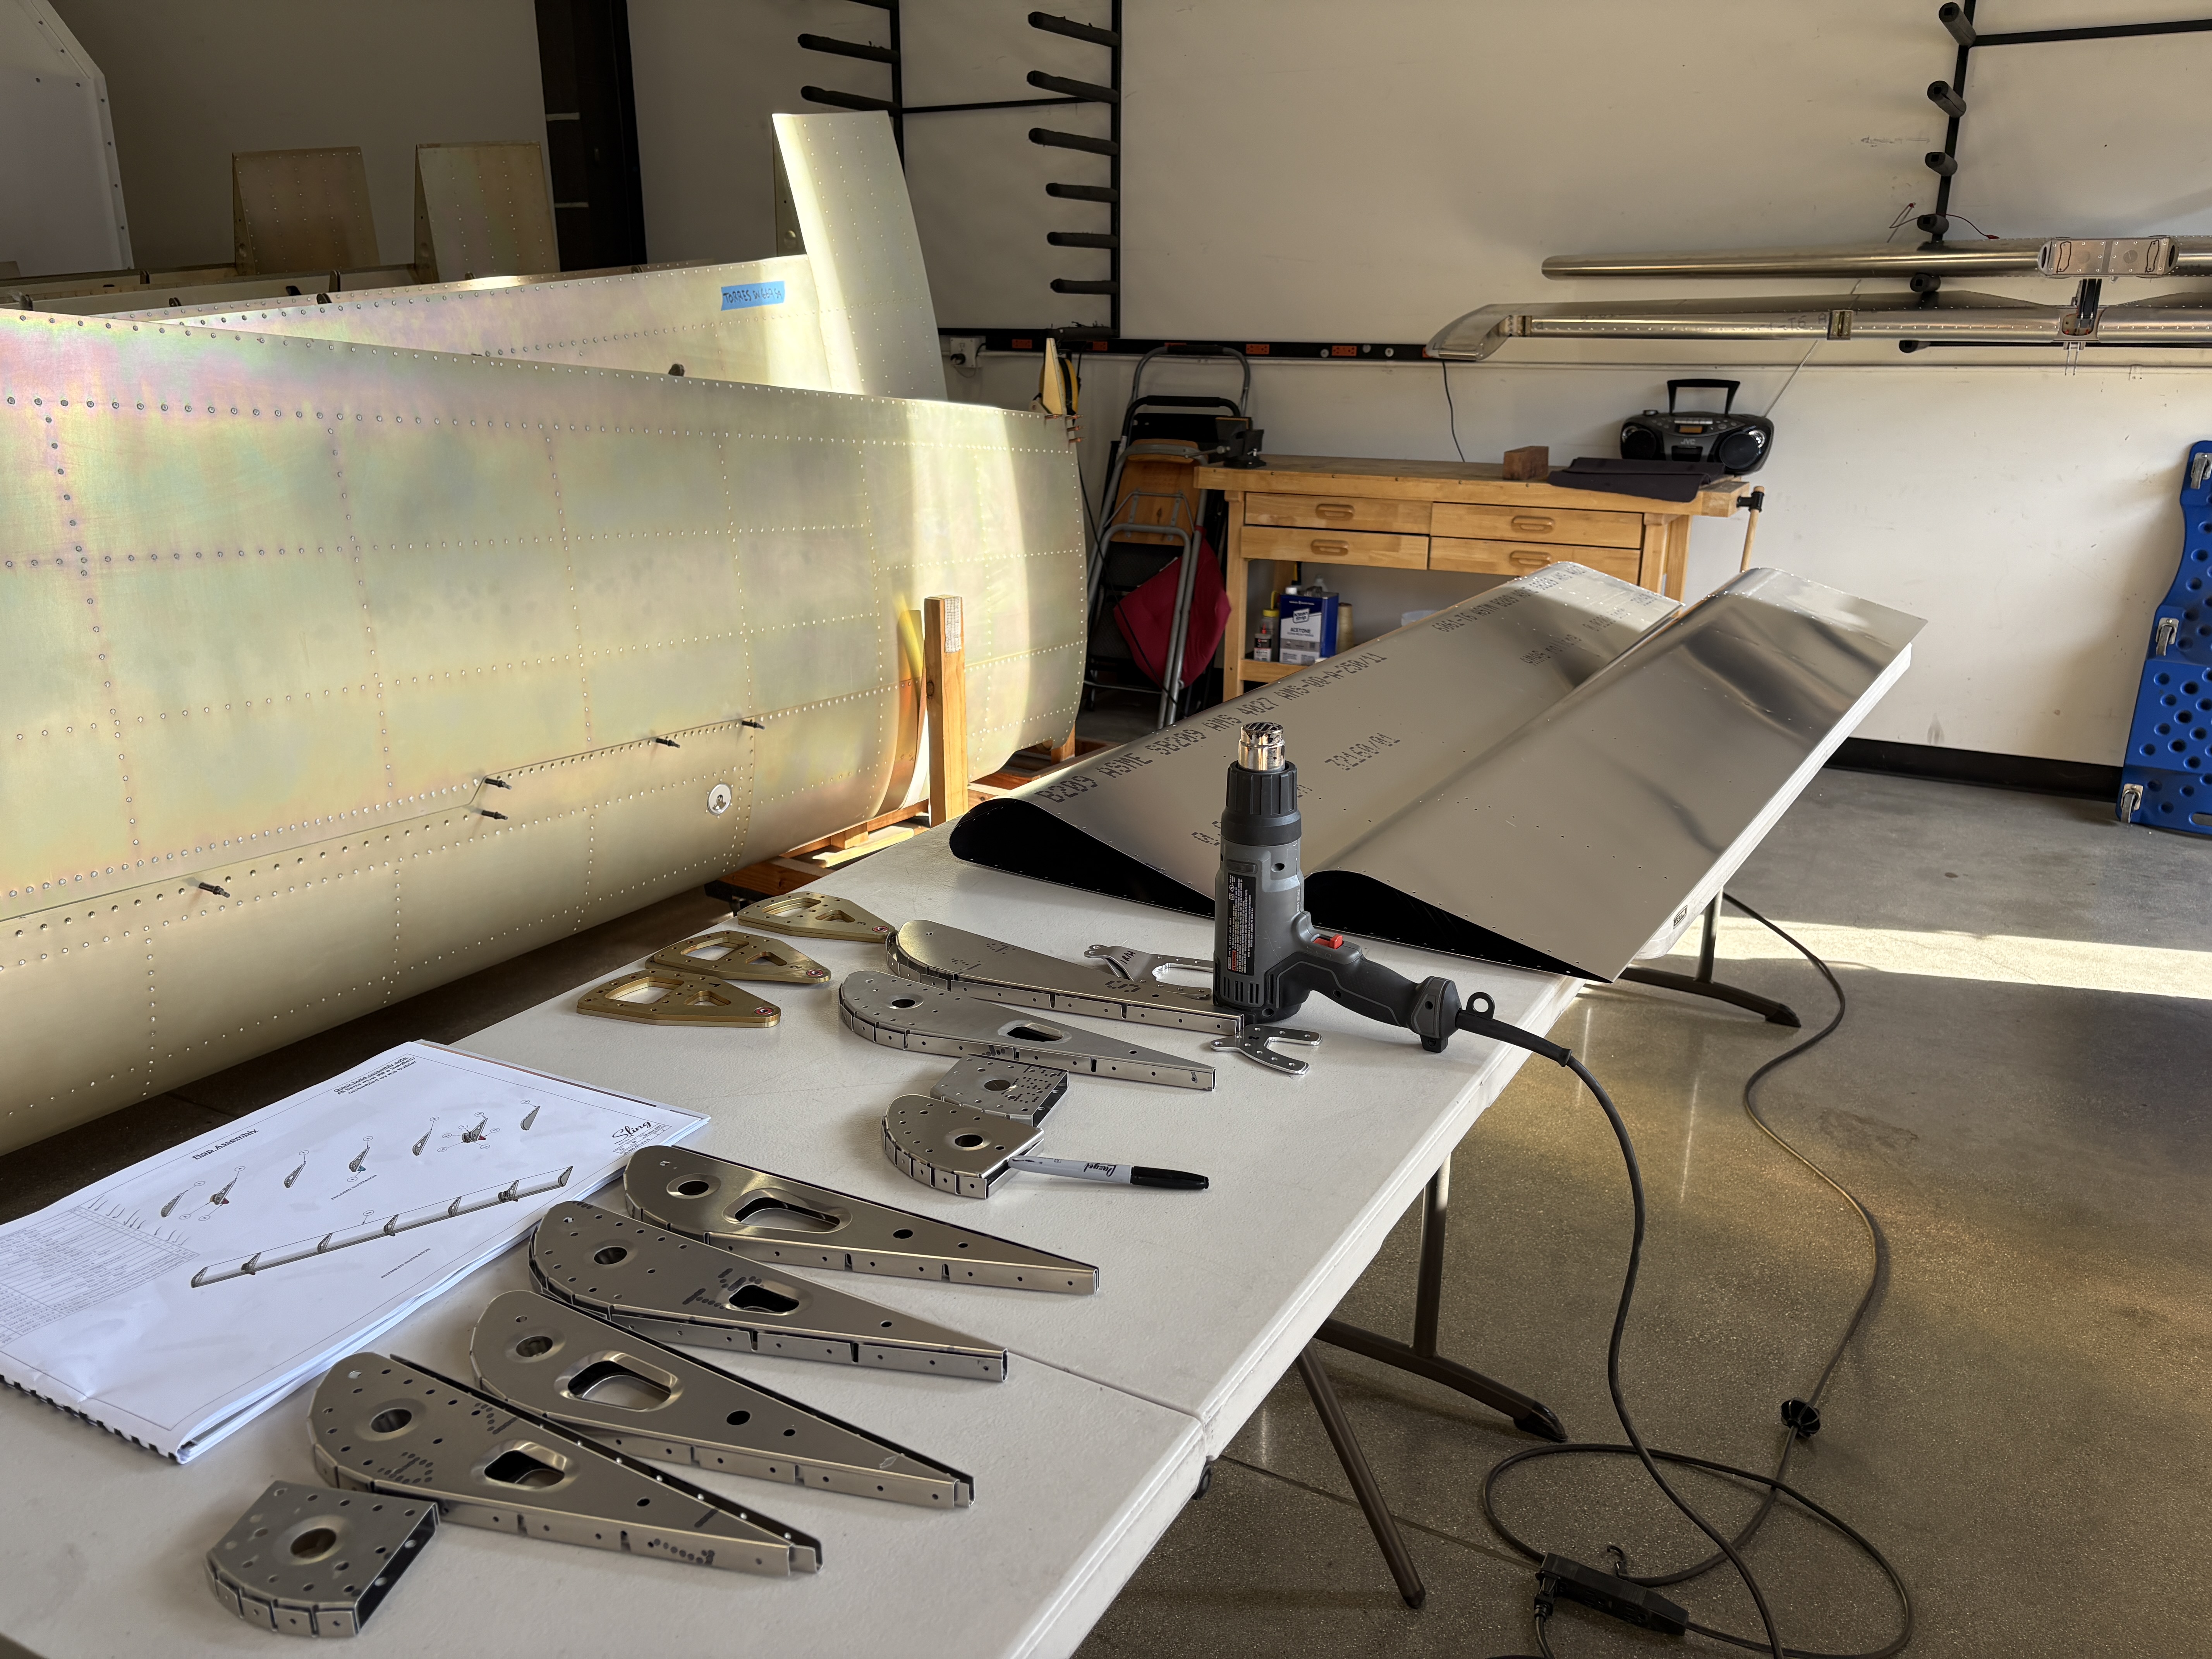
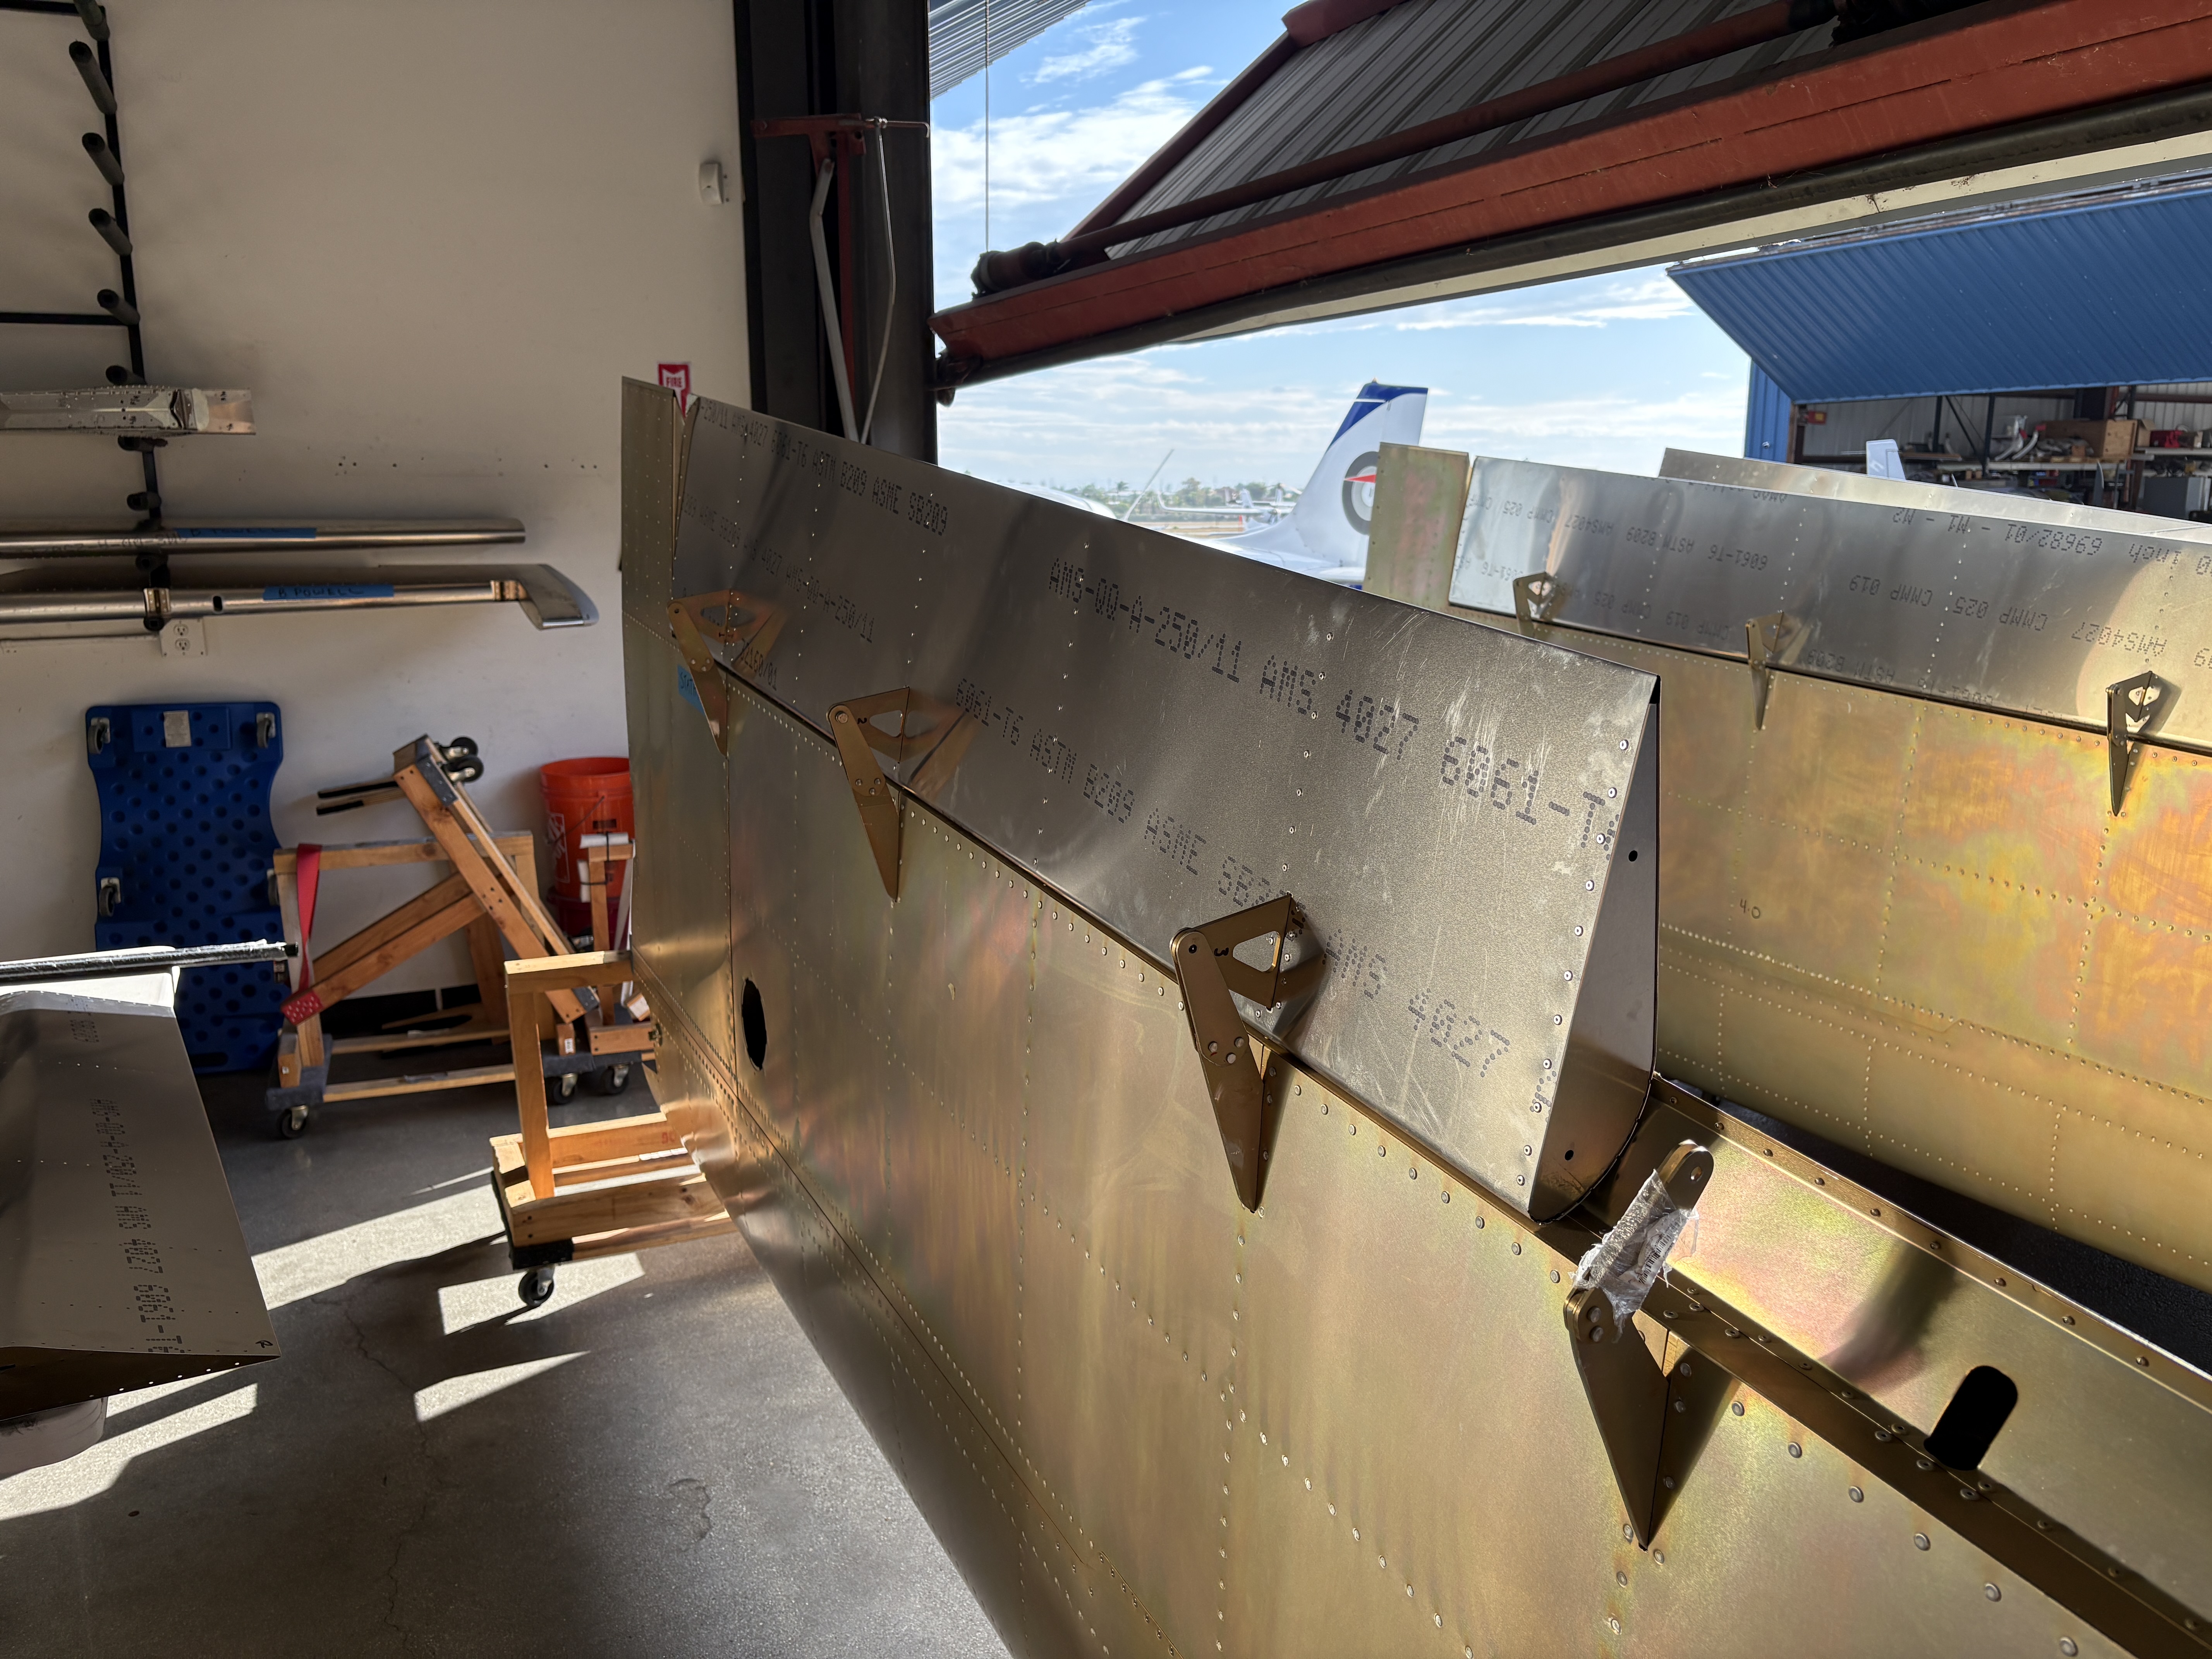
For the quick-build kit, Sling ships a lot of the wing structure already completed. The spars and skins arrive looking suspiciously like “actual wings” (a huge morale boost).
But there’s still plenty for a builder to do before those beauties are airworthy, including:
- Pressure-testing the fuel tanks and permanently mounting them to the wing (they start life cleco-ed in place).
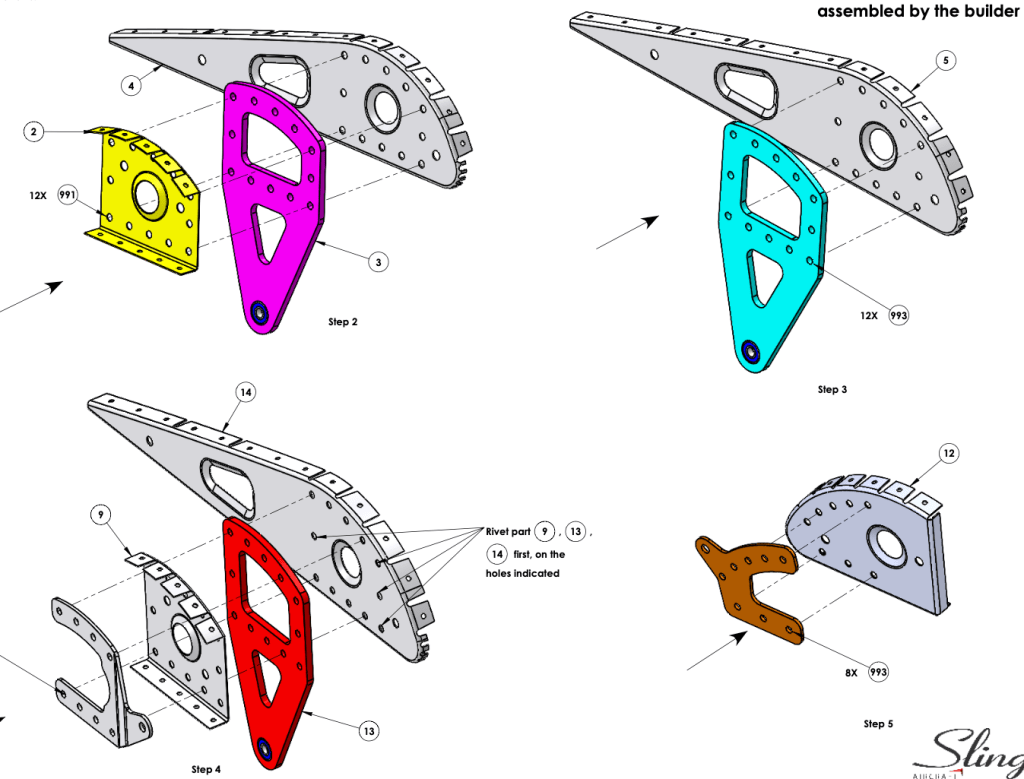
- Building the ailerons from a flat kit and attaching them.
- Doing the same with the flaps.
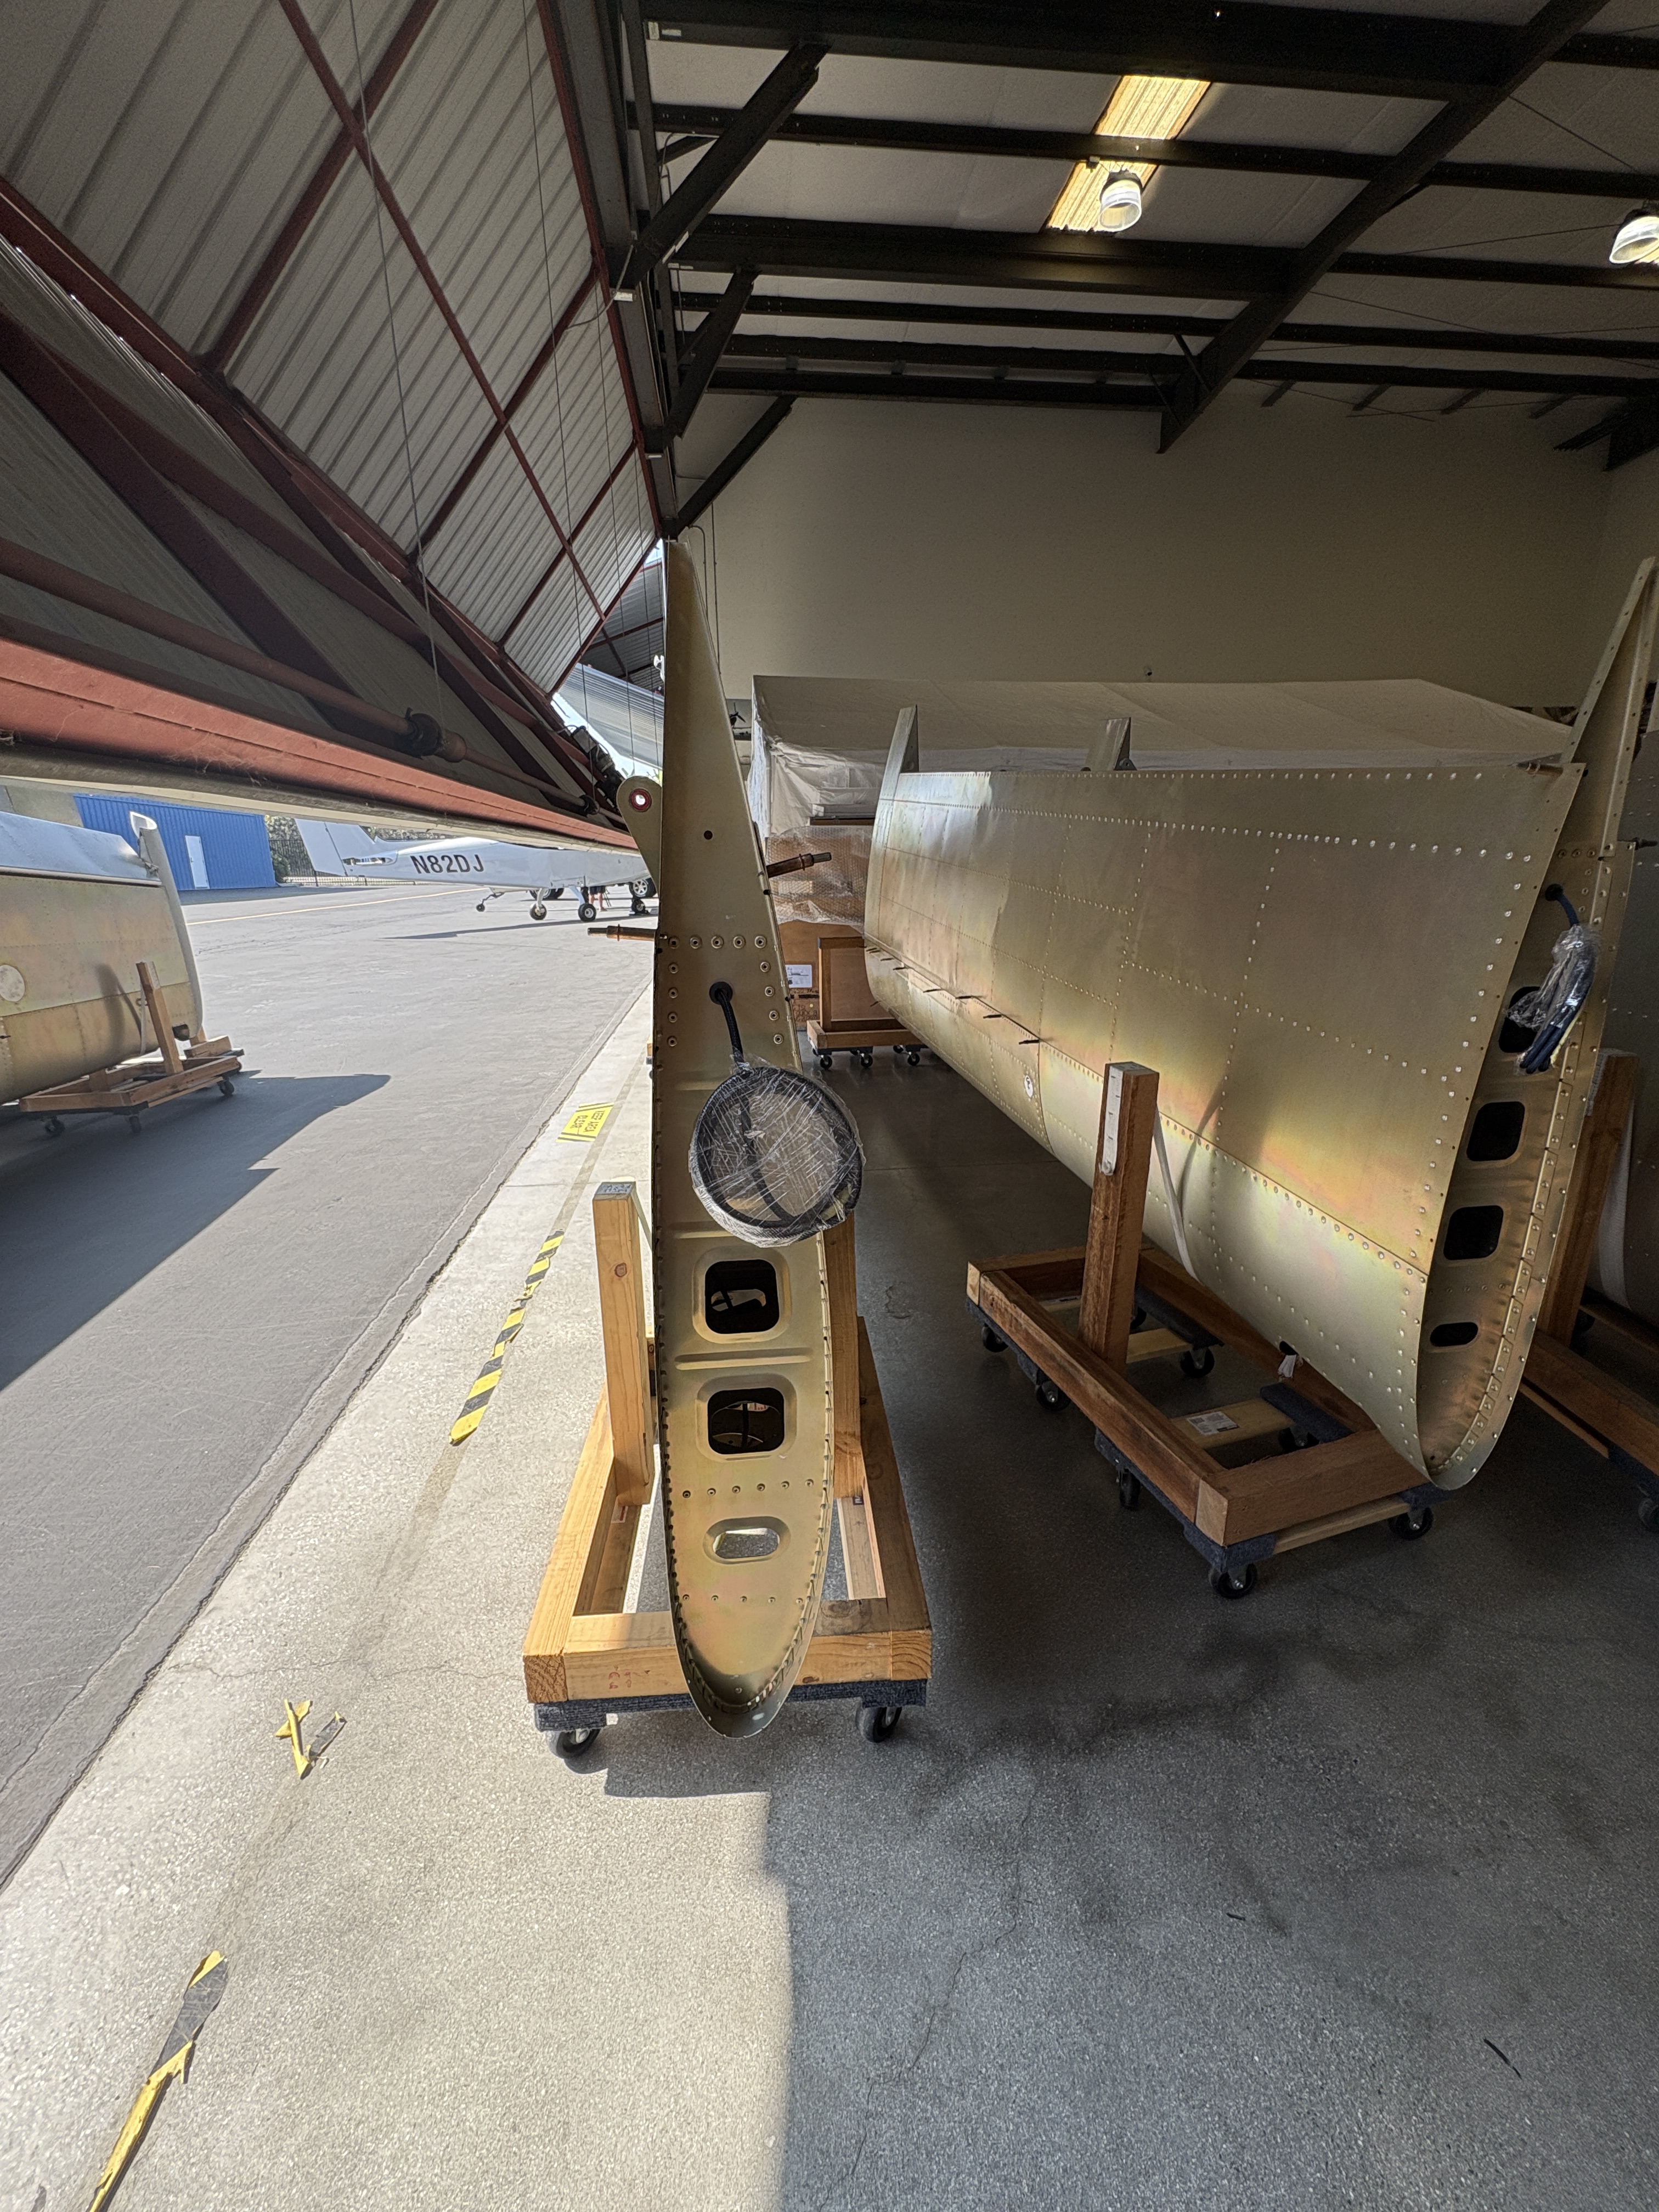
- Adding the composite winglets.
- Installing inspection hatches and light covers.
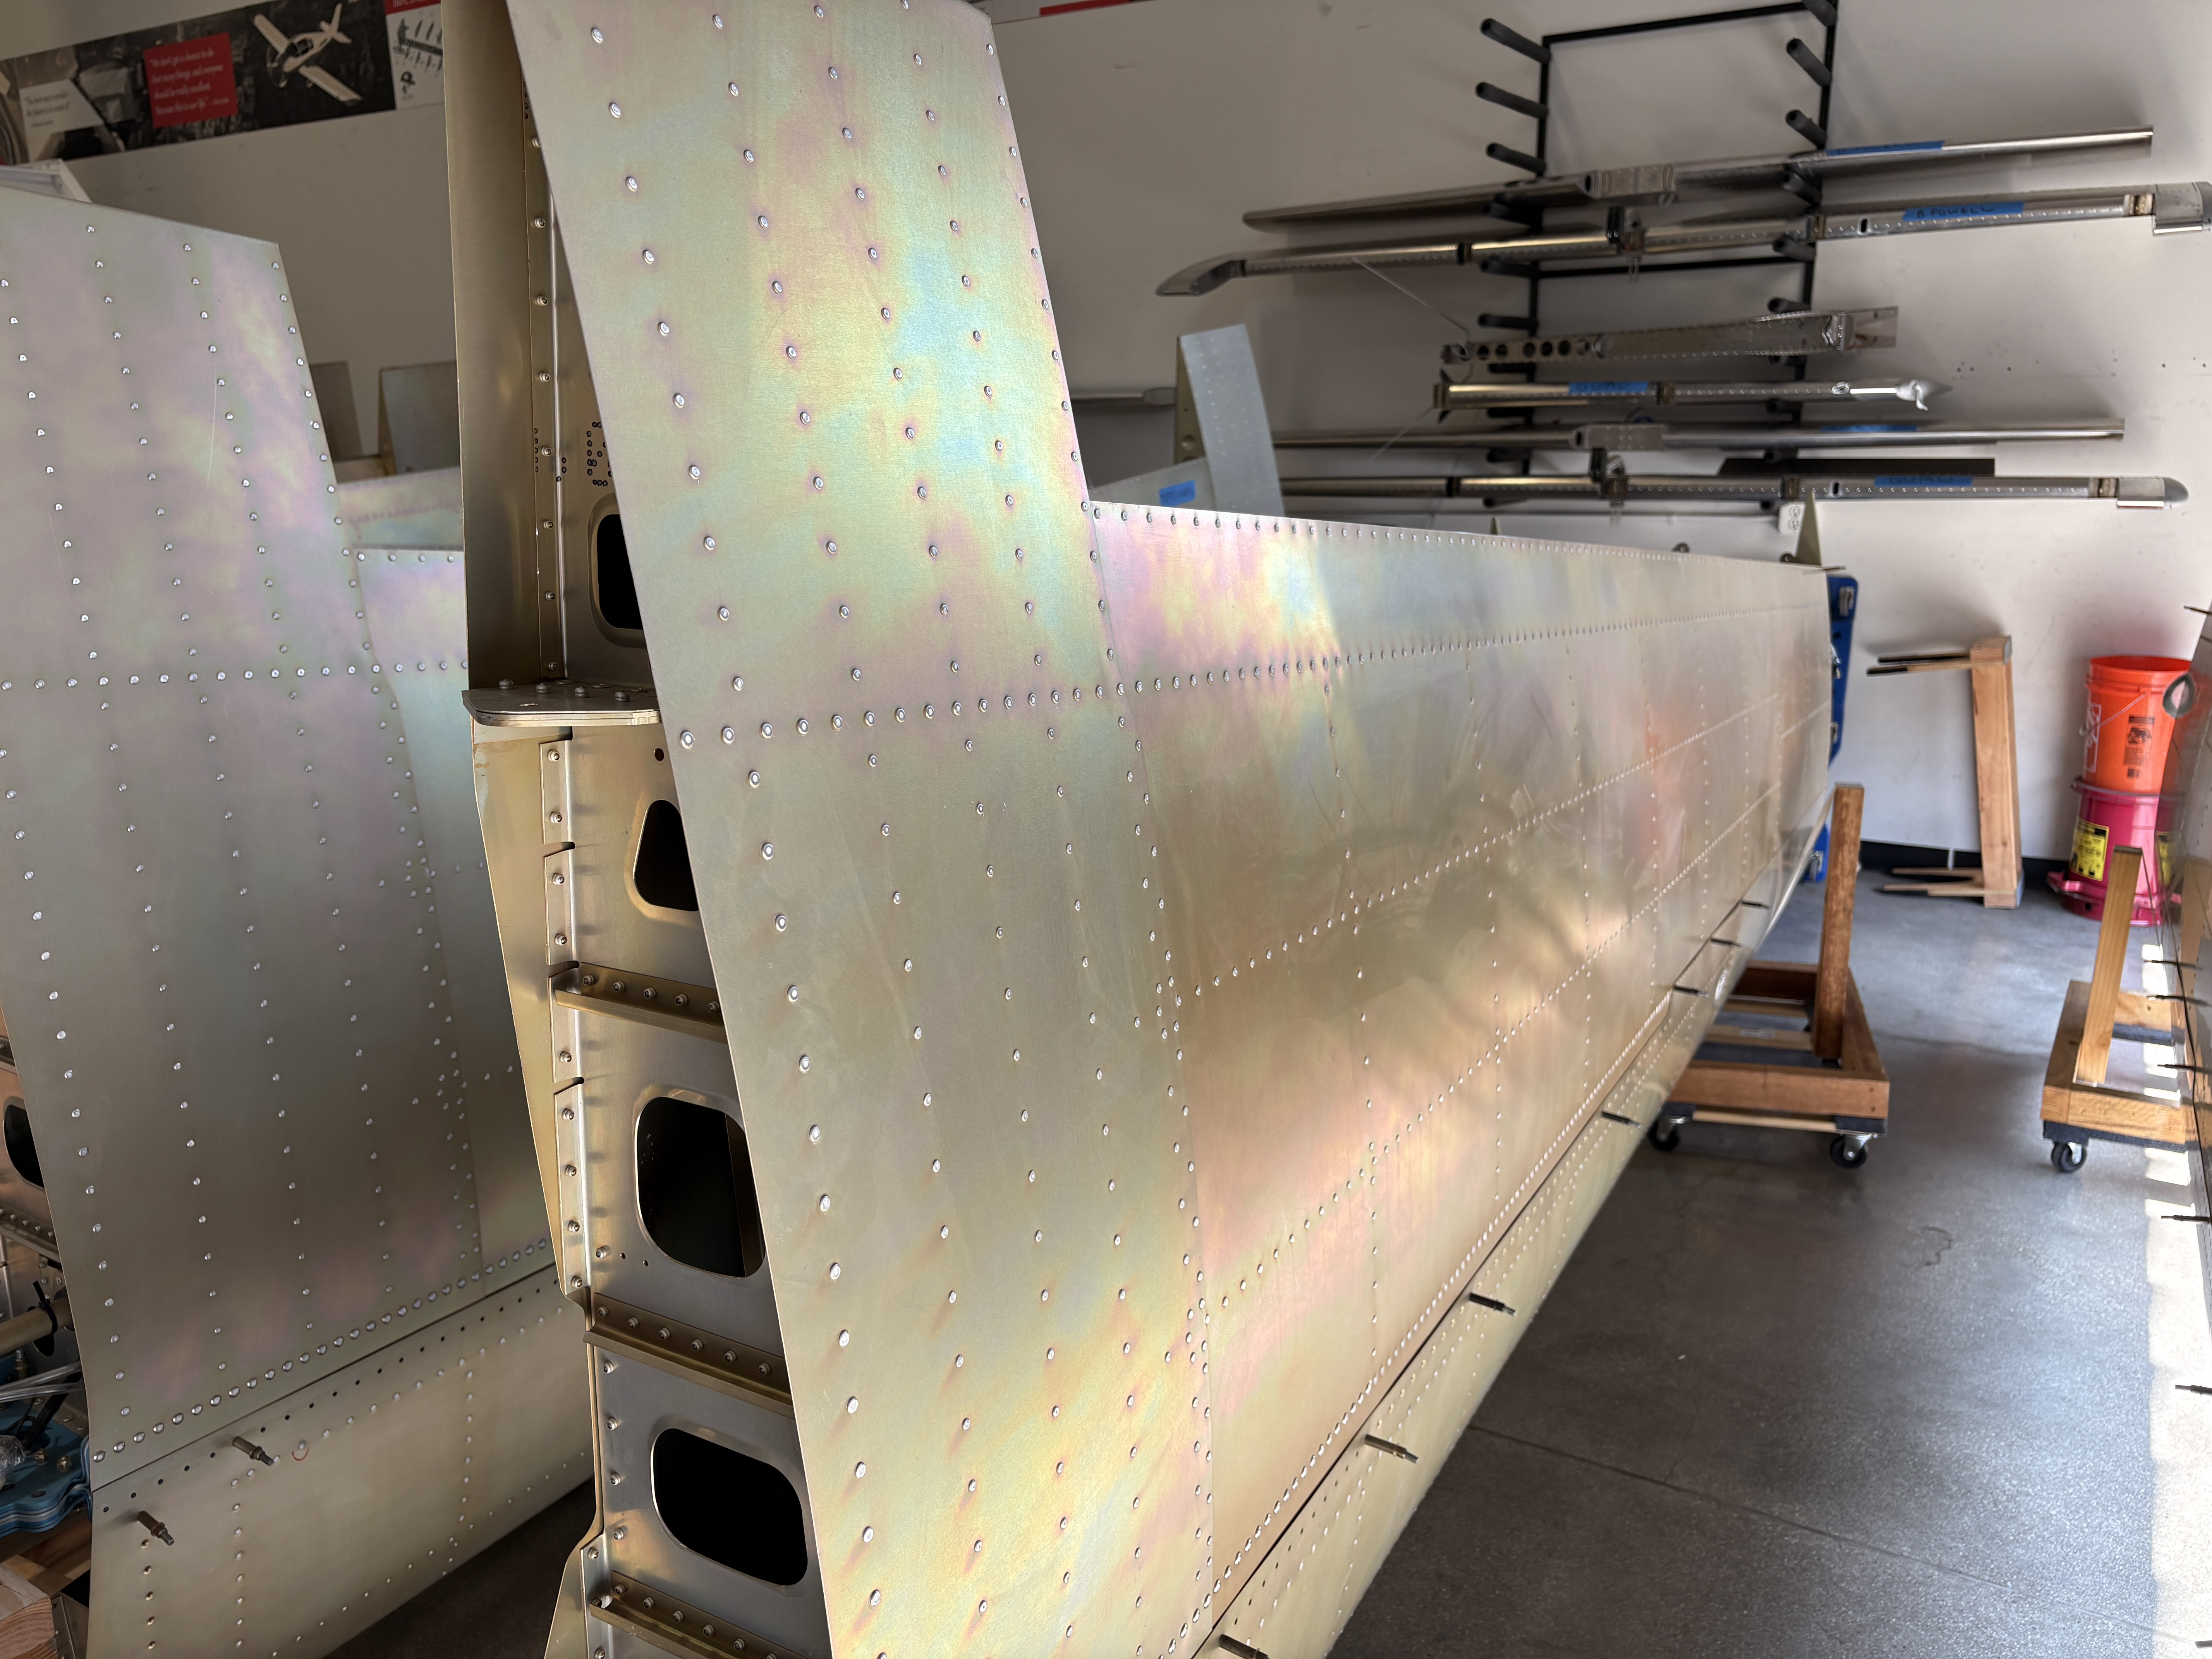
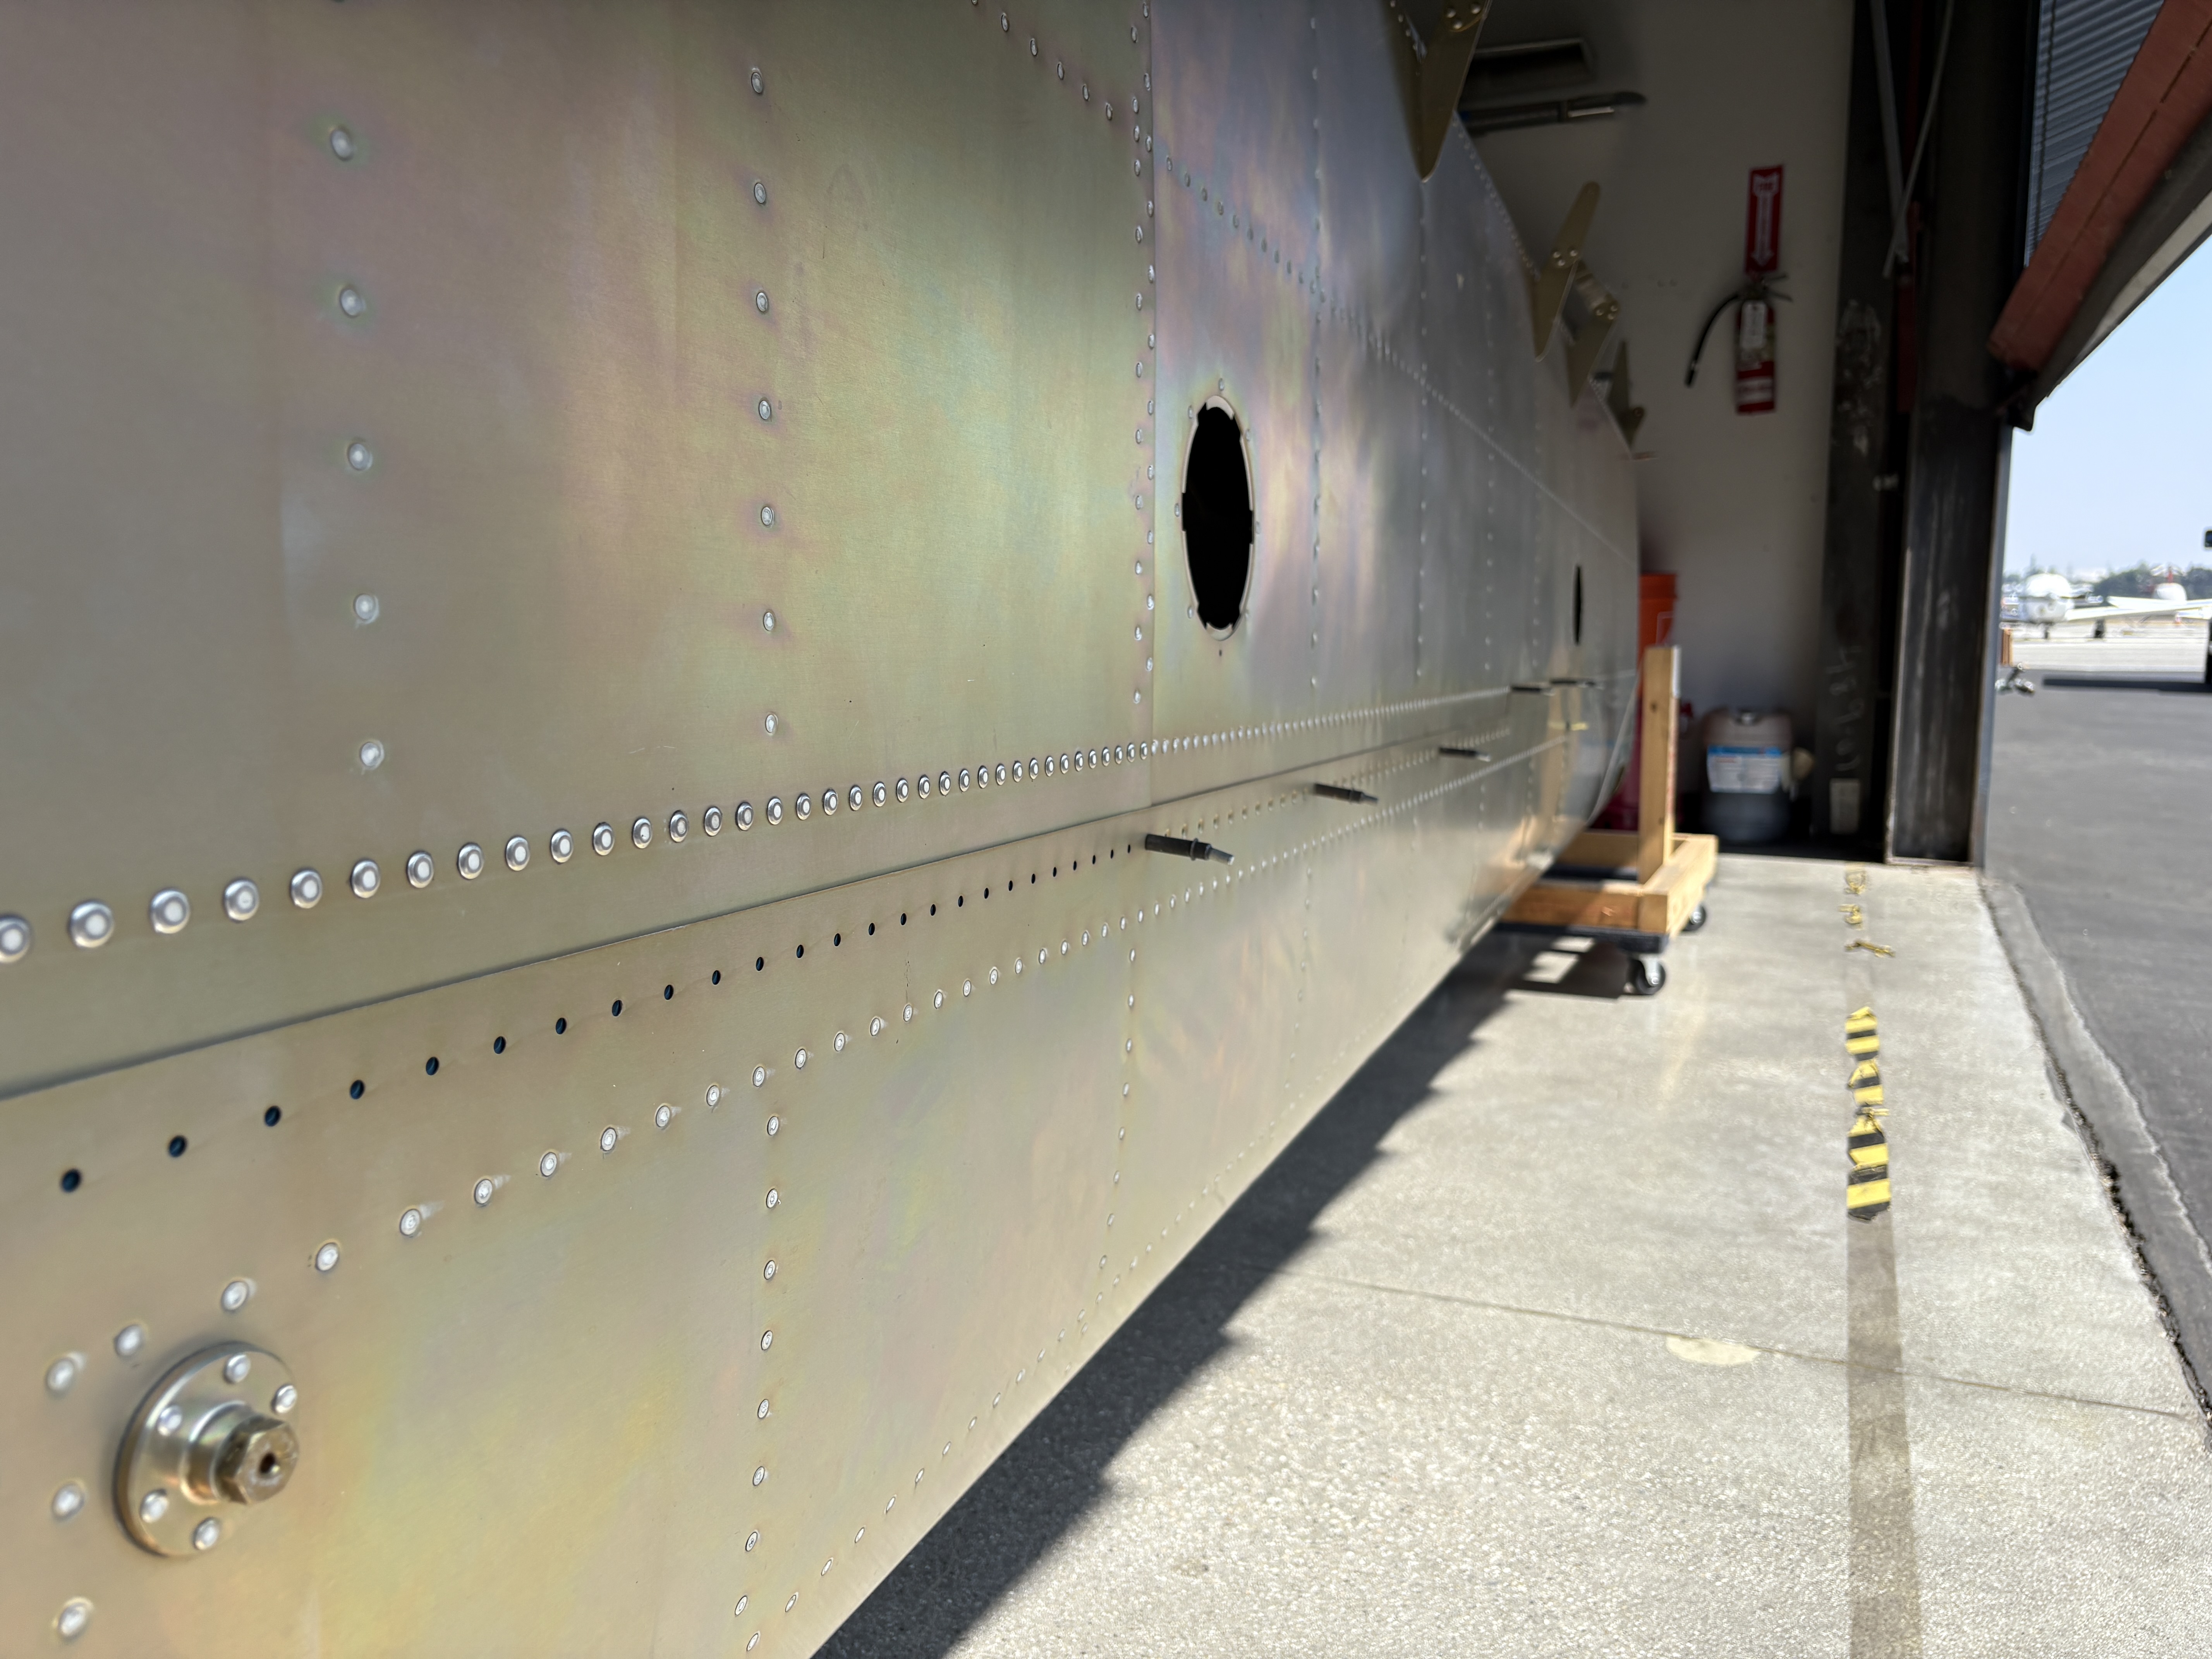
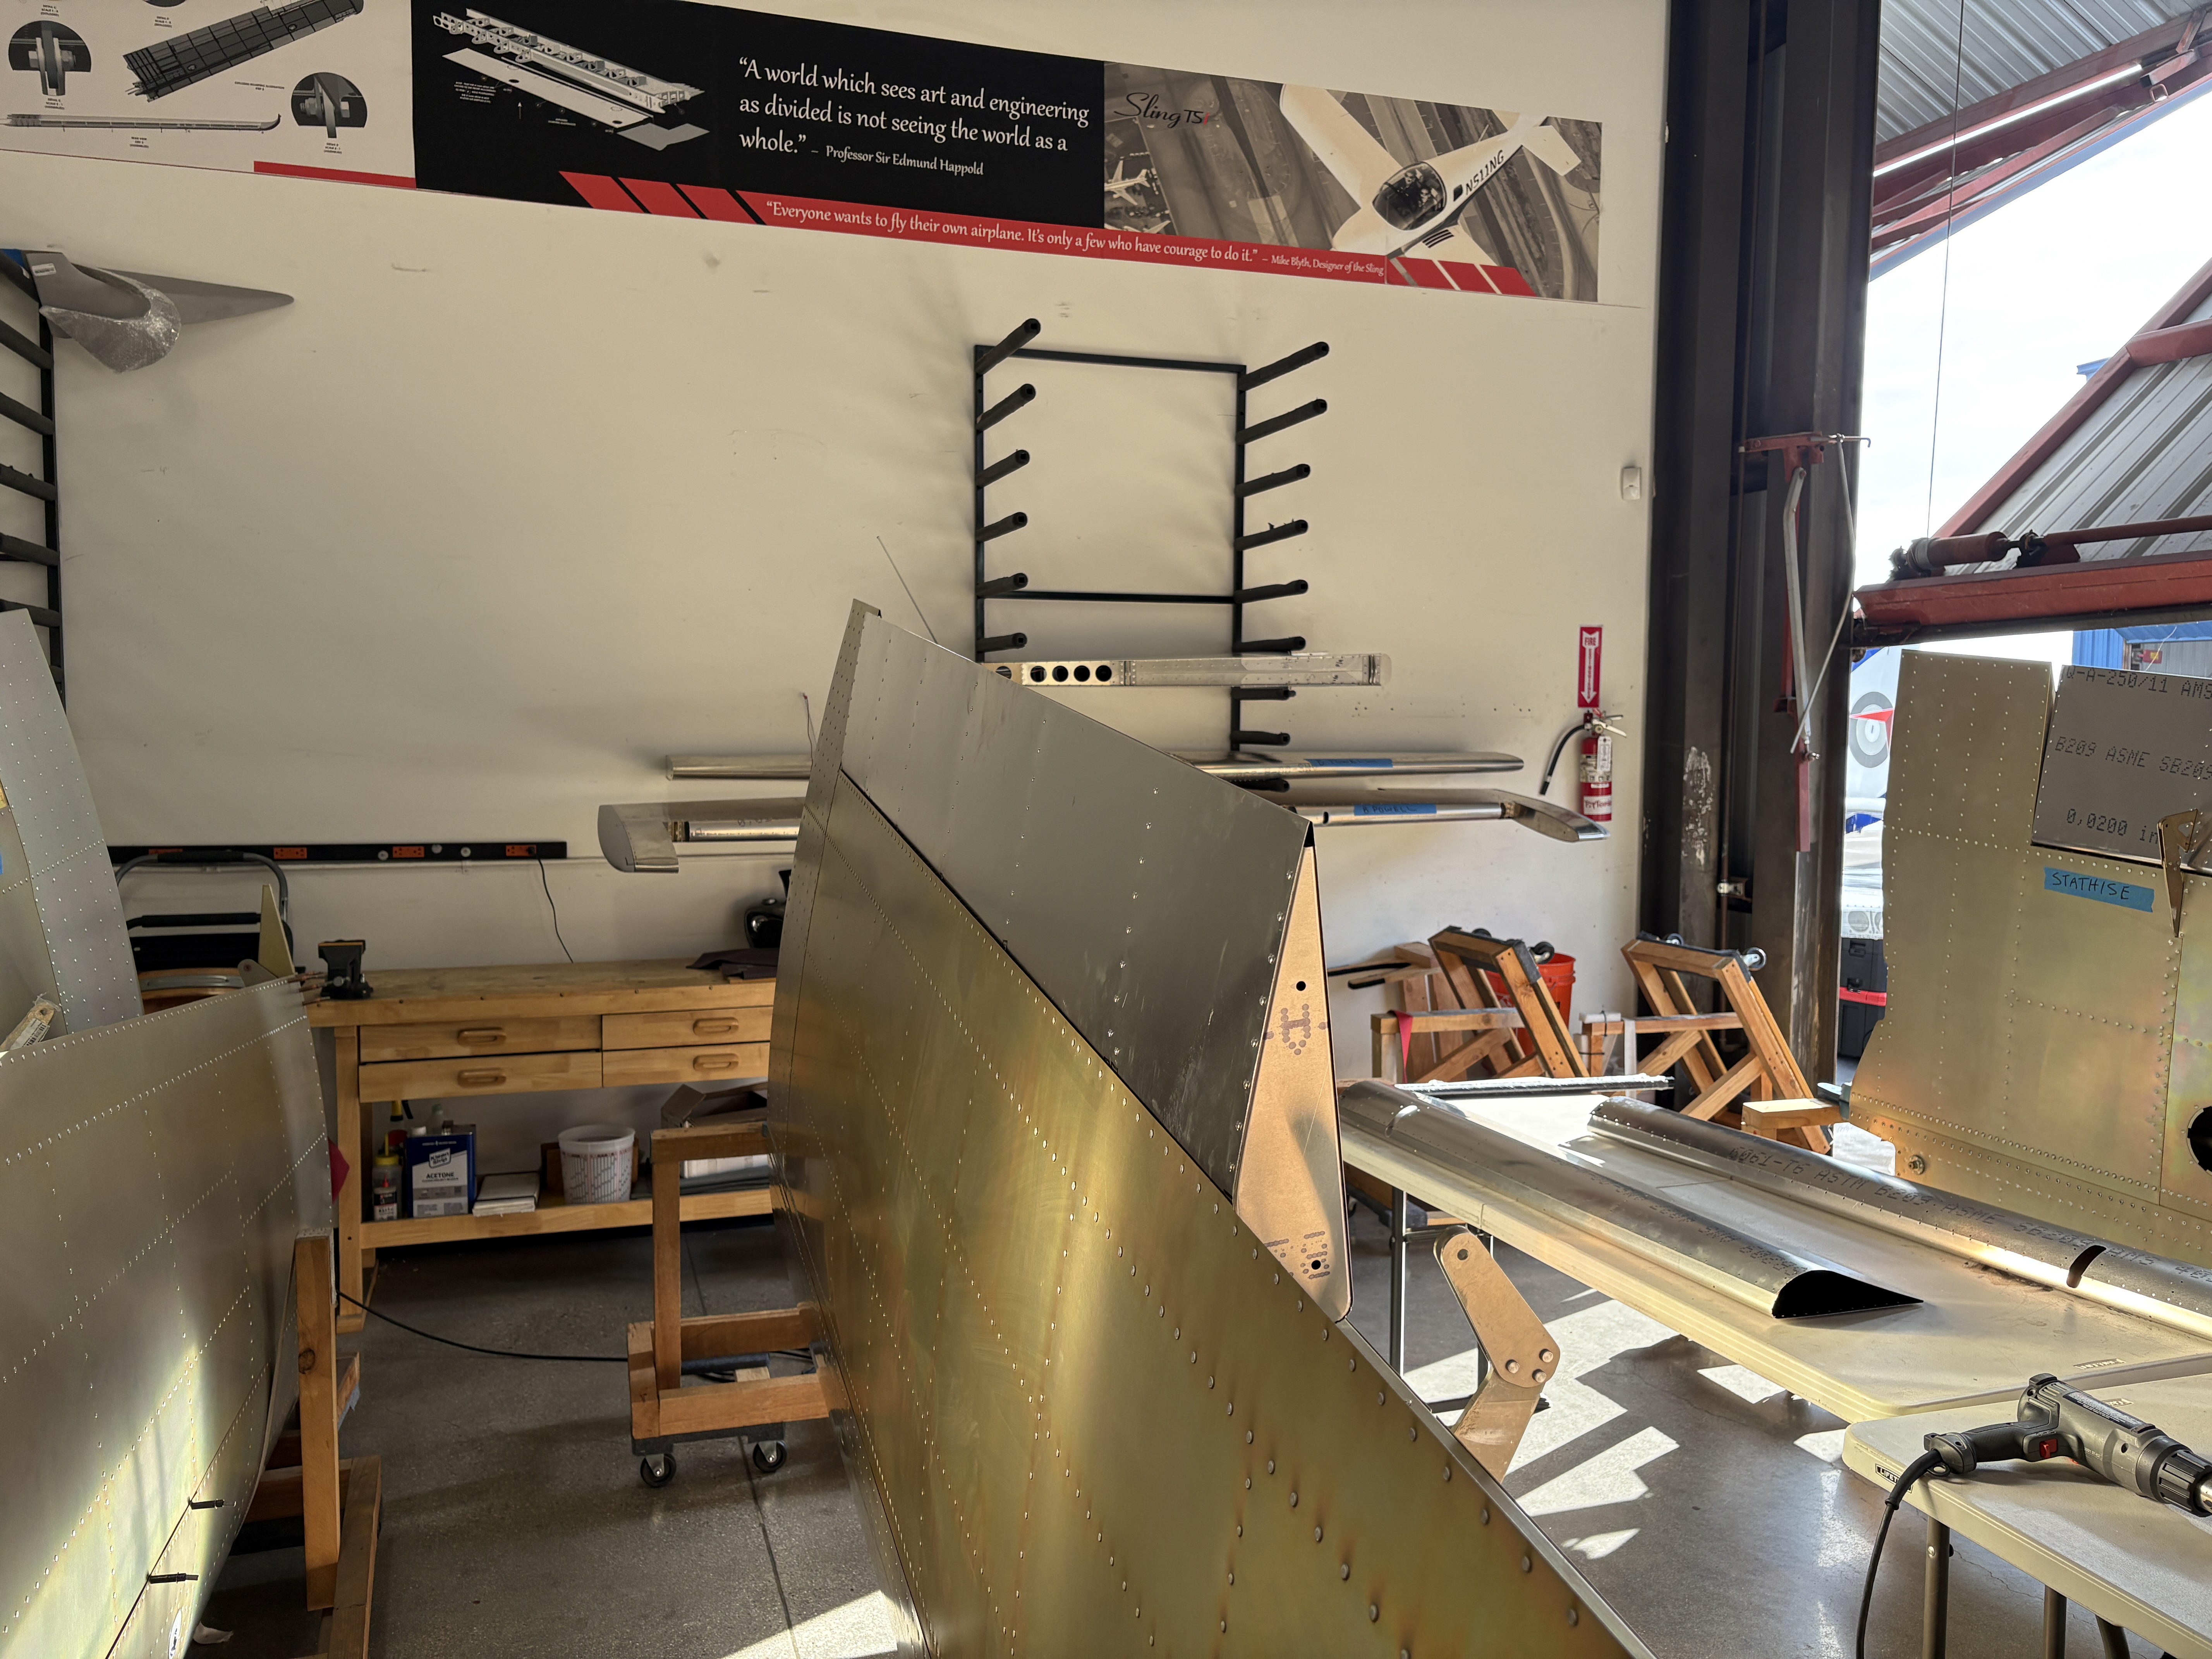
Unlike earlier visits that were a mix of systems, plumbing, and cockpit detail, this session was pure sheet metal: dimpling, drilling, deburring, riveting, and assembling. It was the first time I felt like I was really building airplane parts instead of just helping the airplane drink through a maze of tubes.
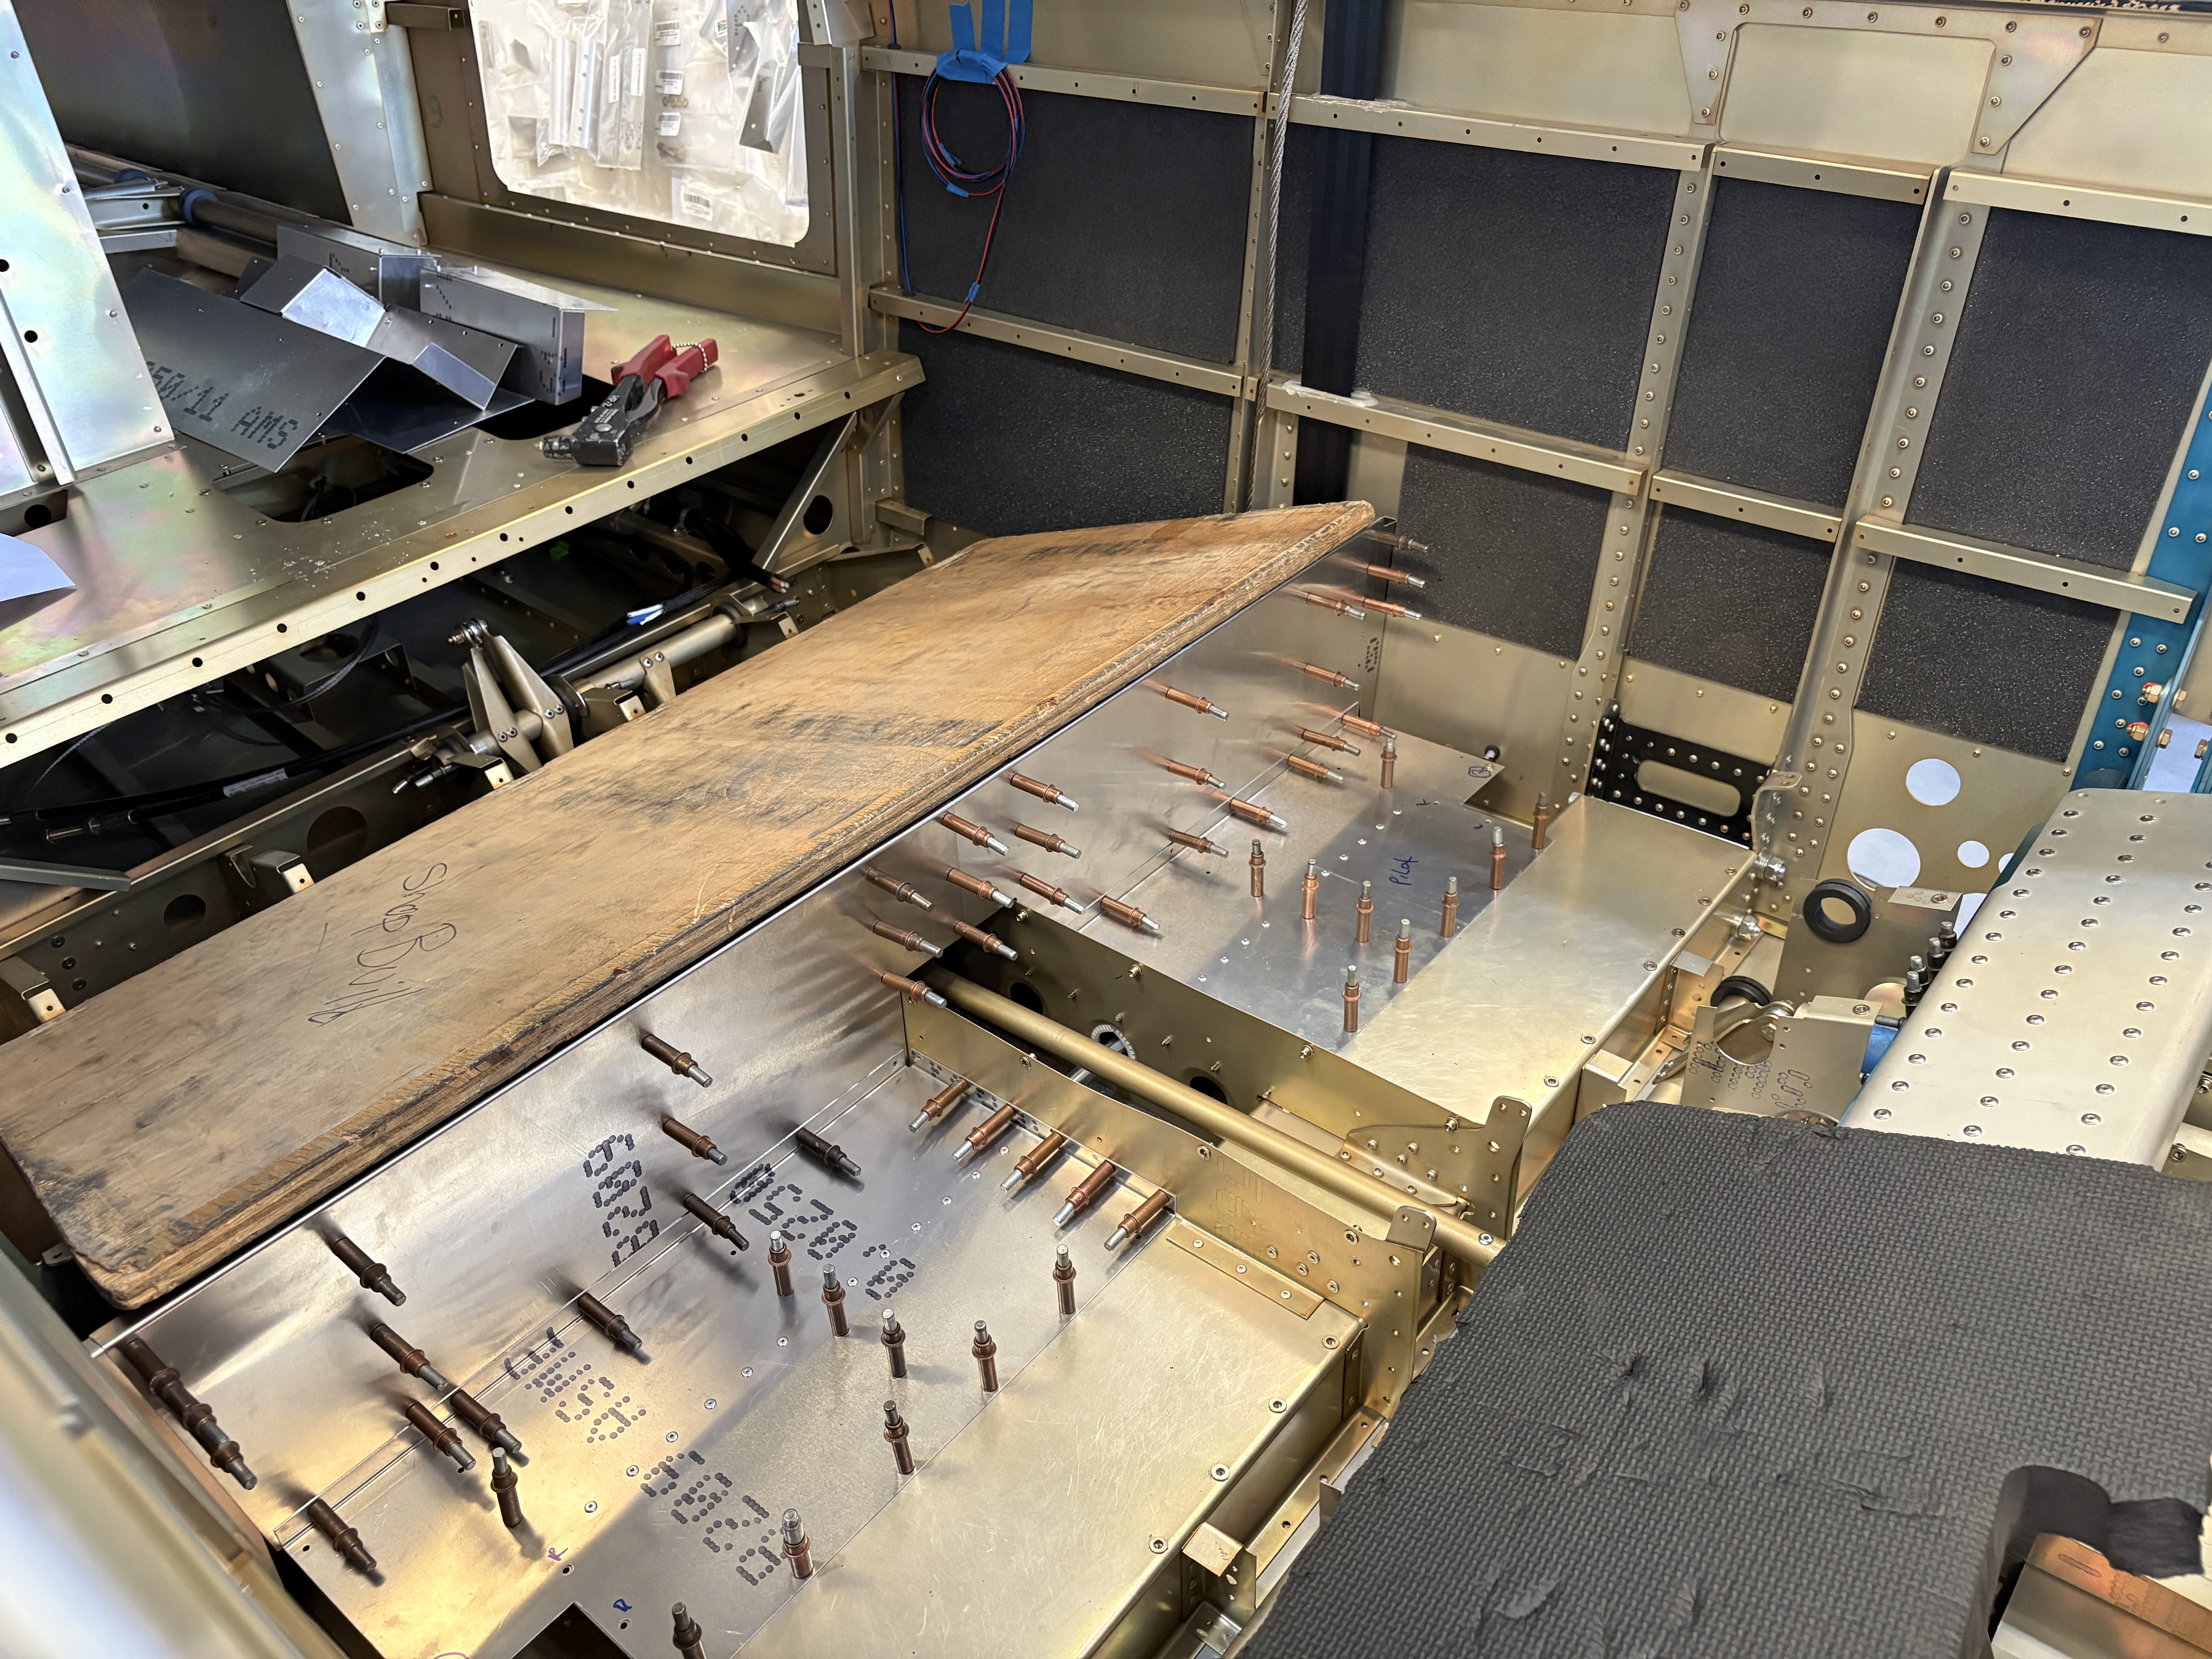
Fuel Tanks
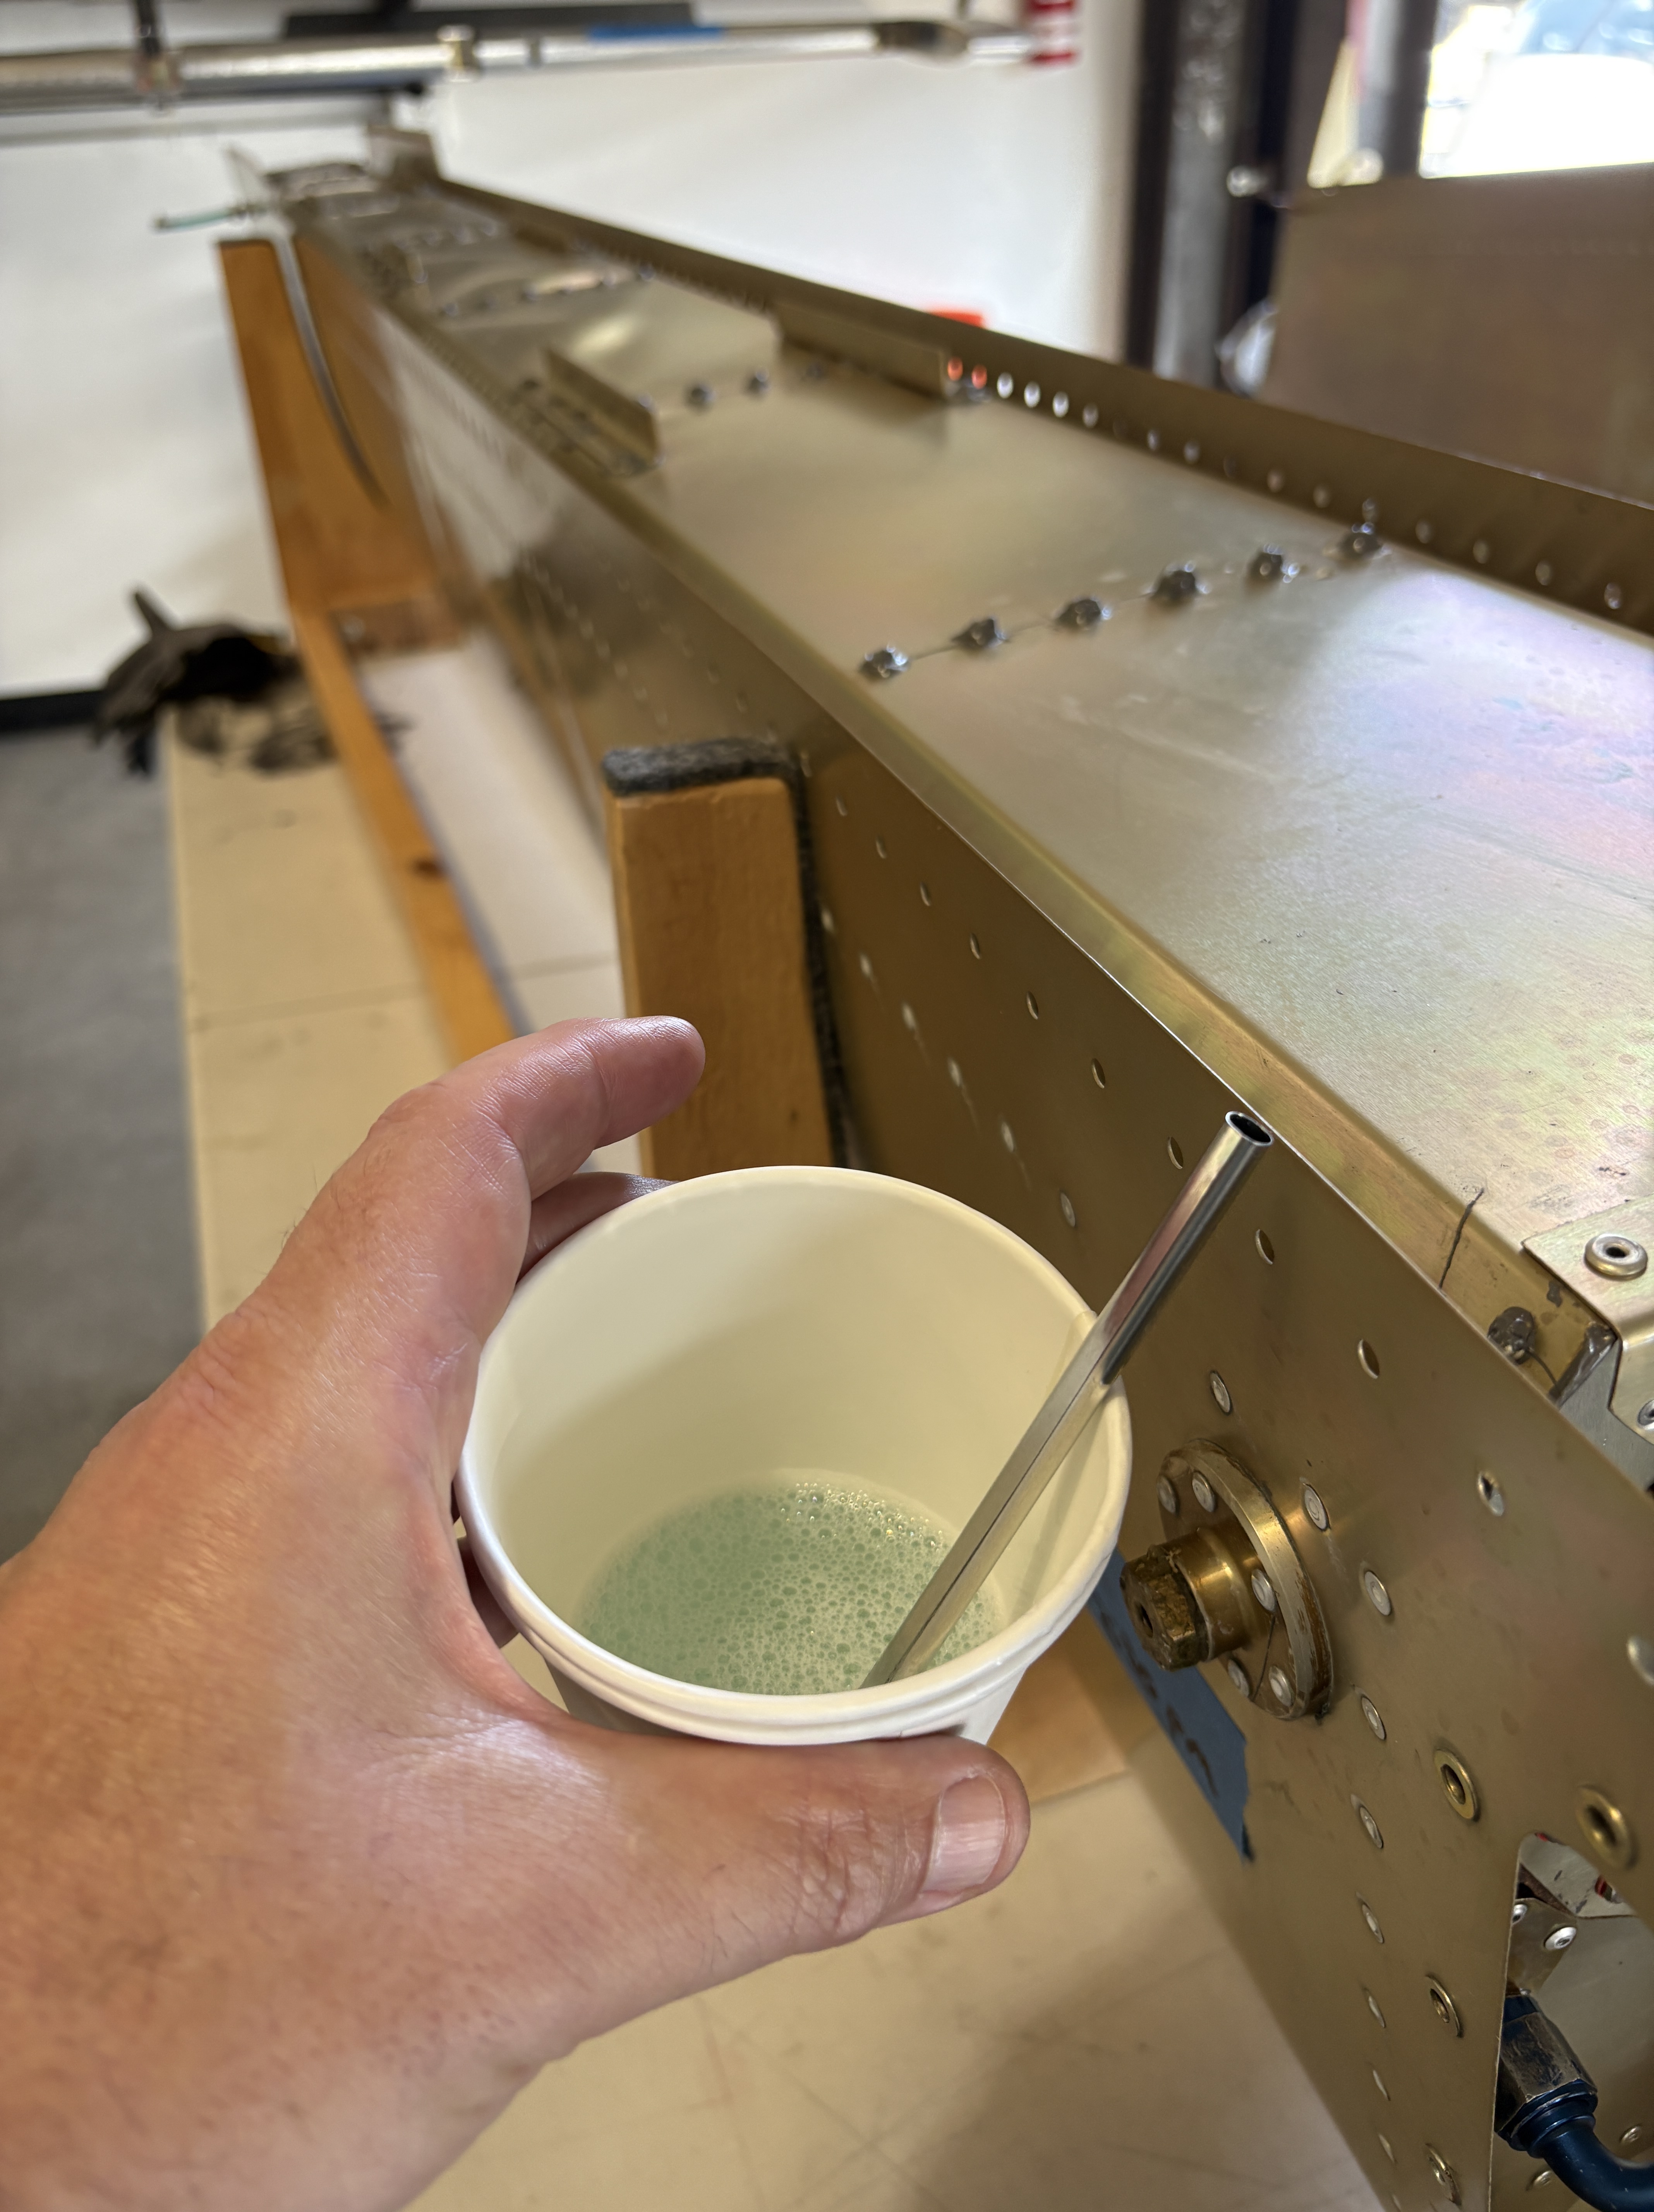
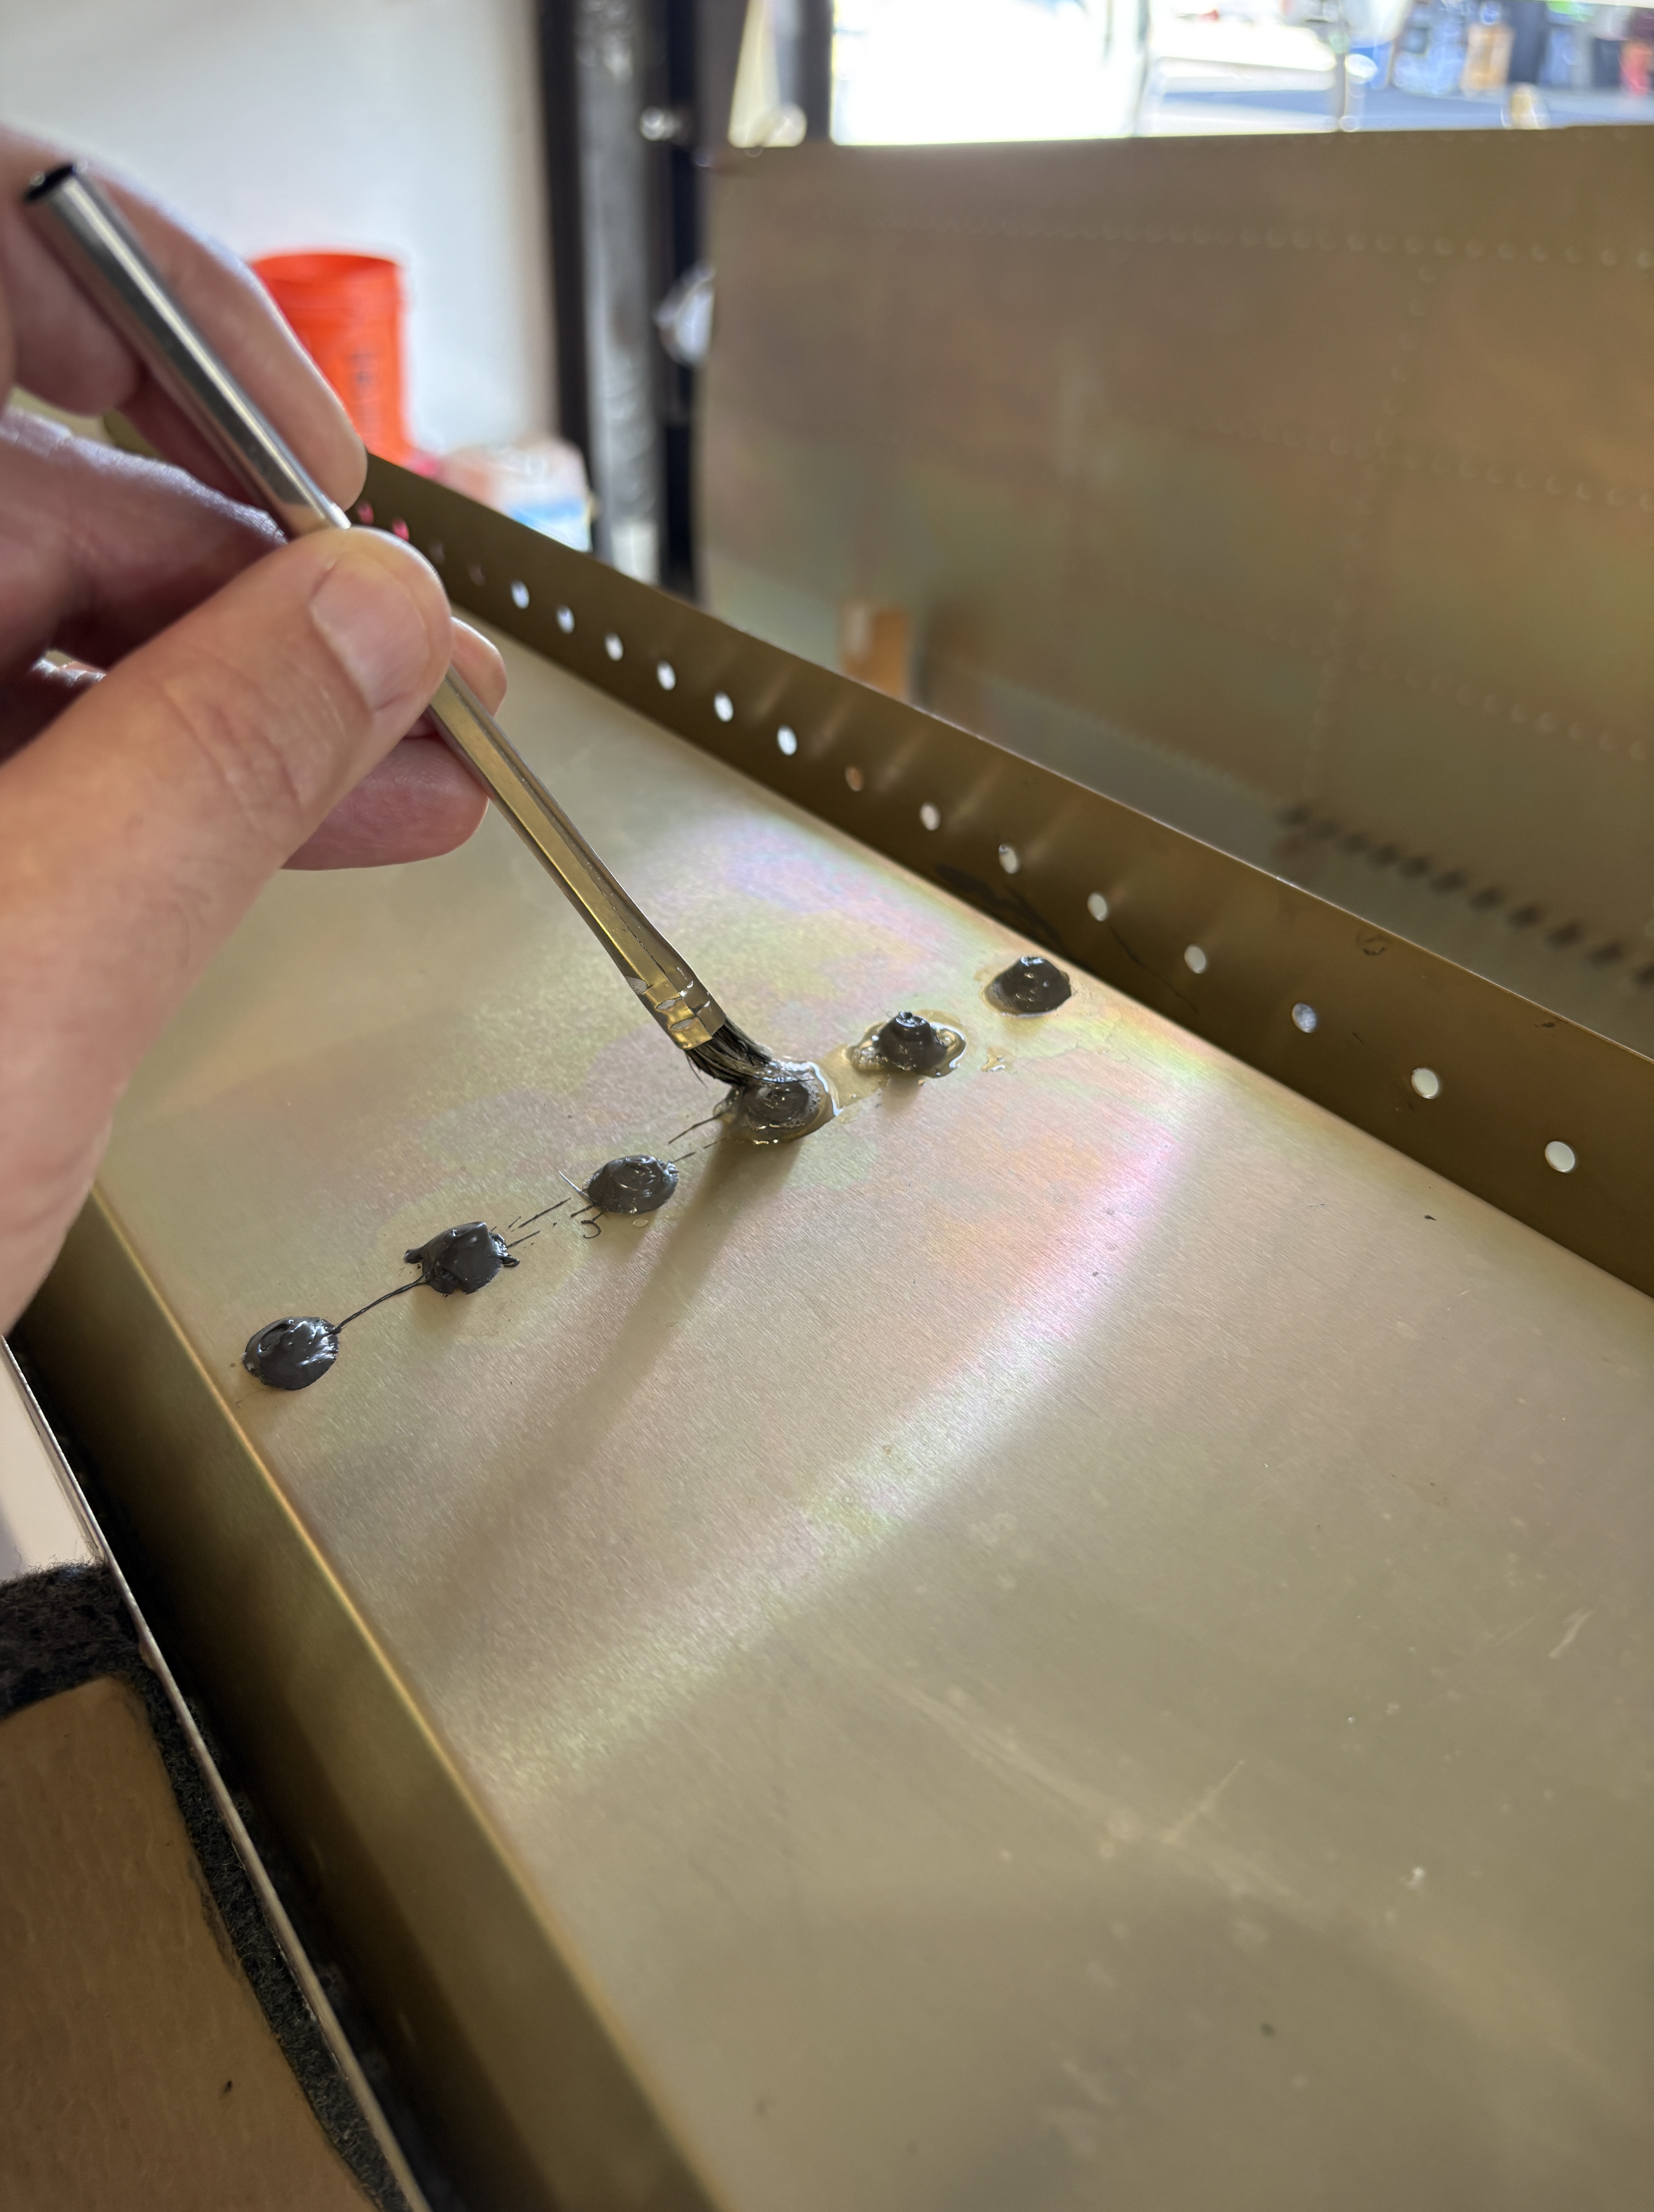
Step one: play detective. The goal was to make sure the tanks weren’t going to weep fuel at 8,500 feet. We pressurized each one to a whopping 1 PSI (yes, PSI… not much, but enough) and slathered rivets and seams with bubble water. If any spot fizzed like champagne, that was trouble. Thankfully, the tanks held pressure, no bubbles in sight.
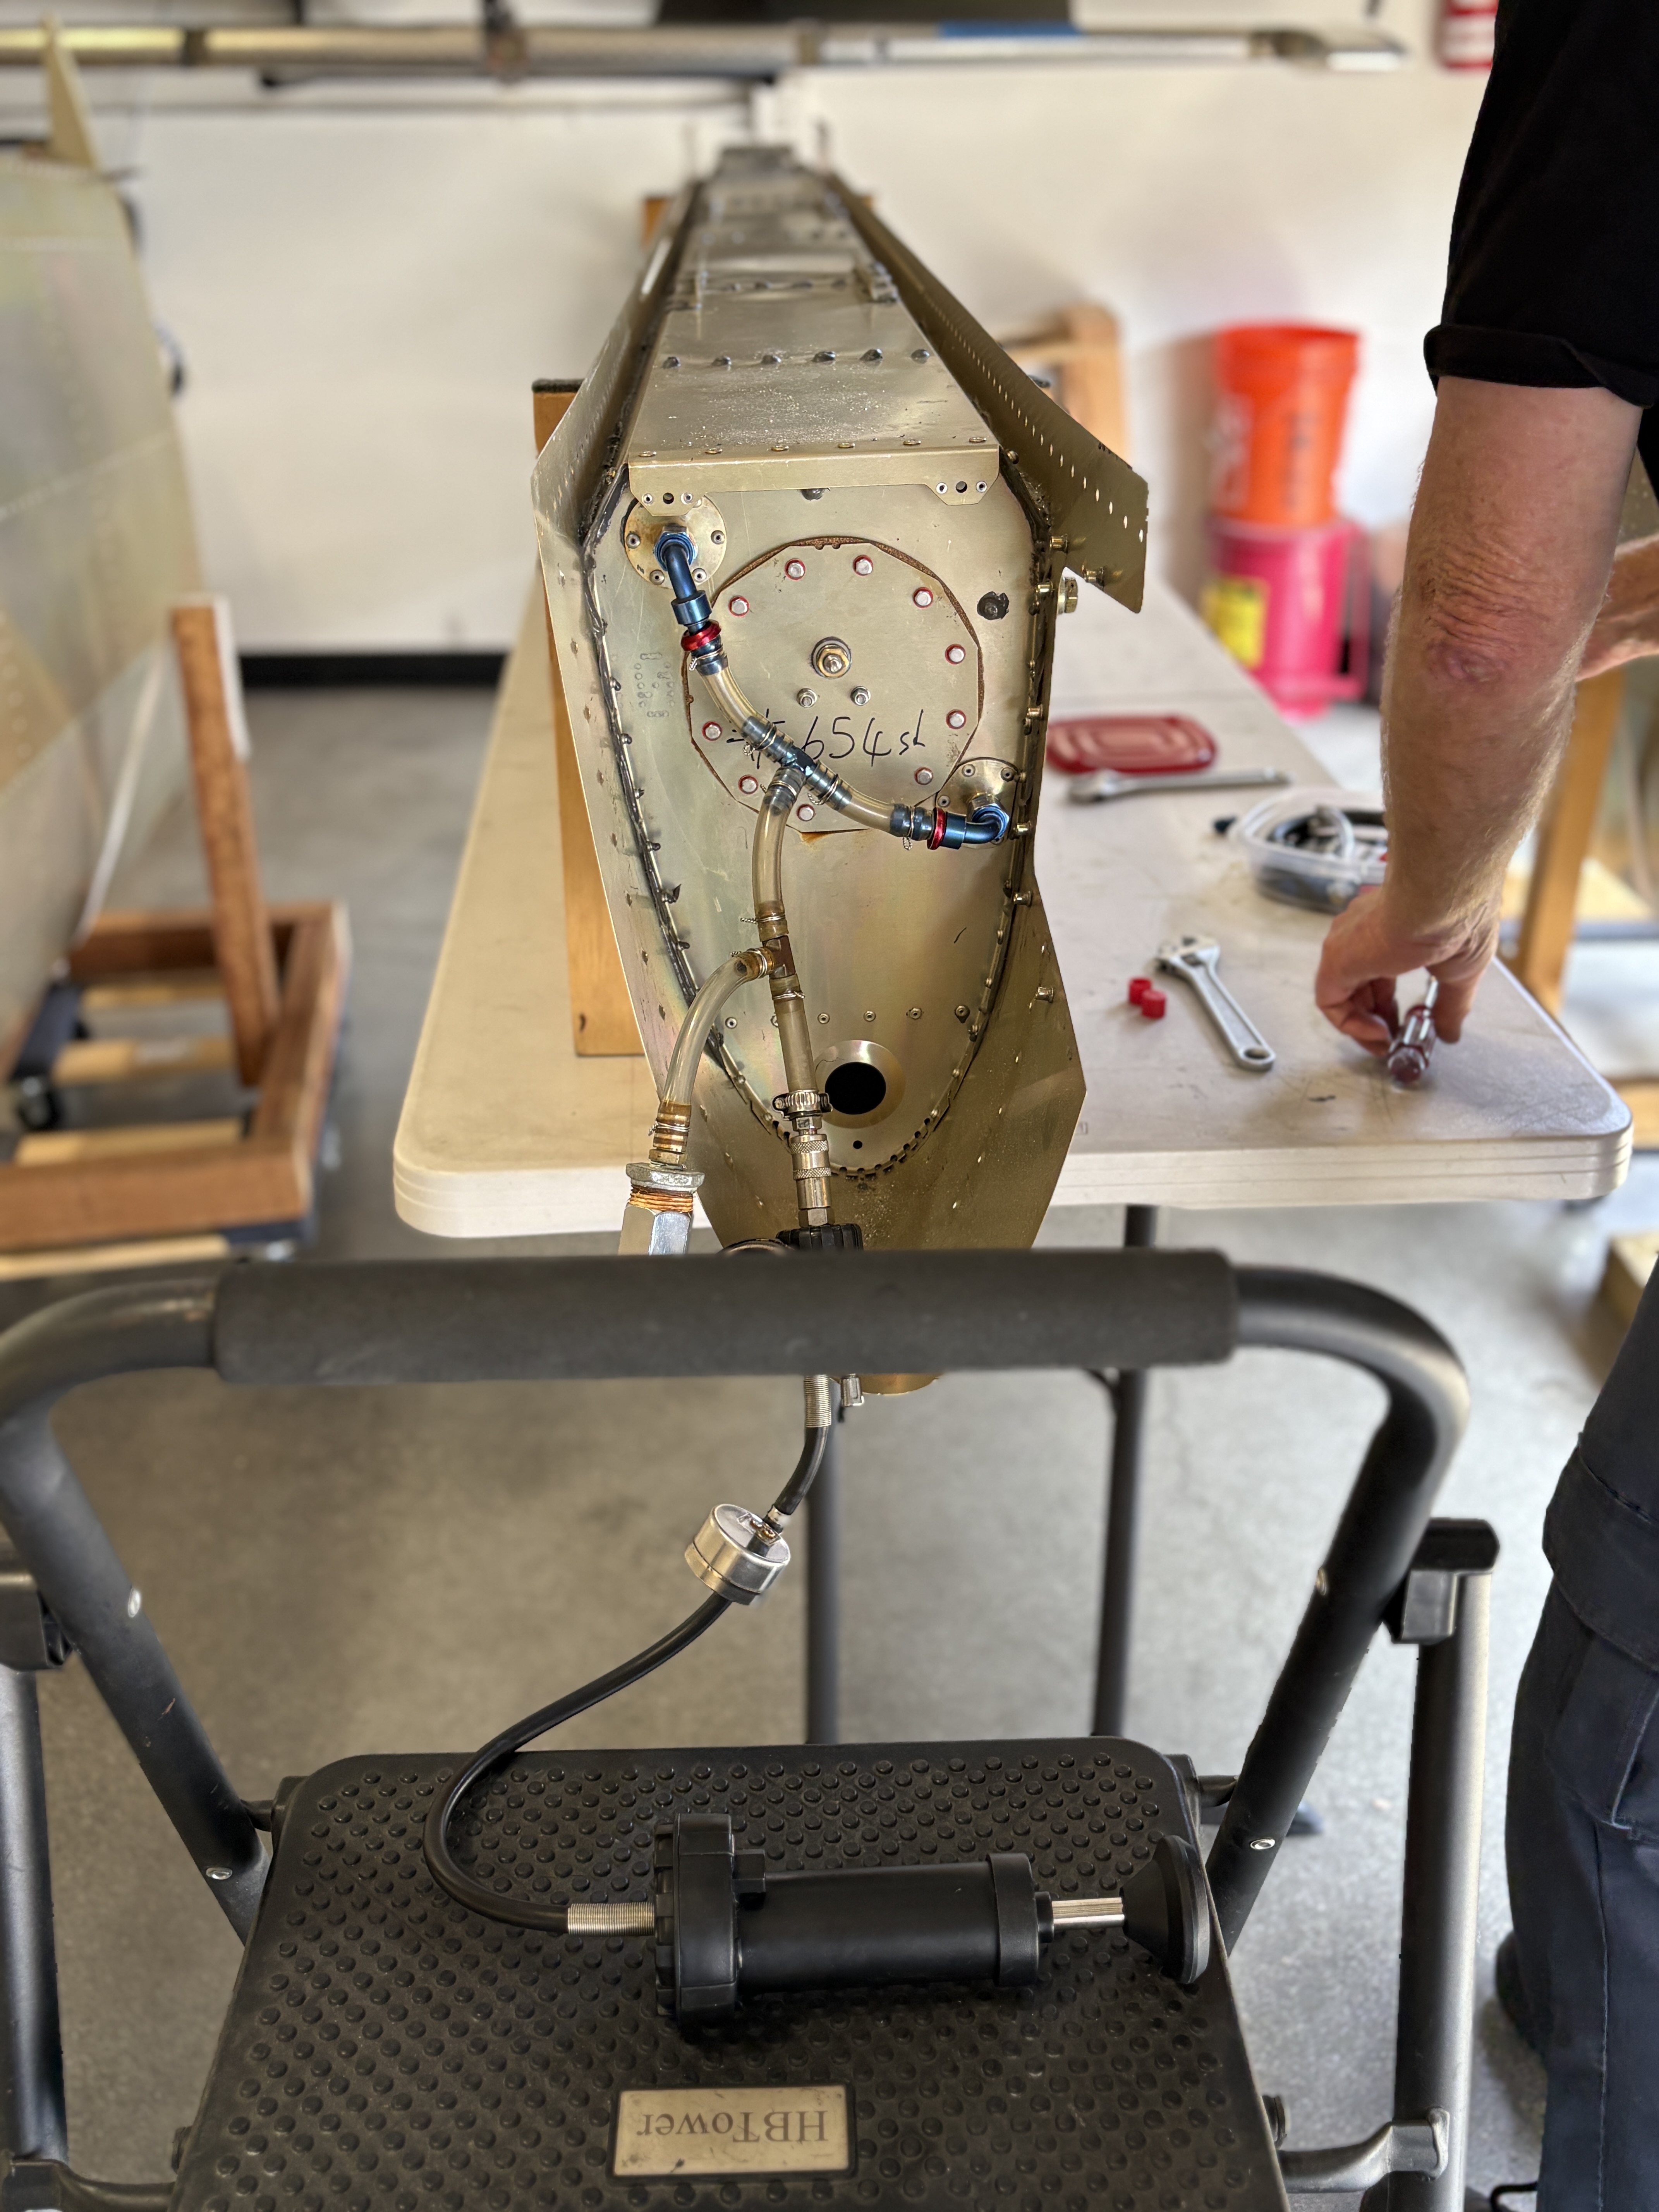
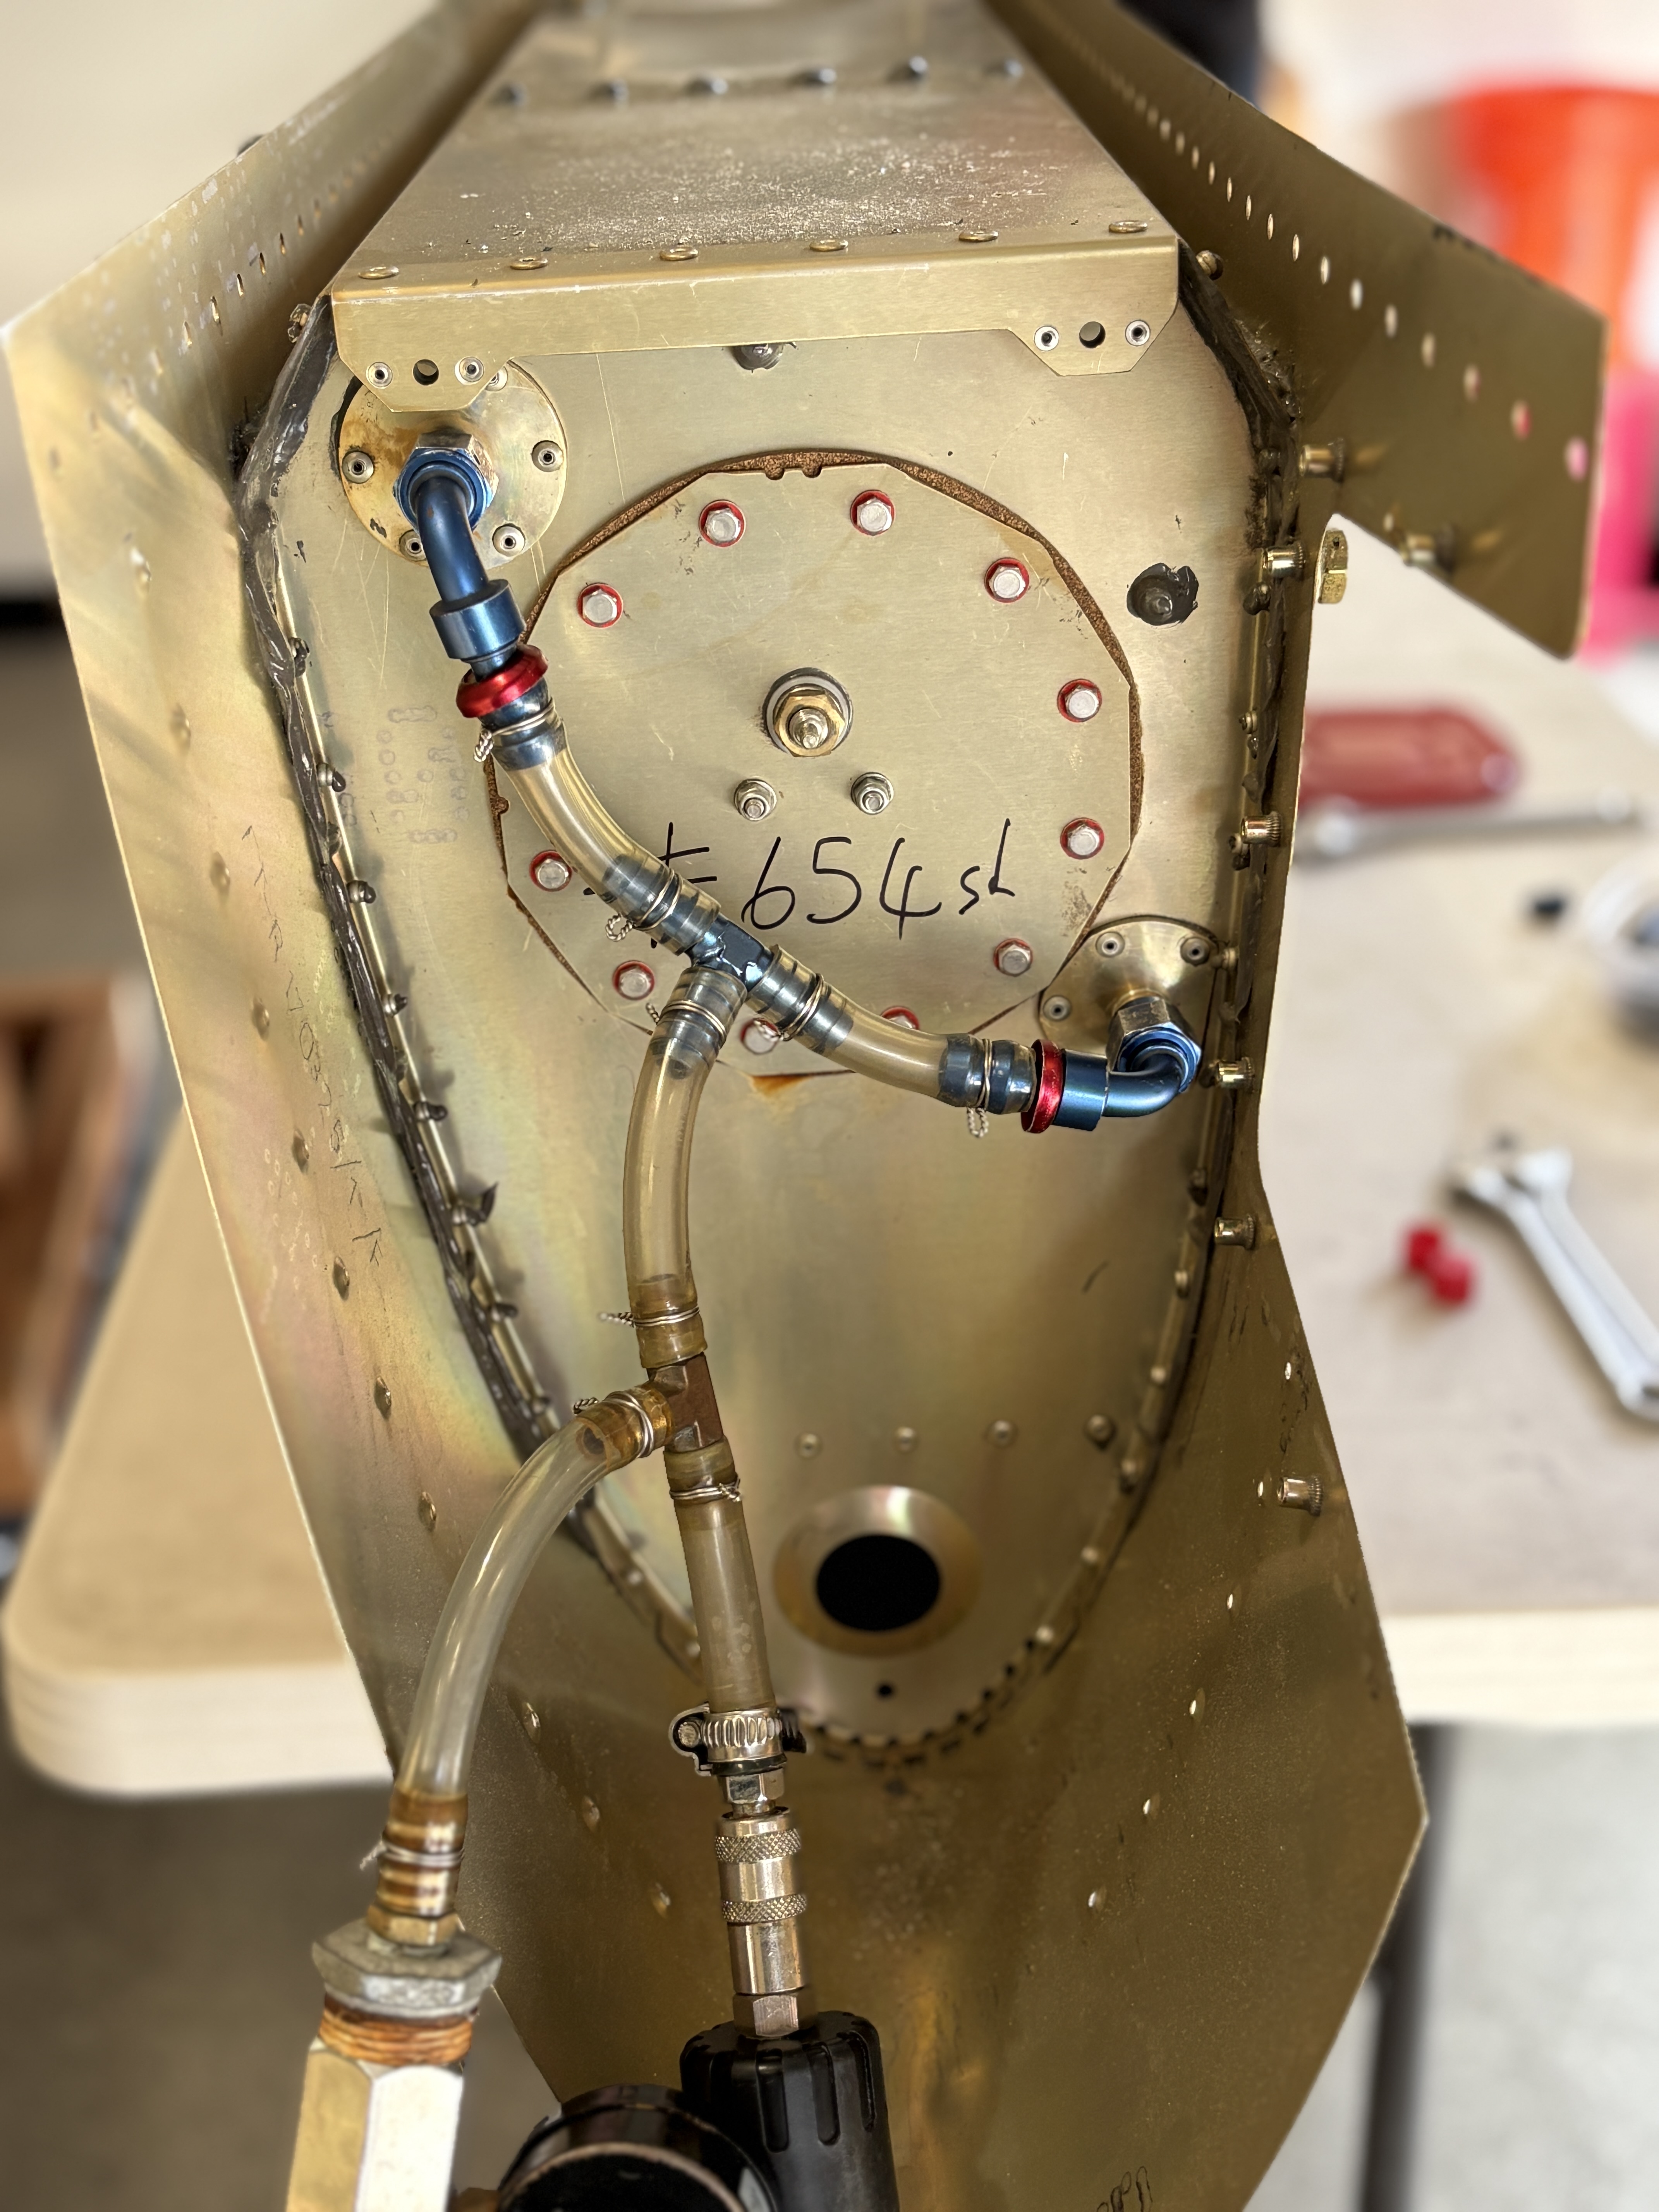

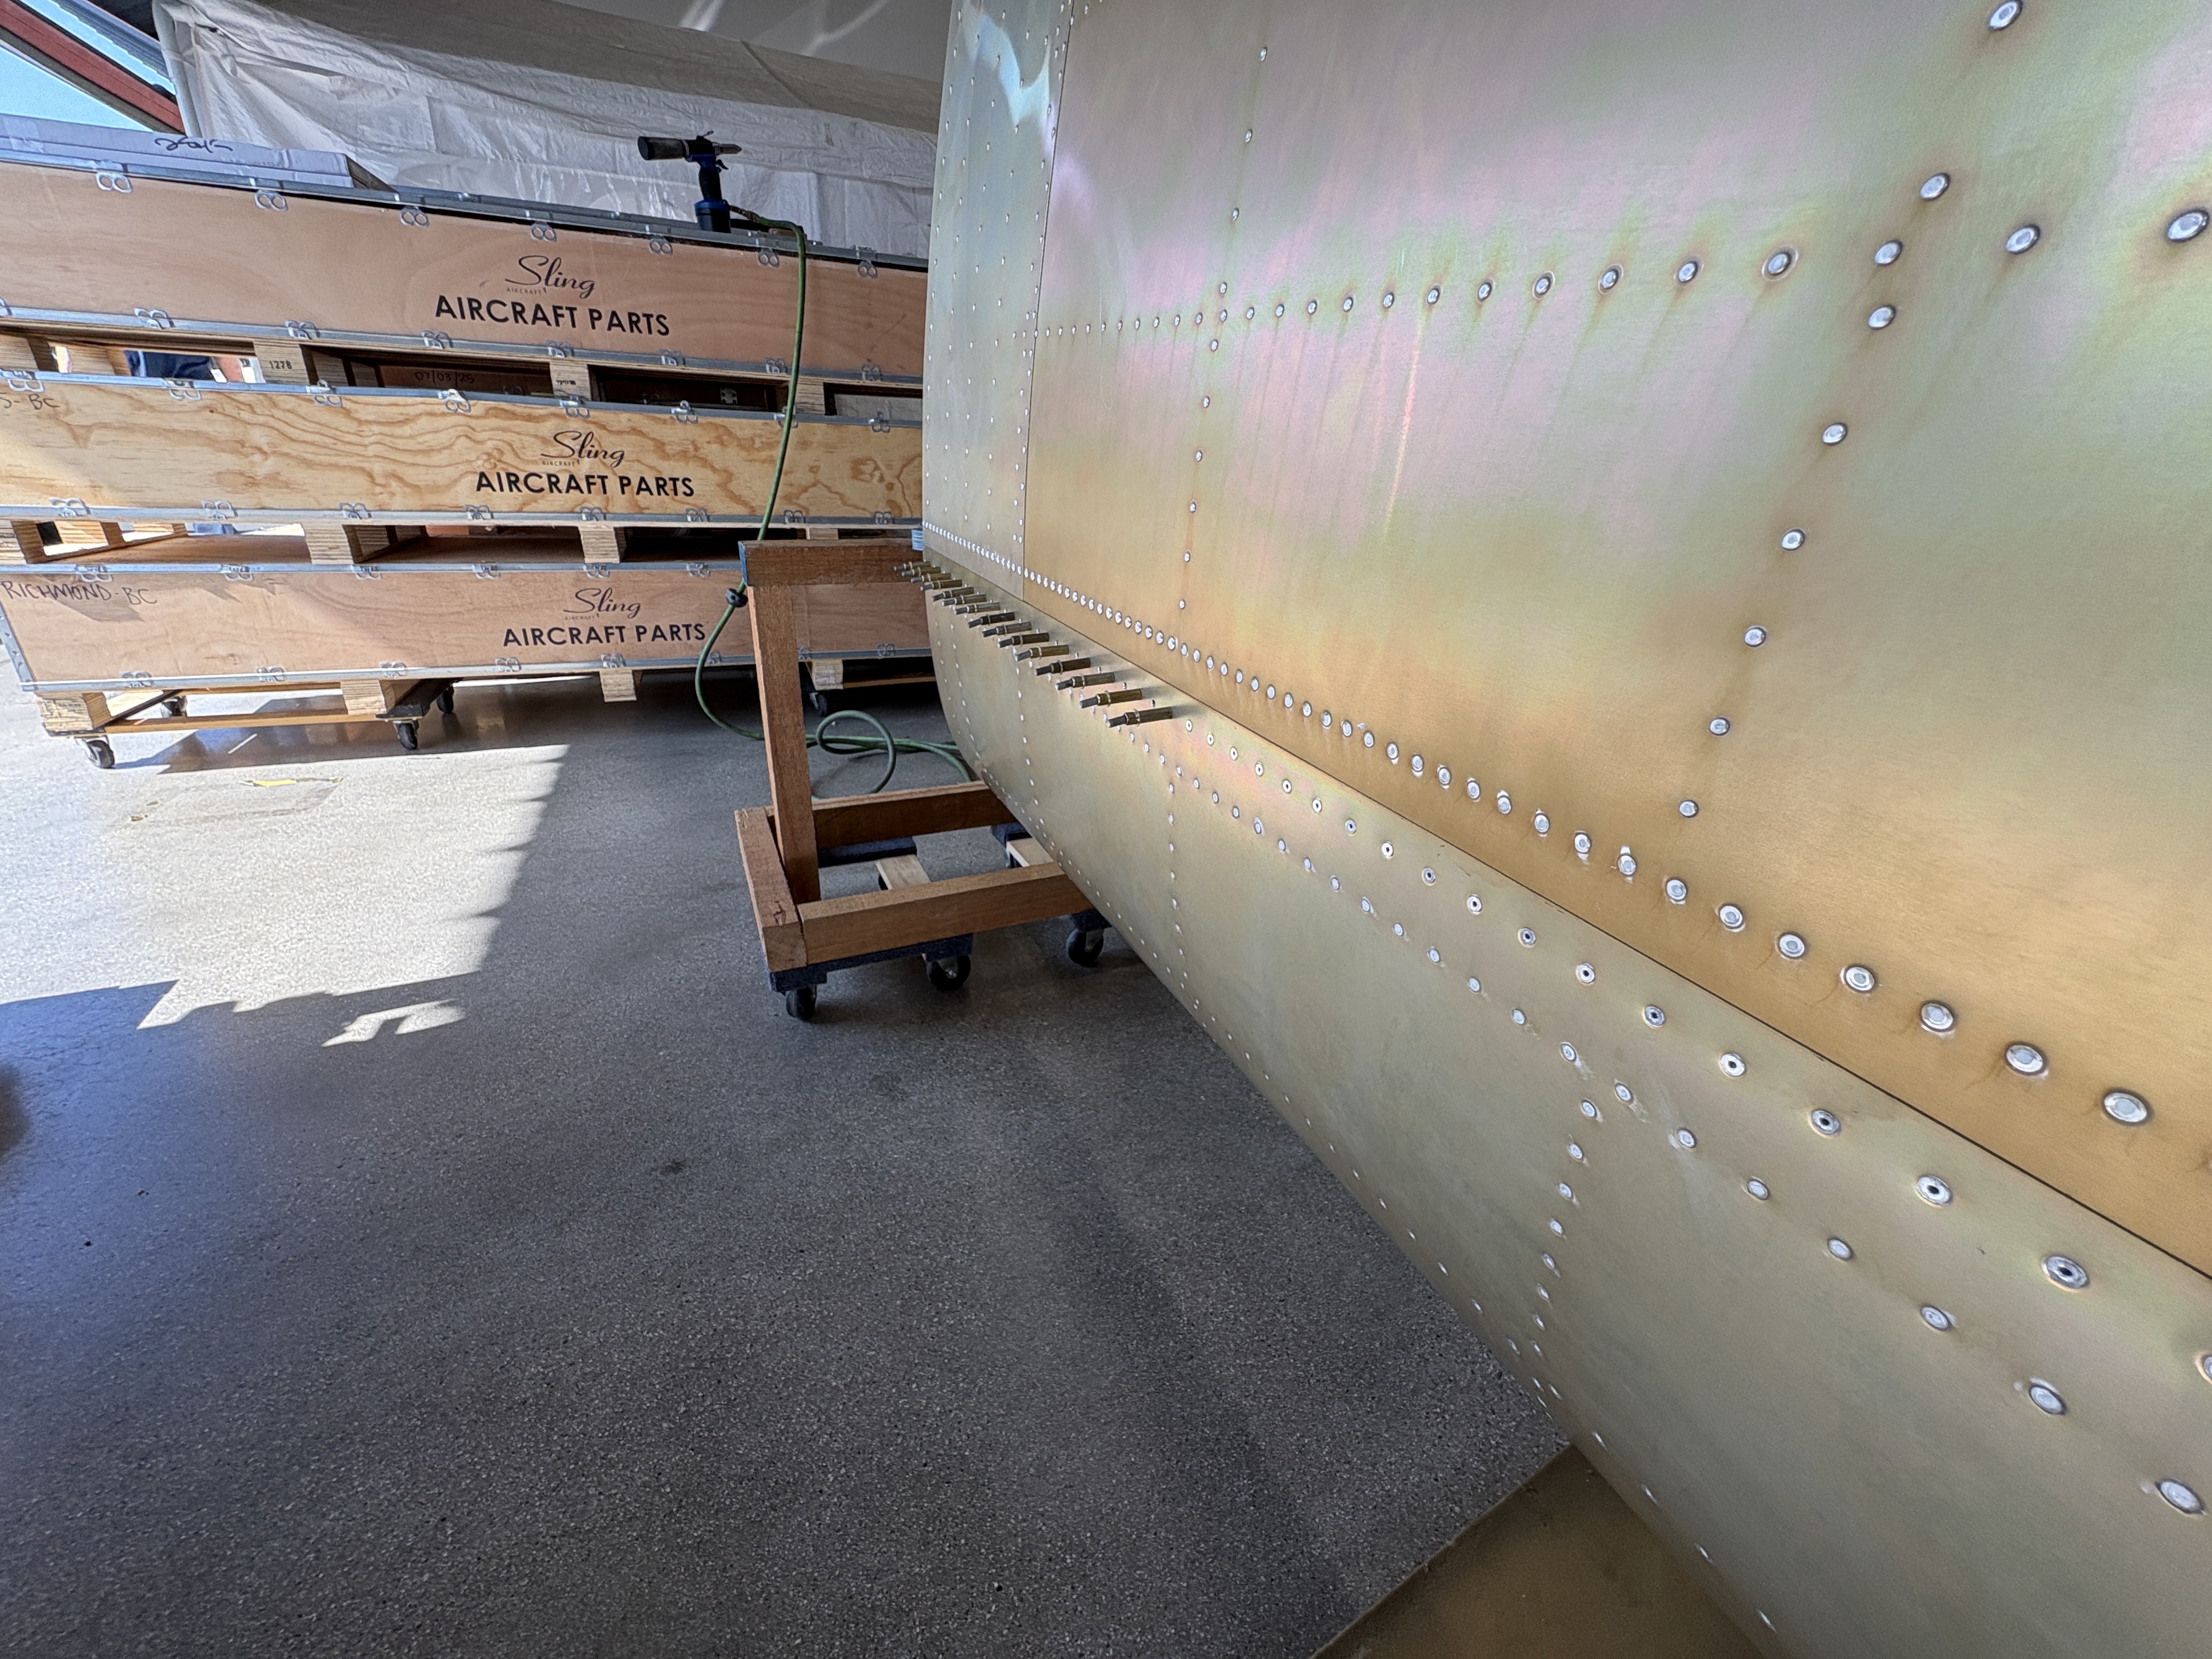
Step two: bolt them in for real. This meant fiddling with ribs and brackets to marry the tanks to the main wing structure. Lots of clecos, lots of rivets, and lots of satisfaction seeing those tanks finally locked in place.
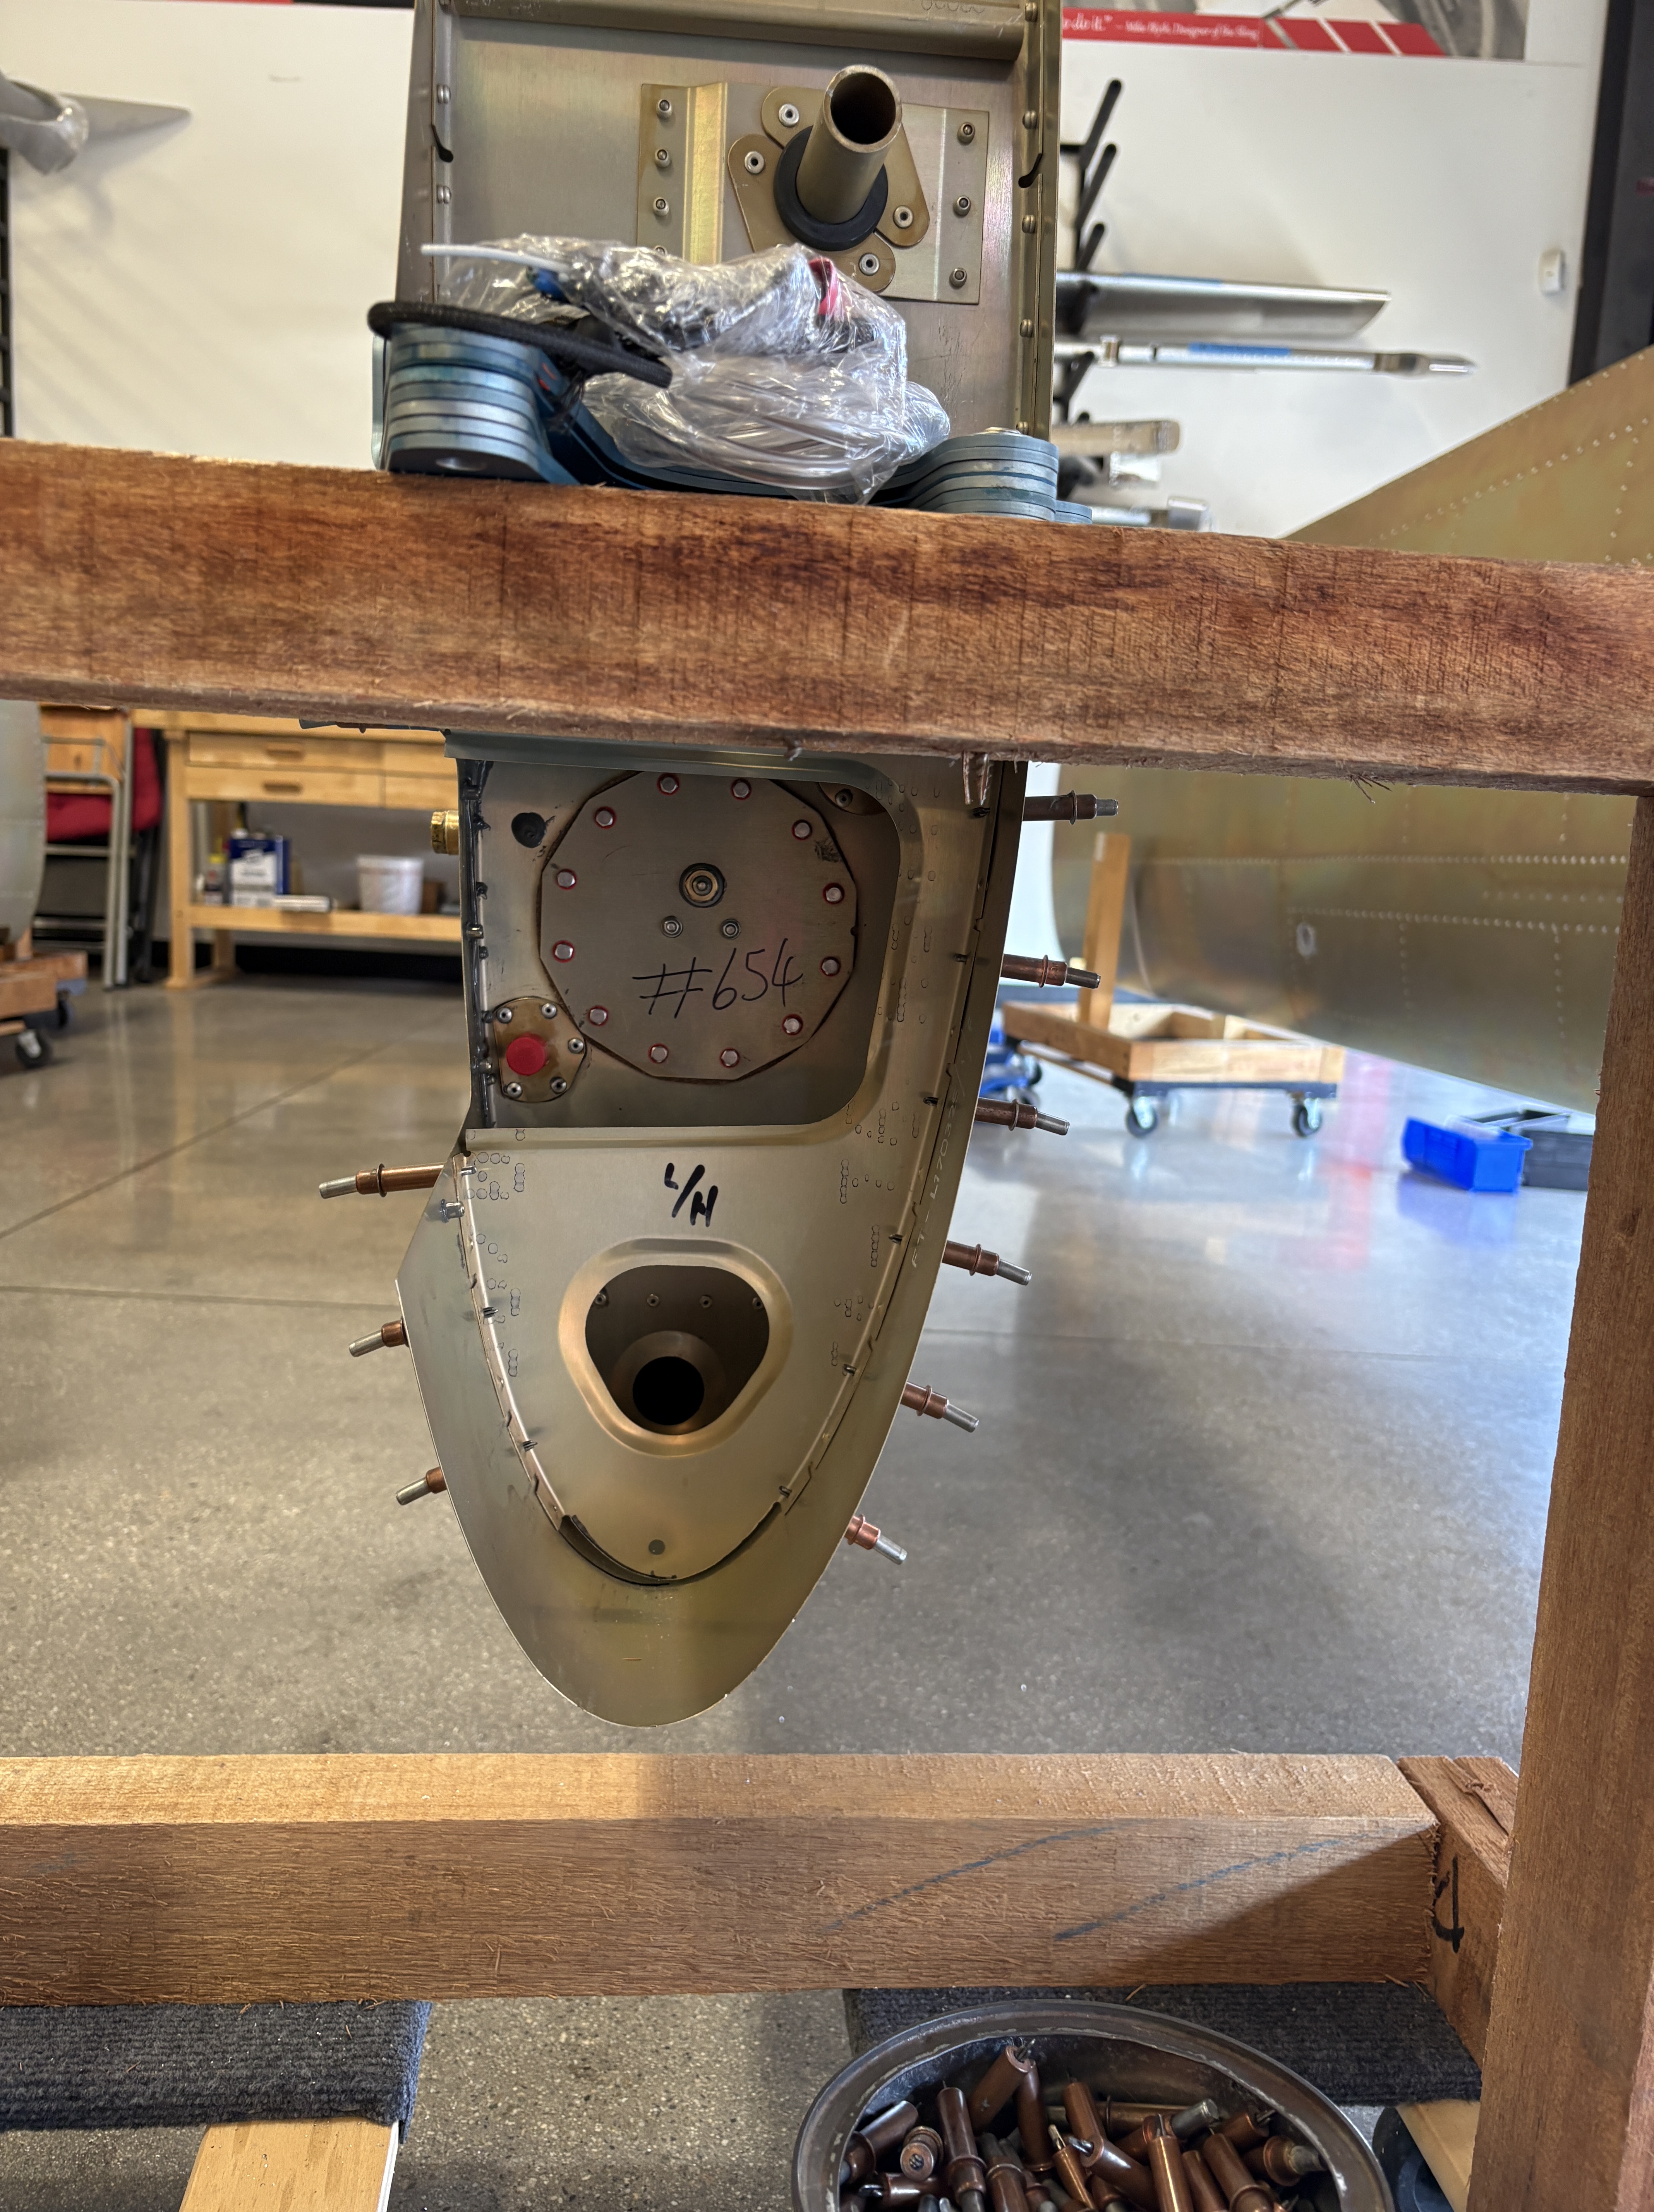
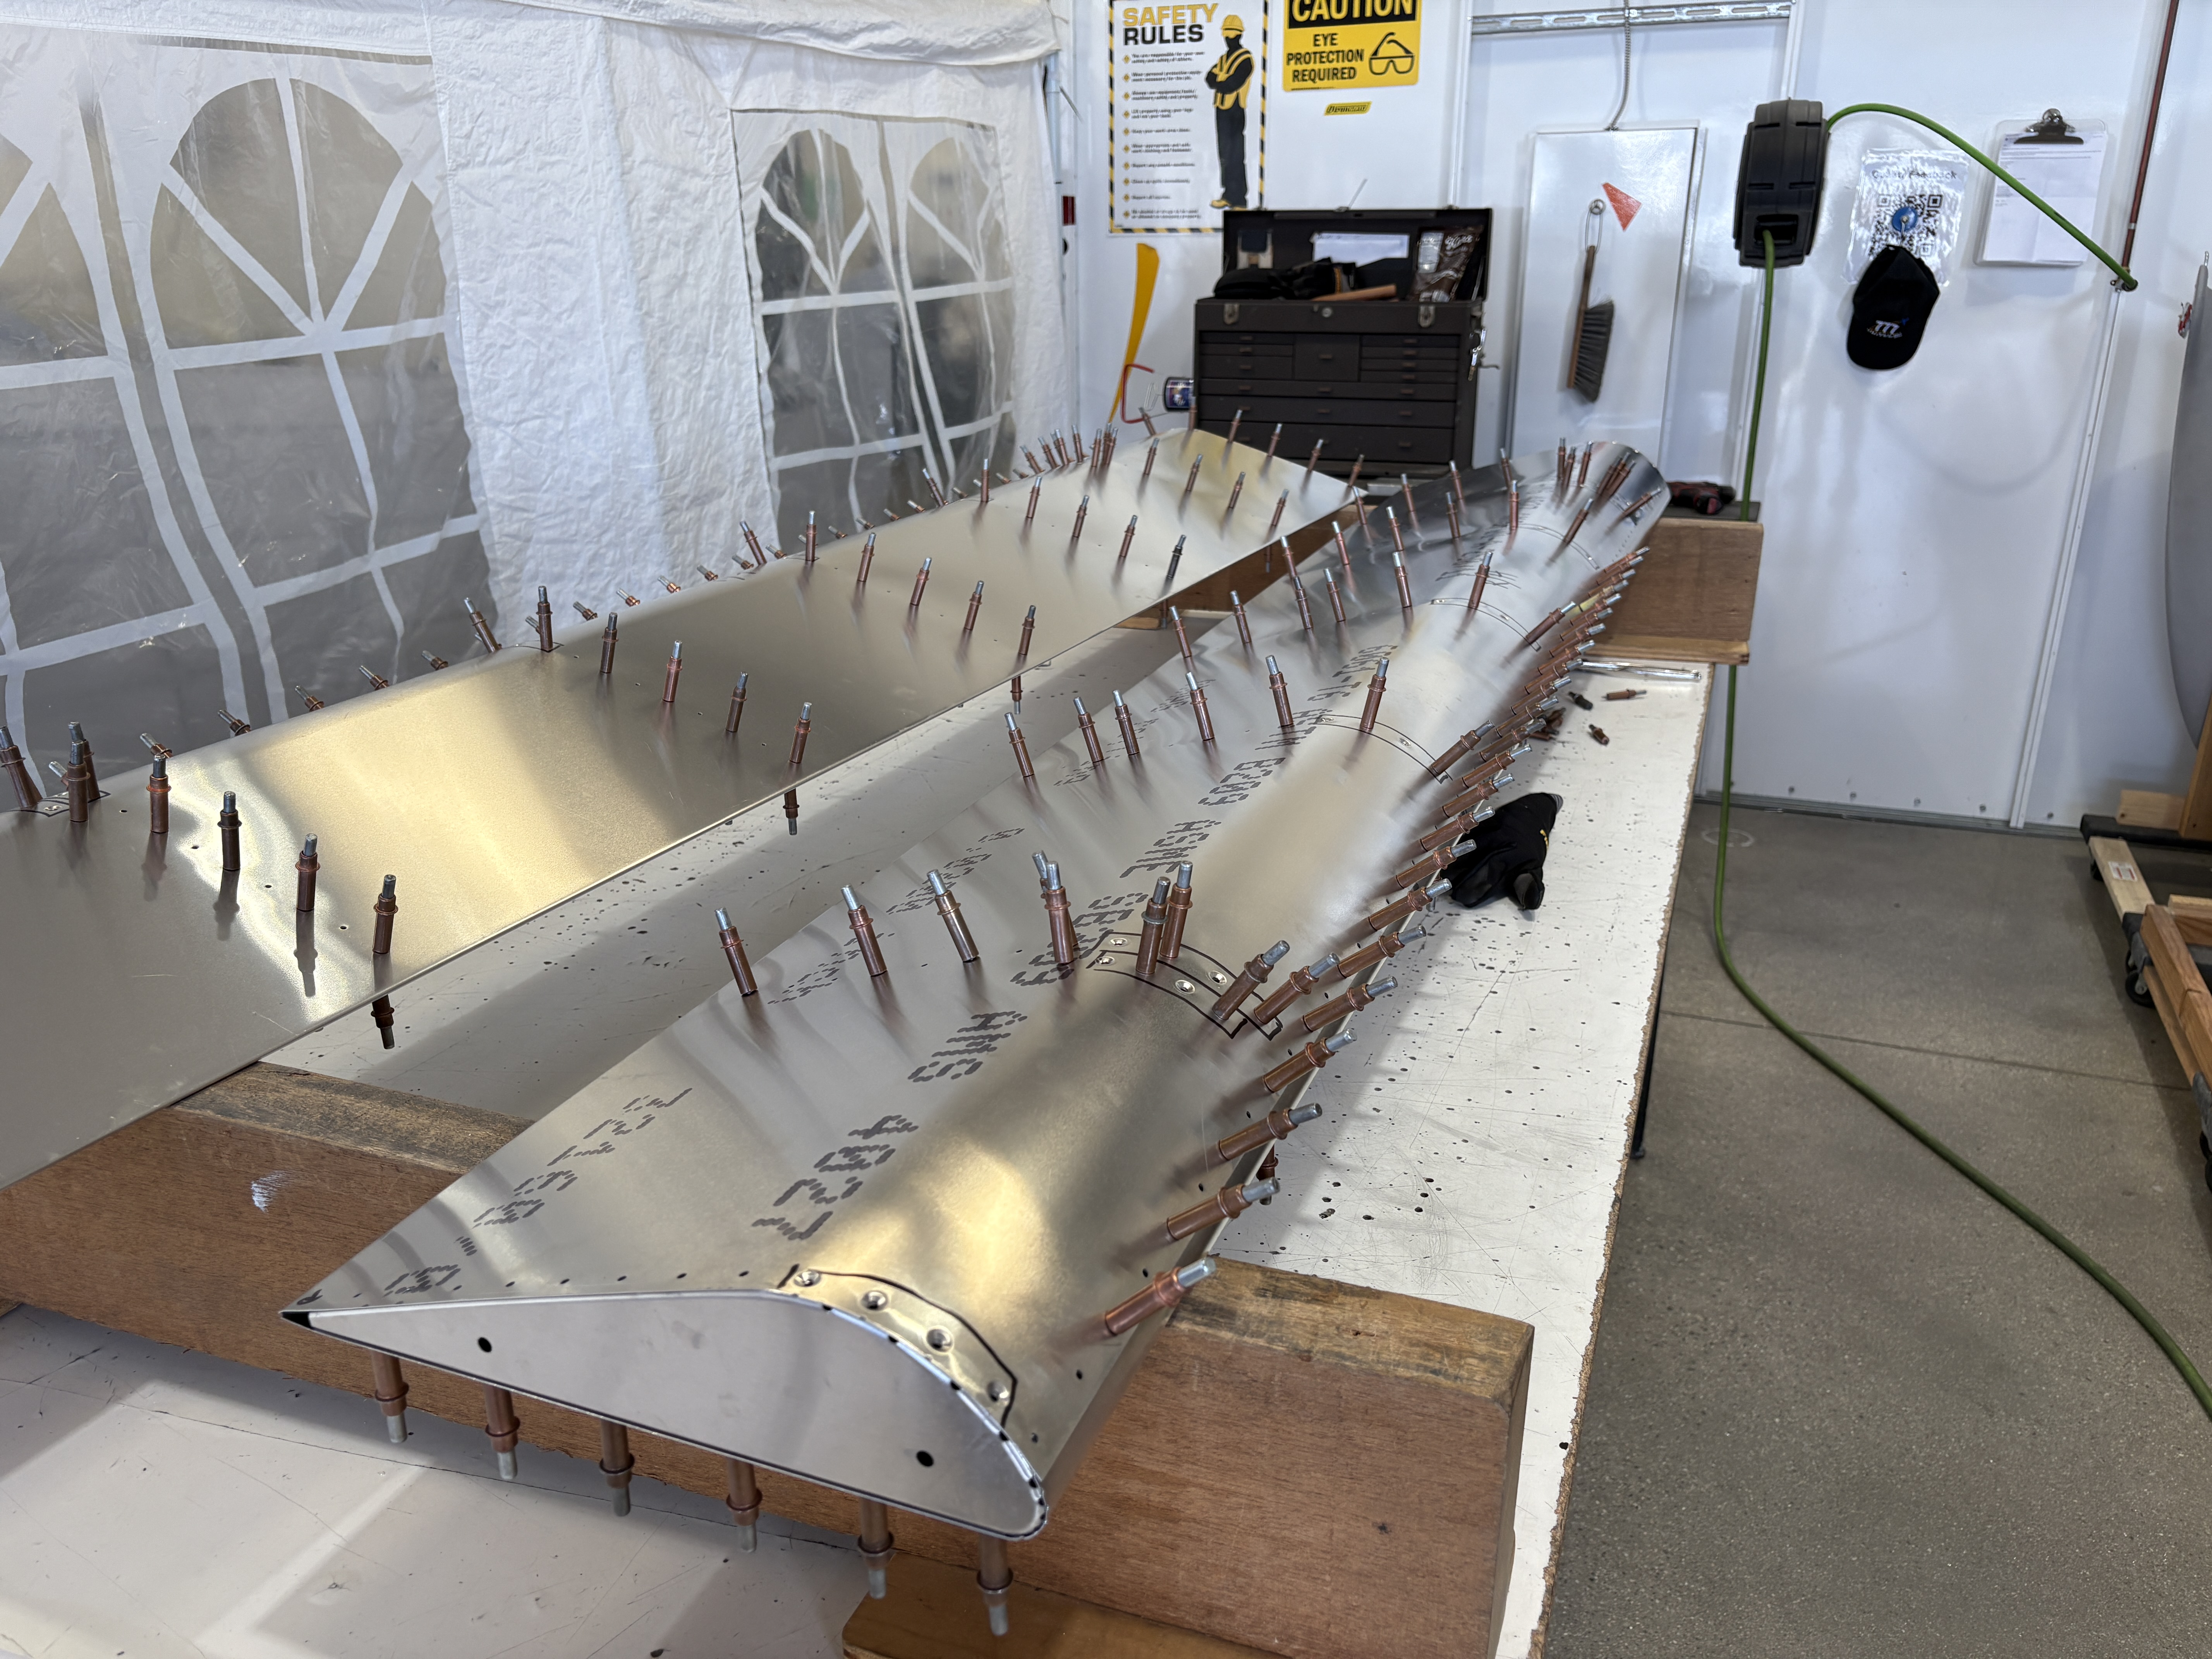
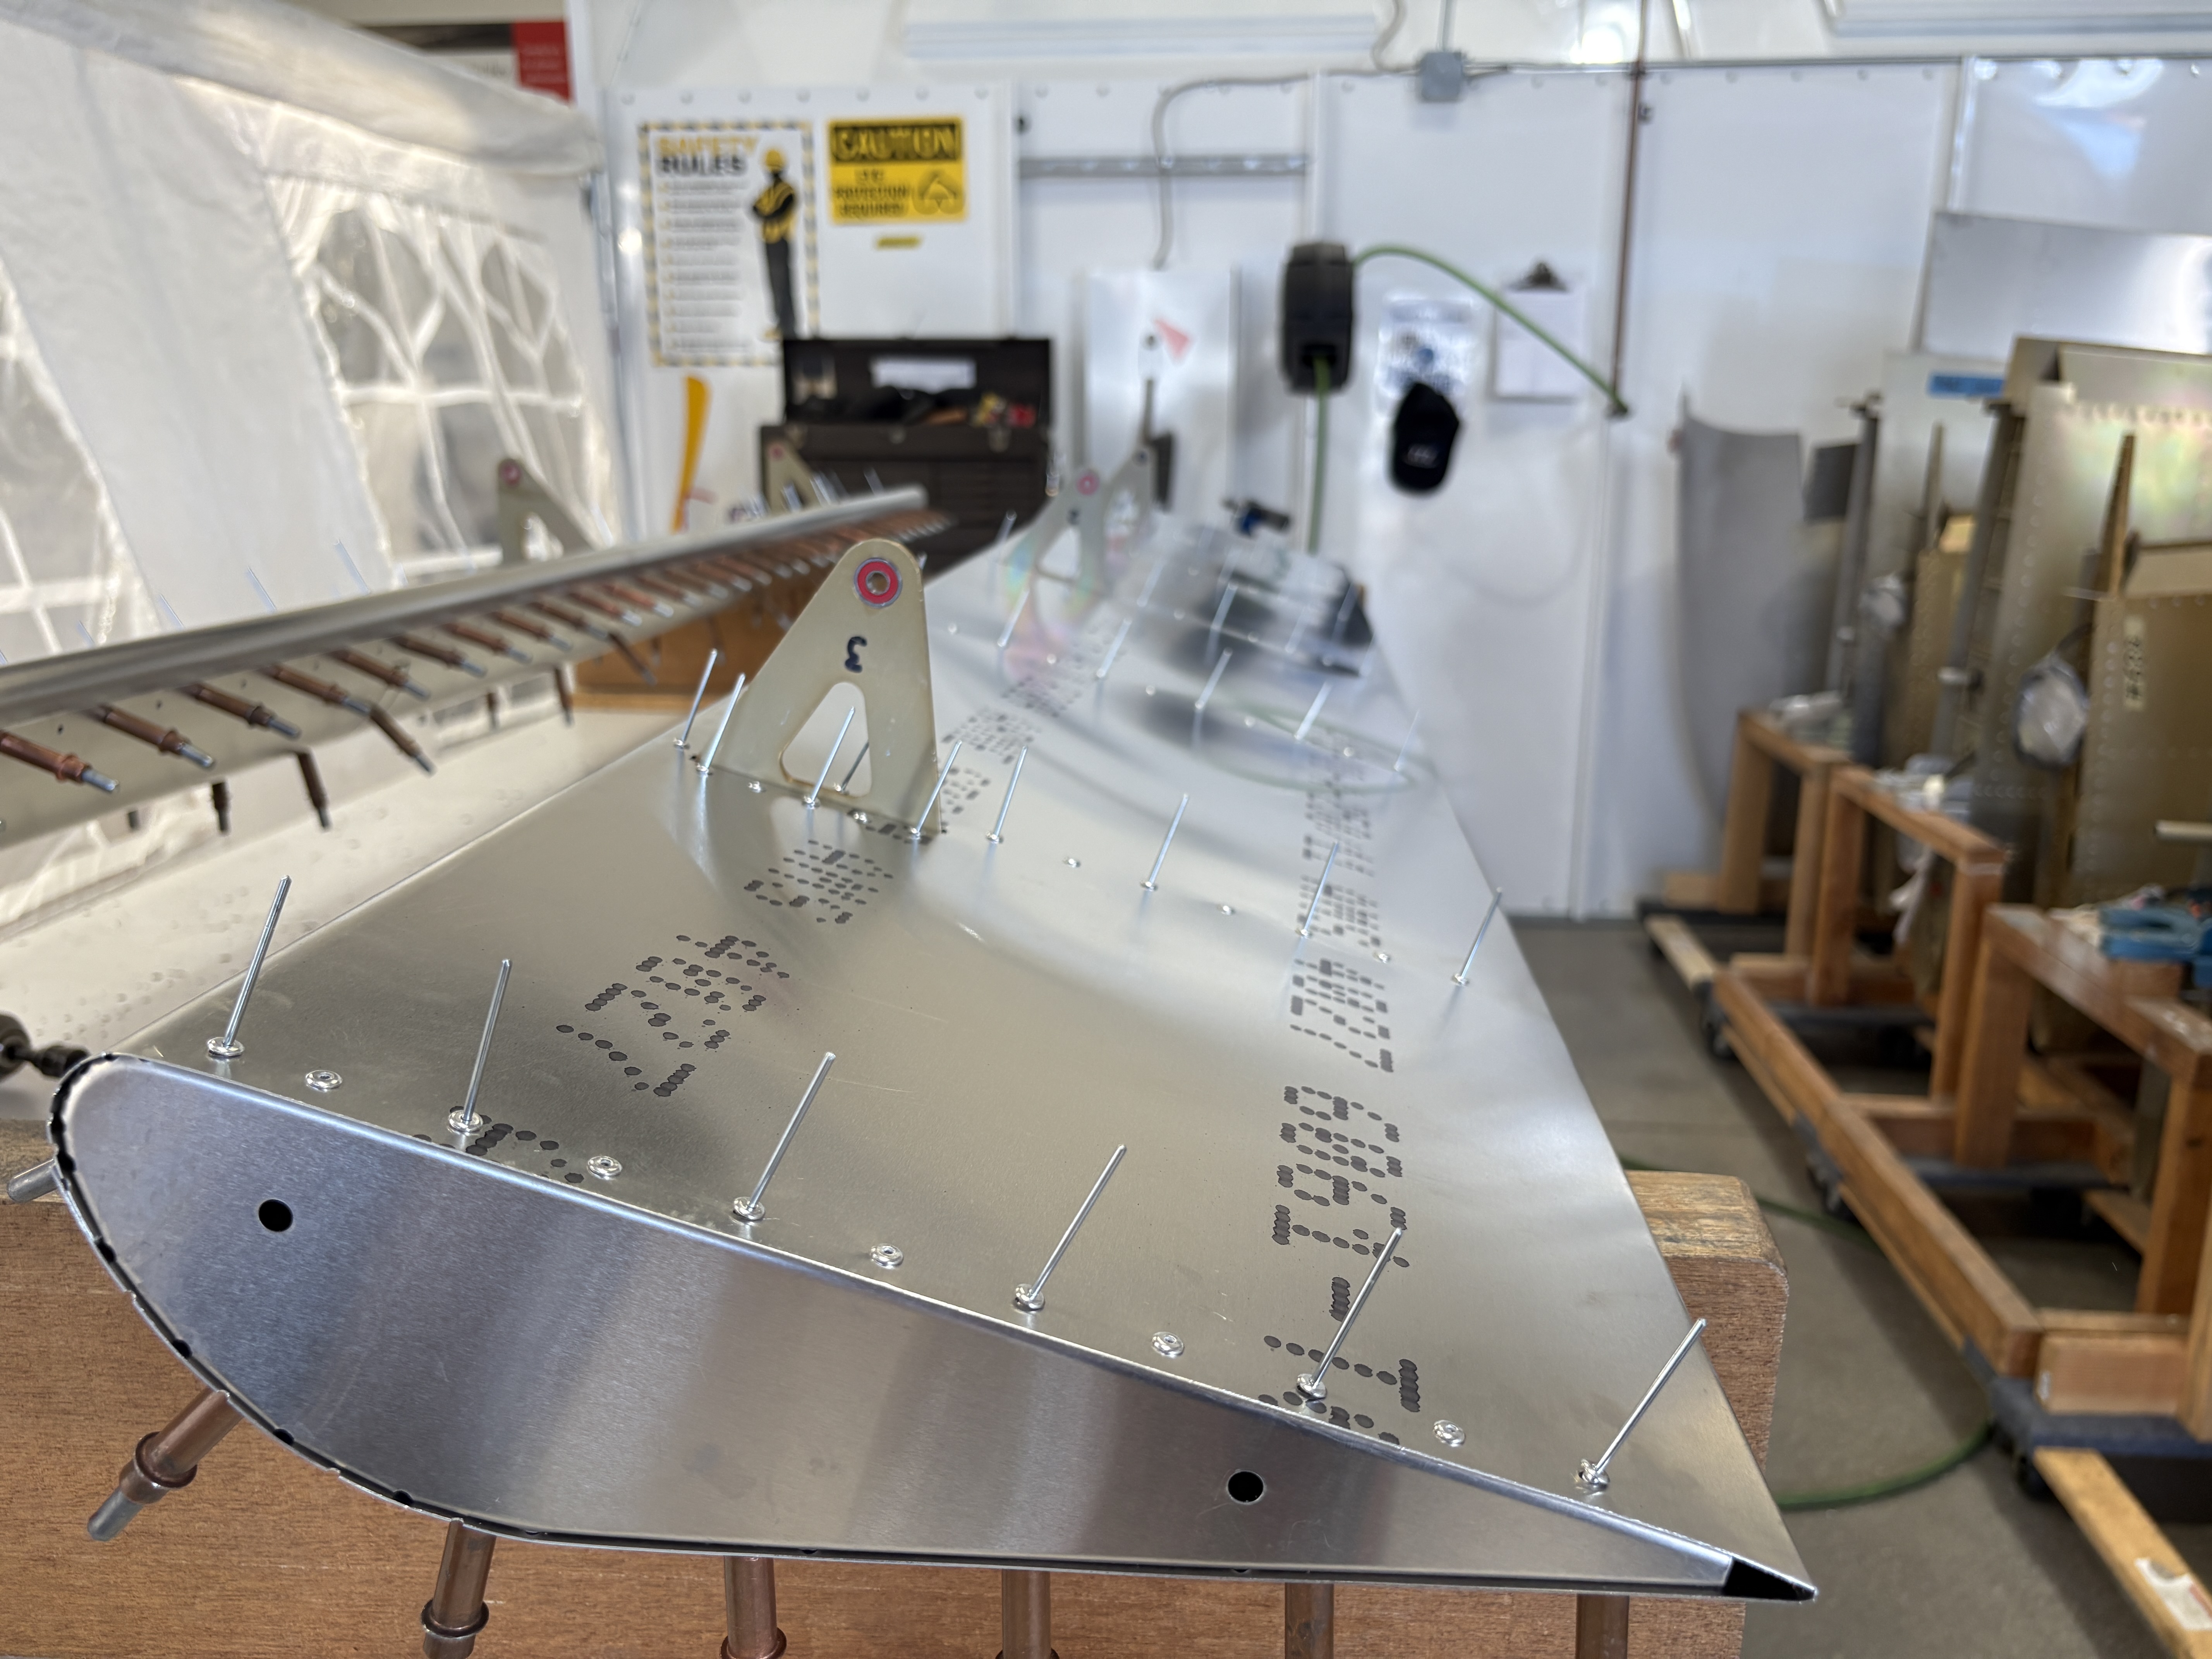
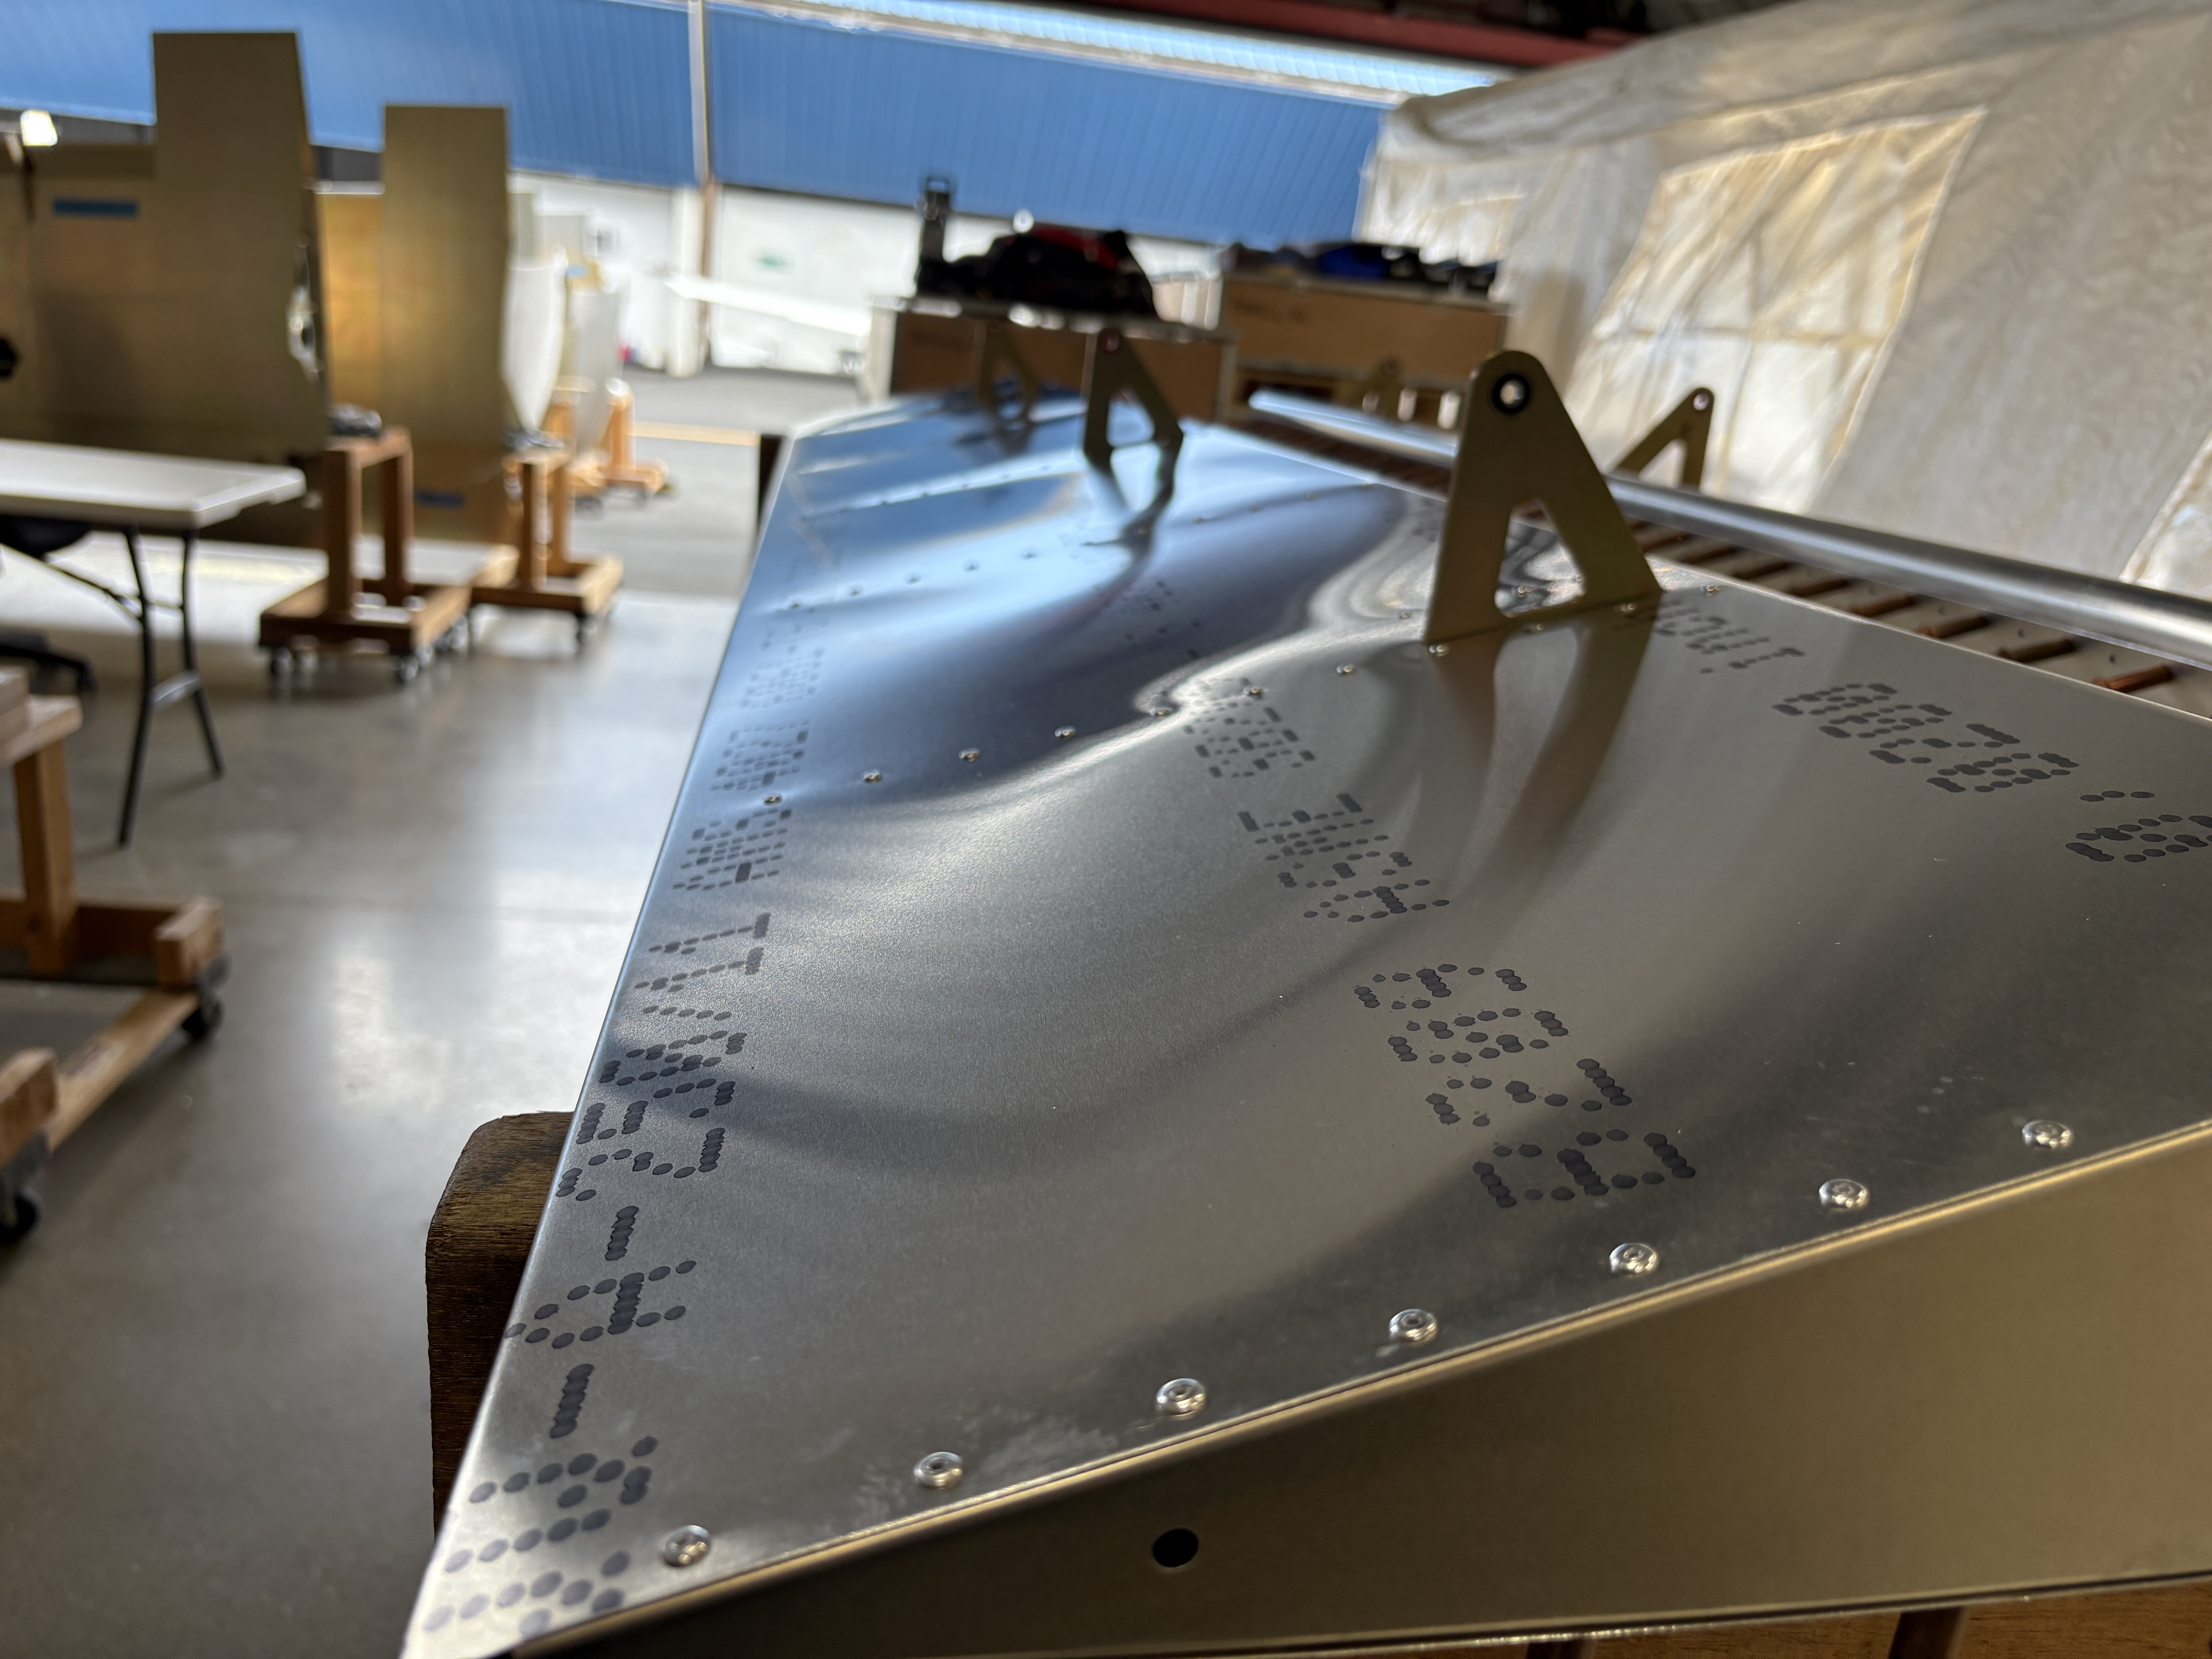
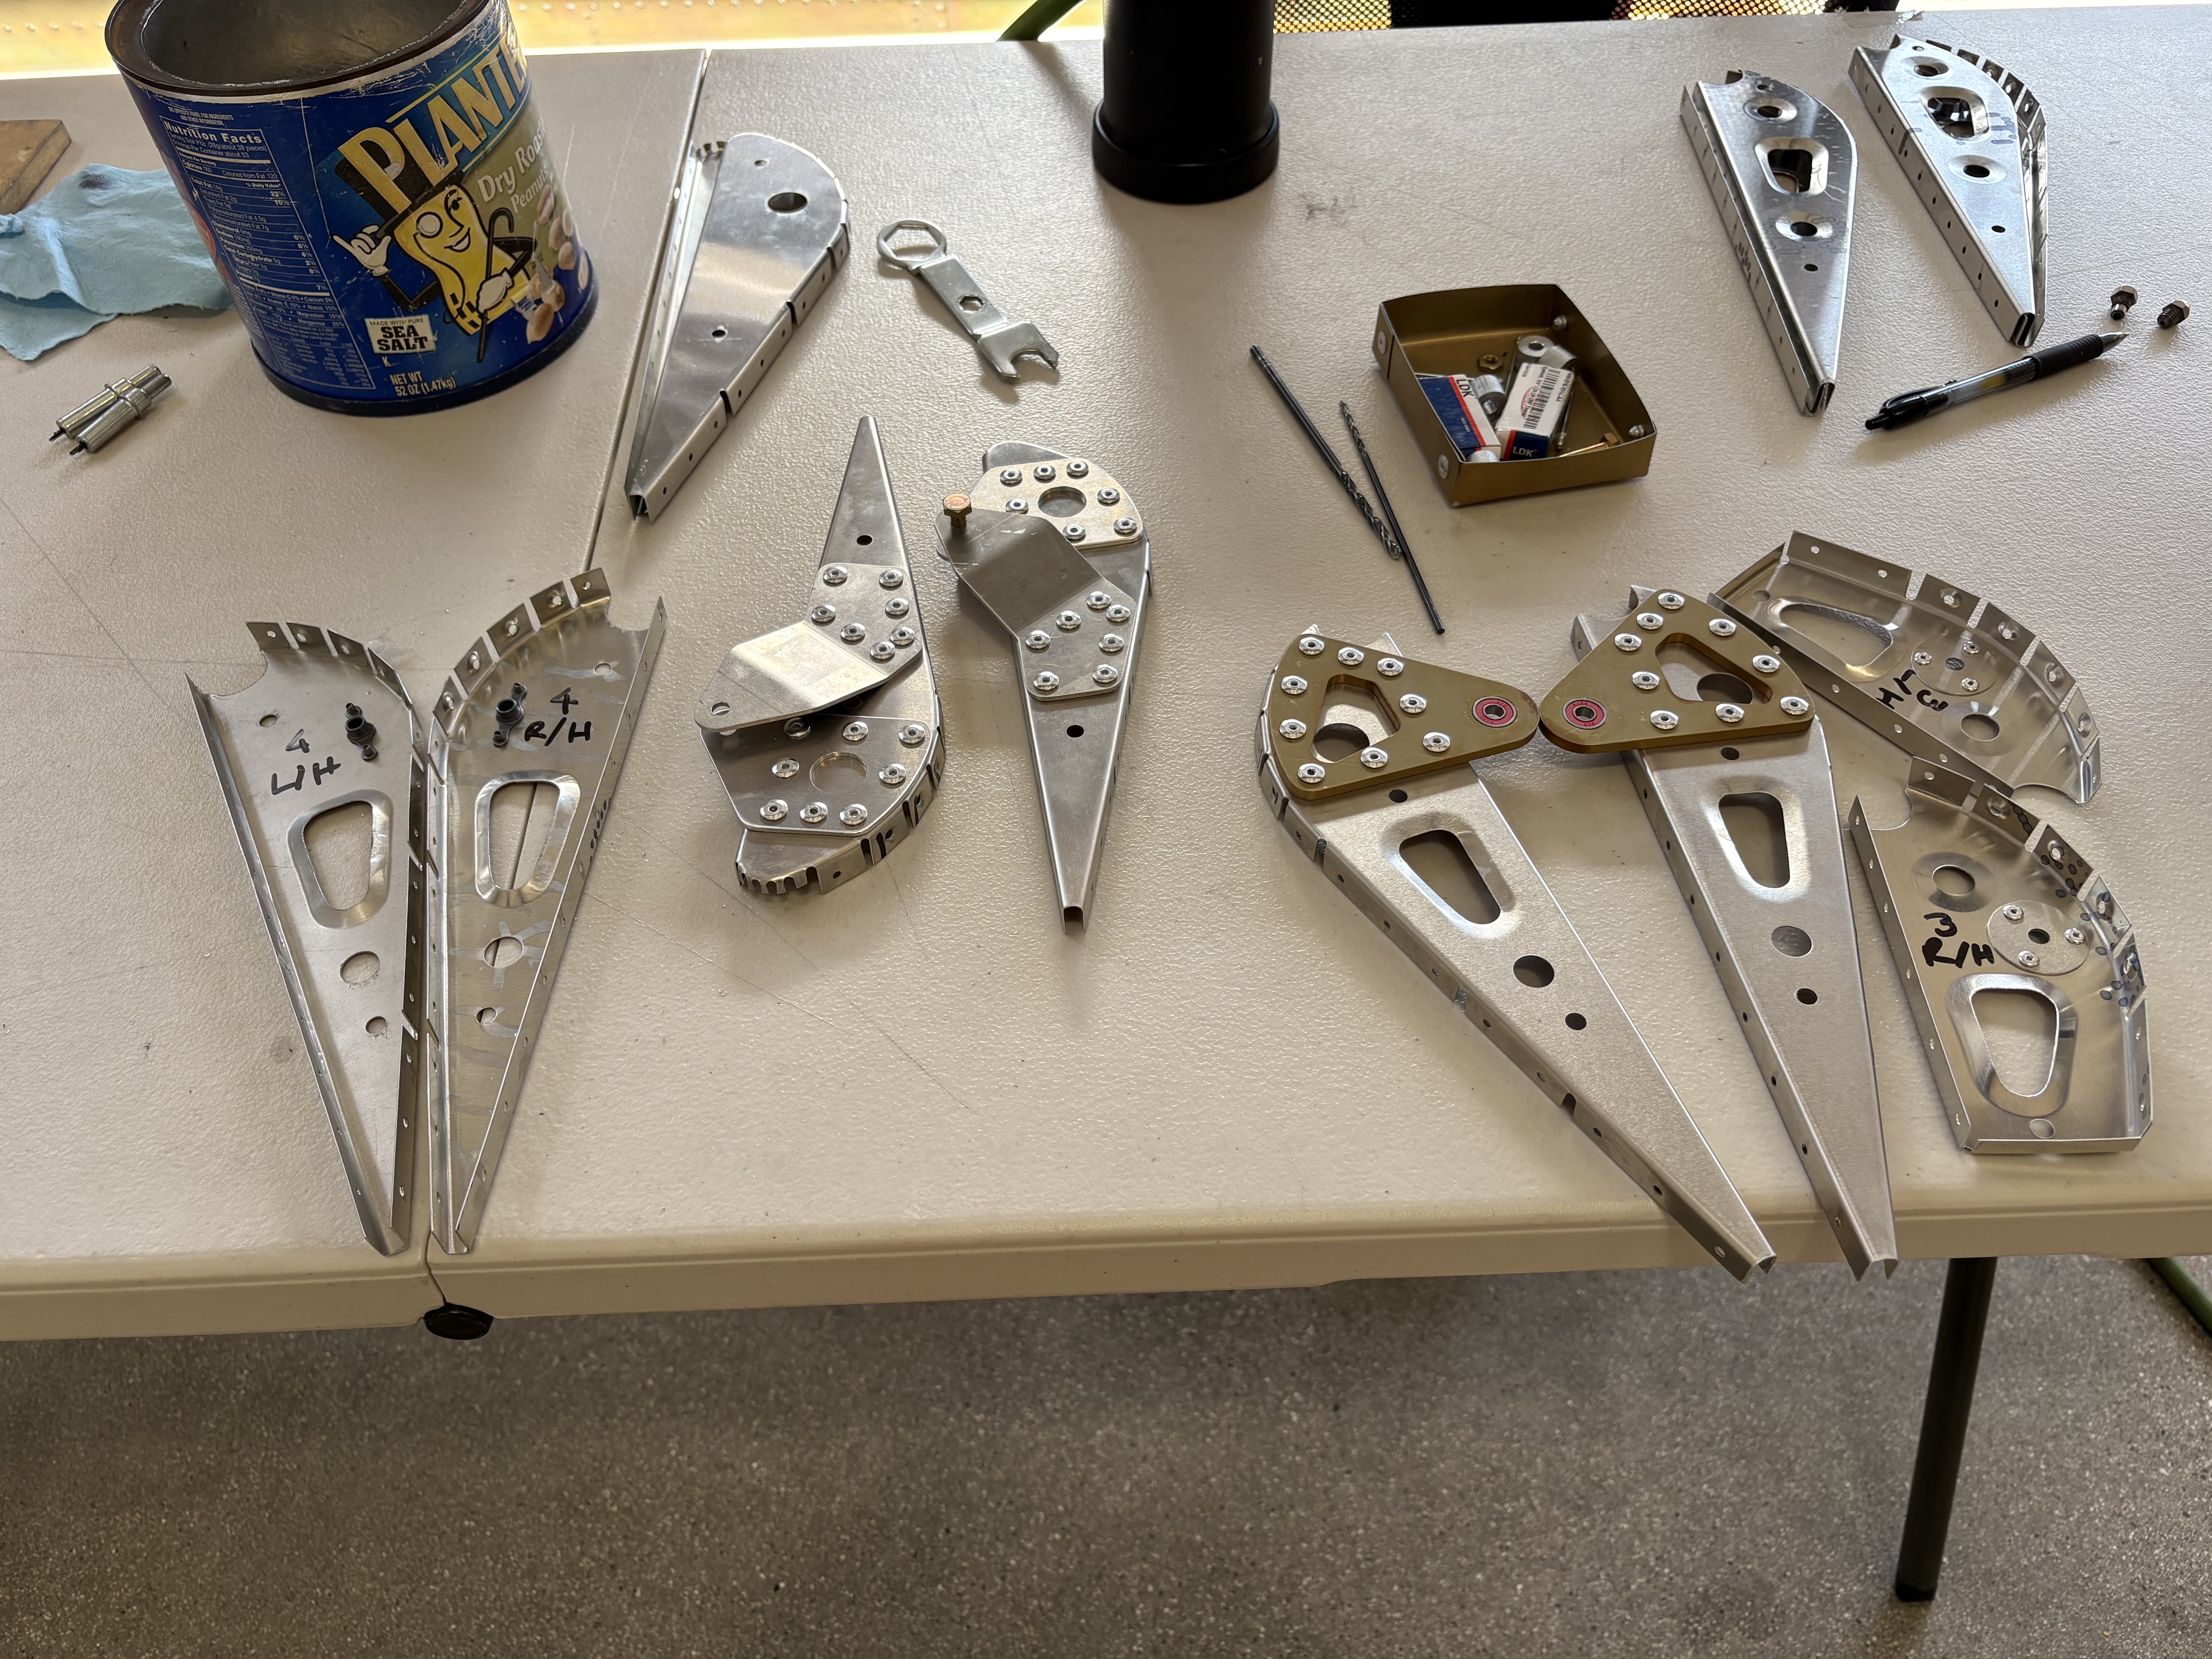
Flaps
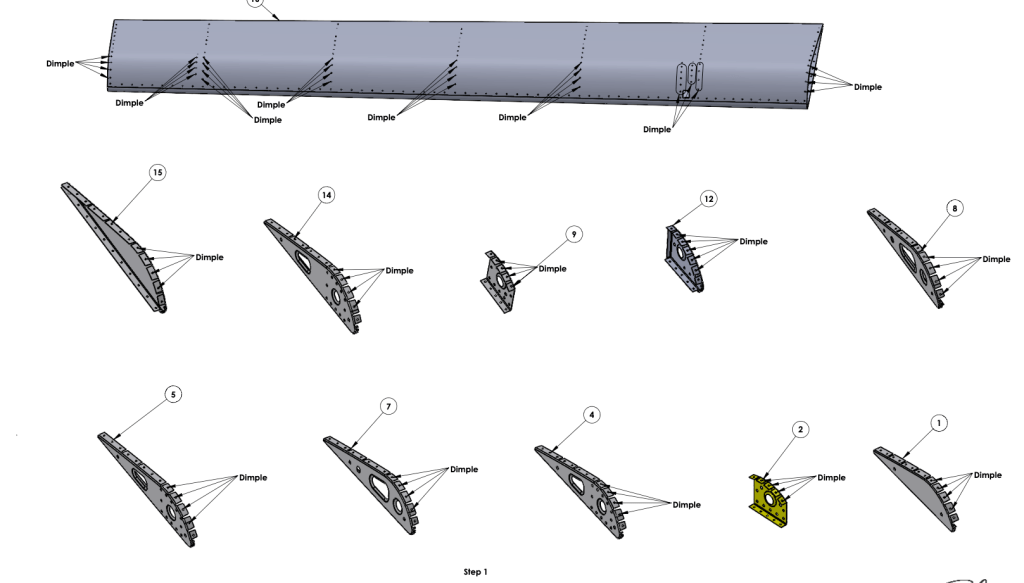
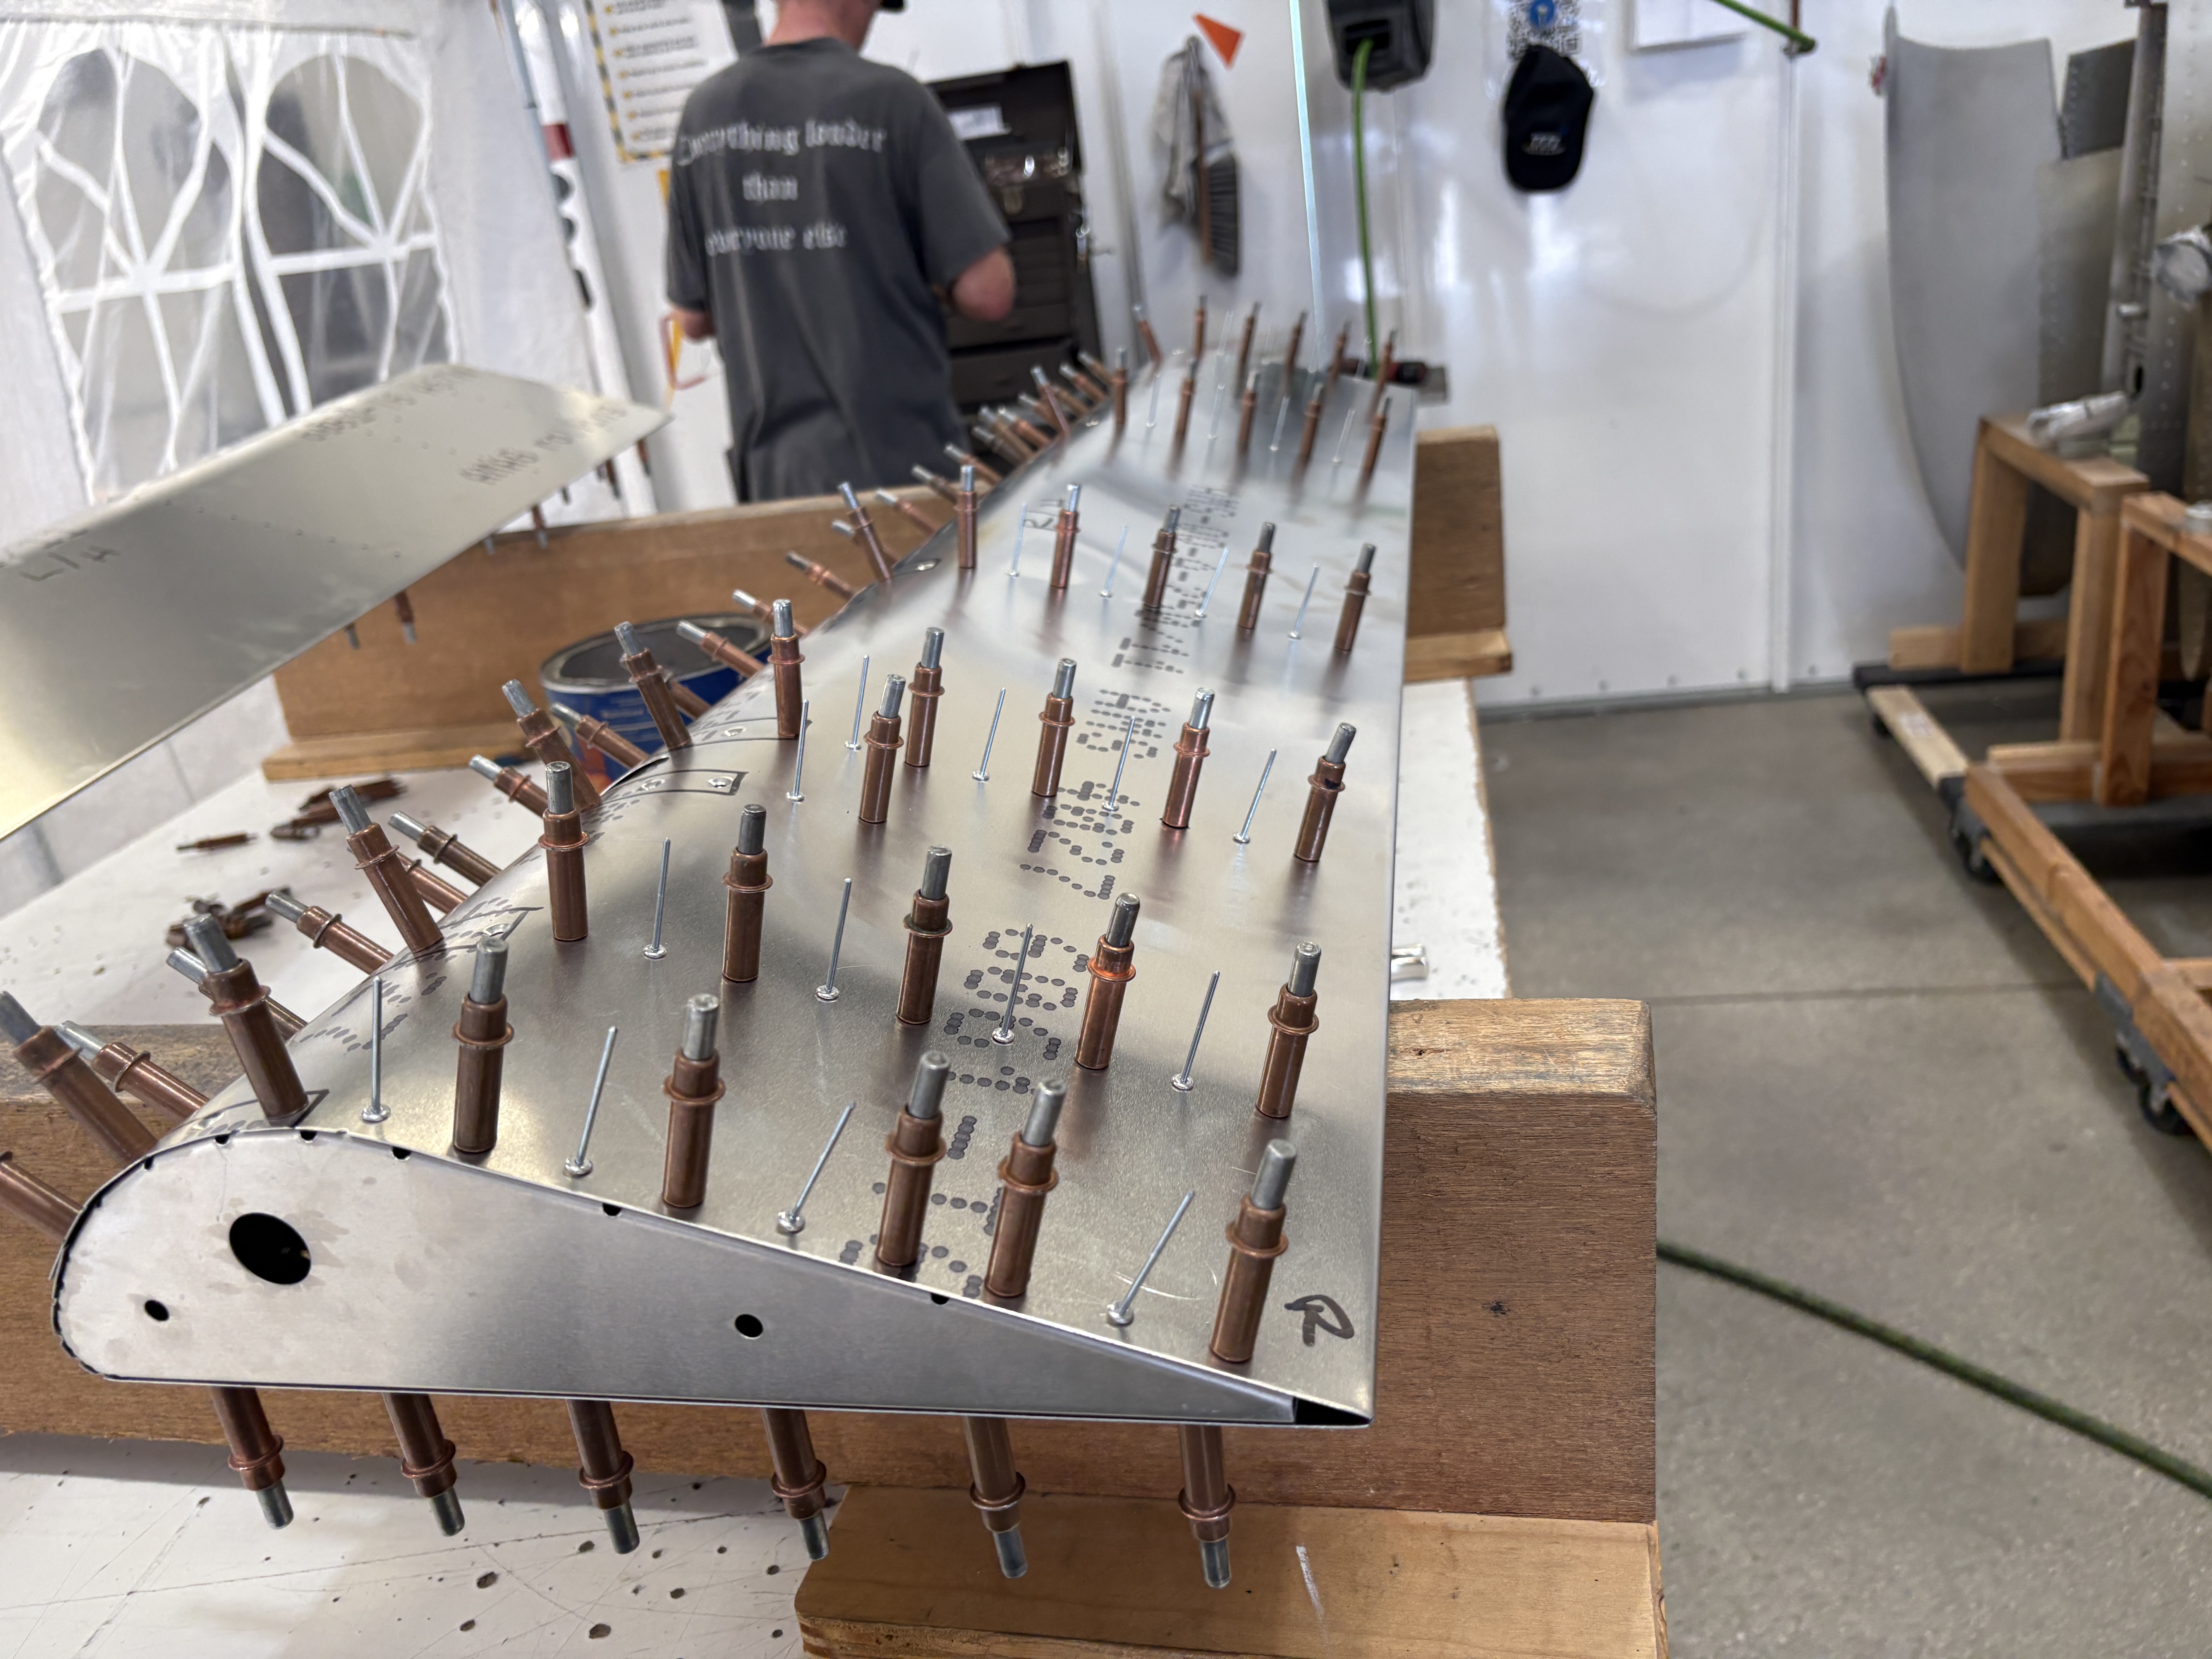
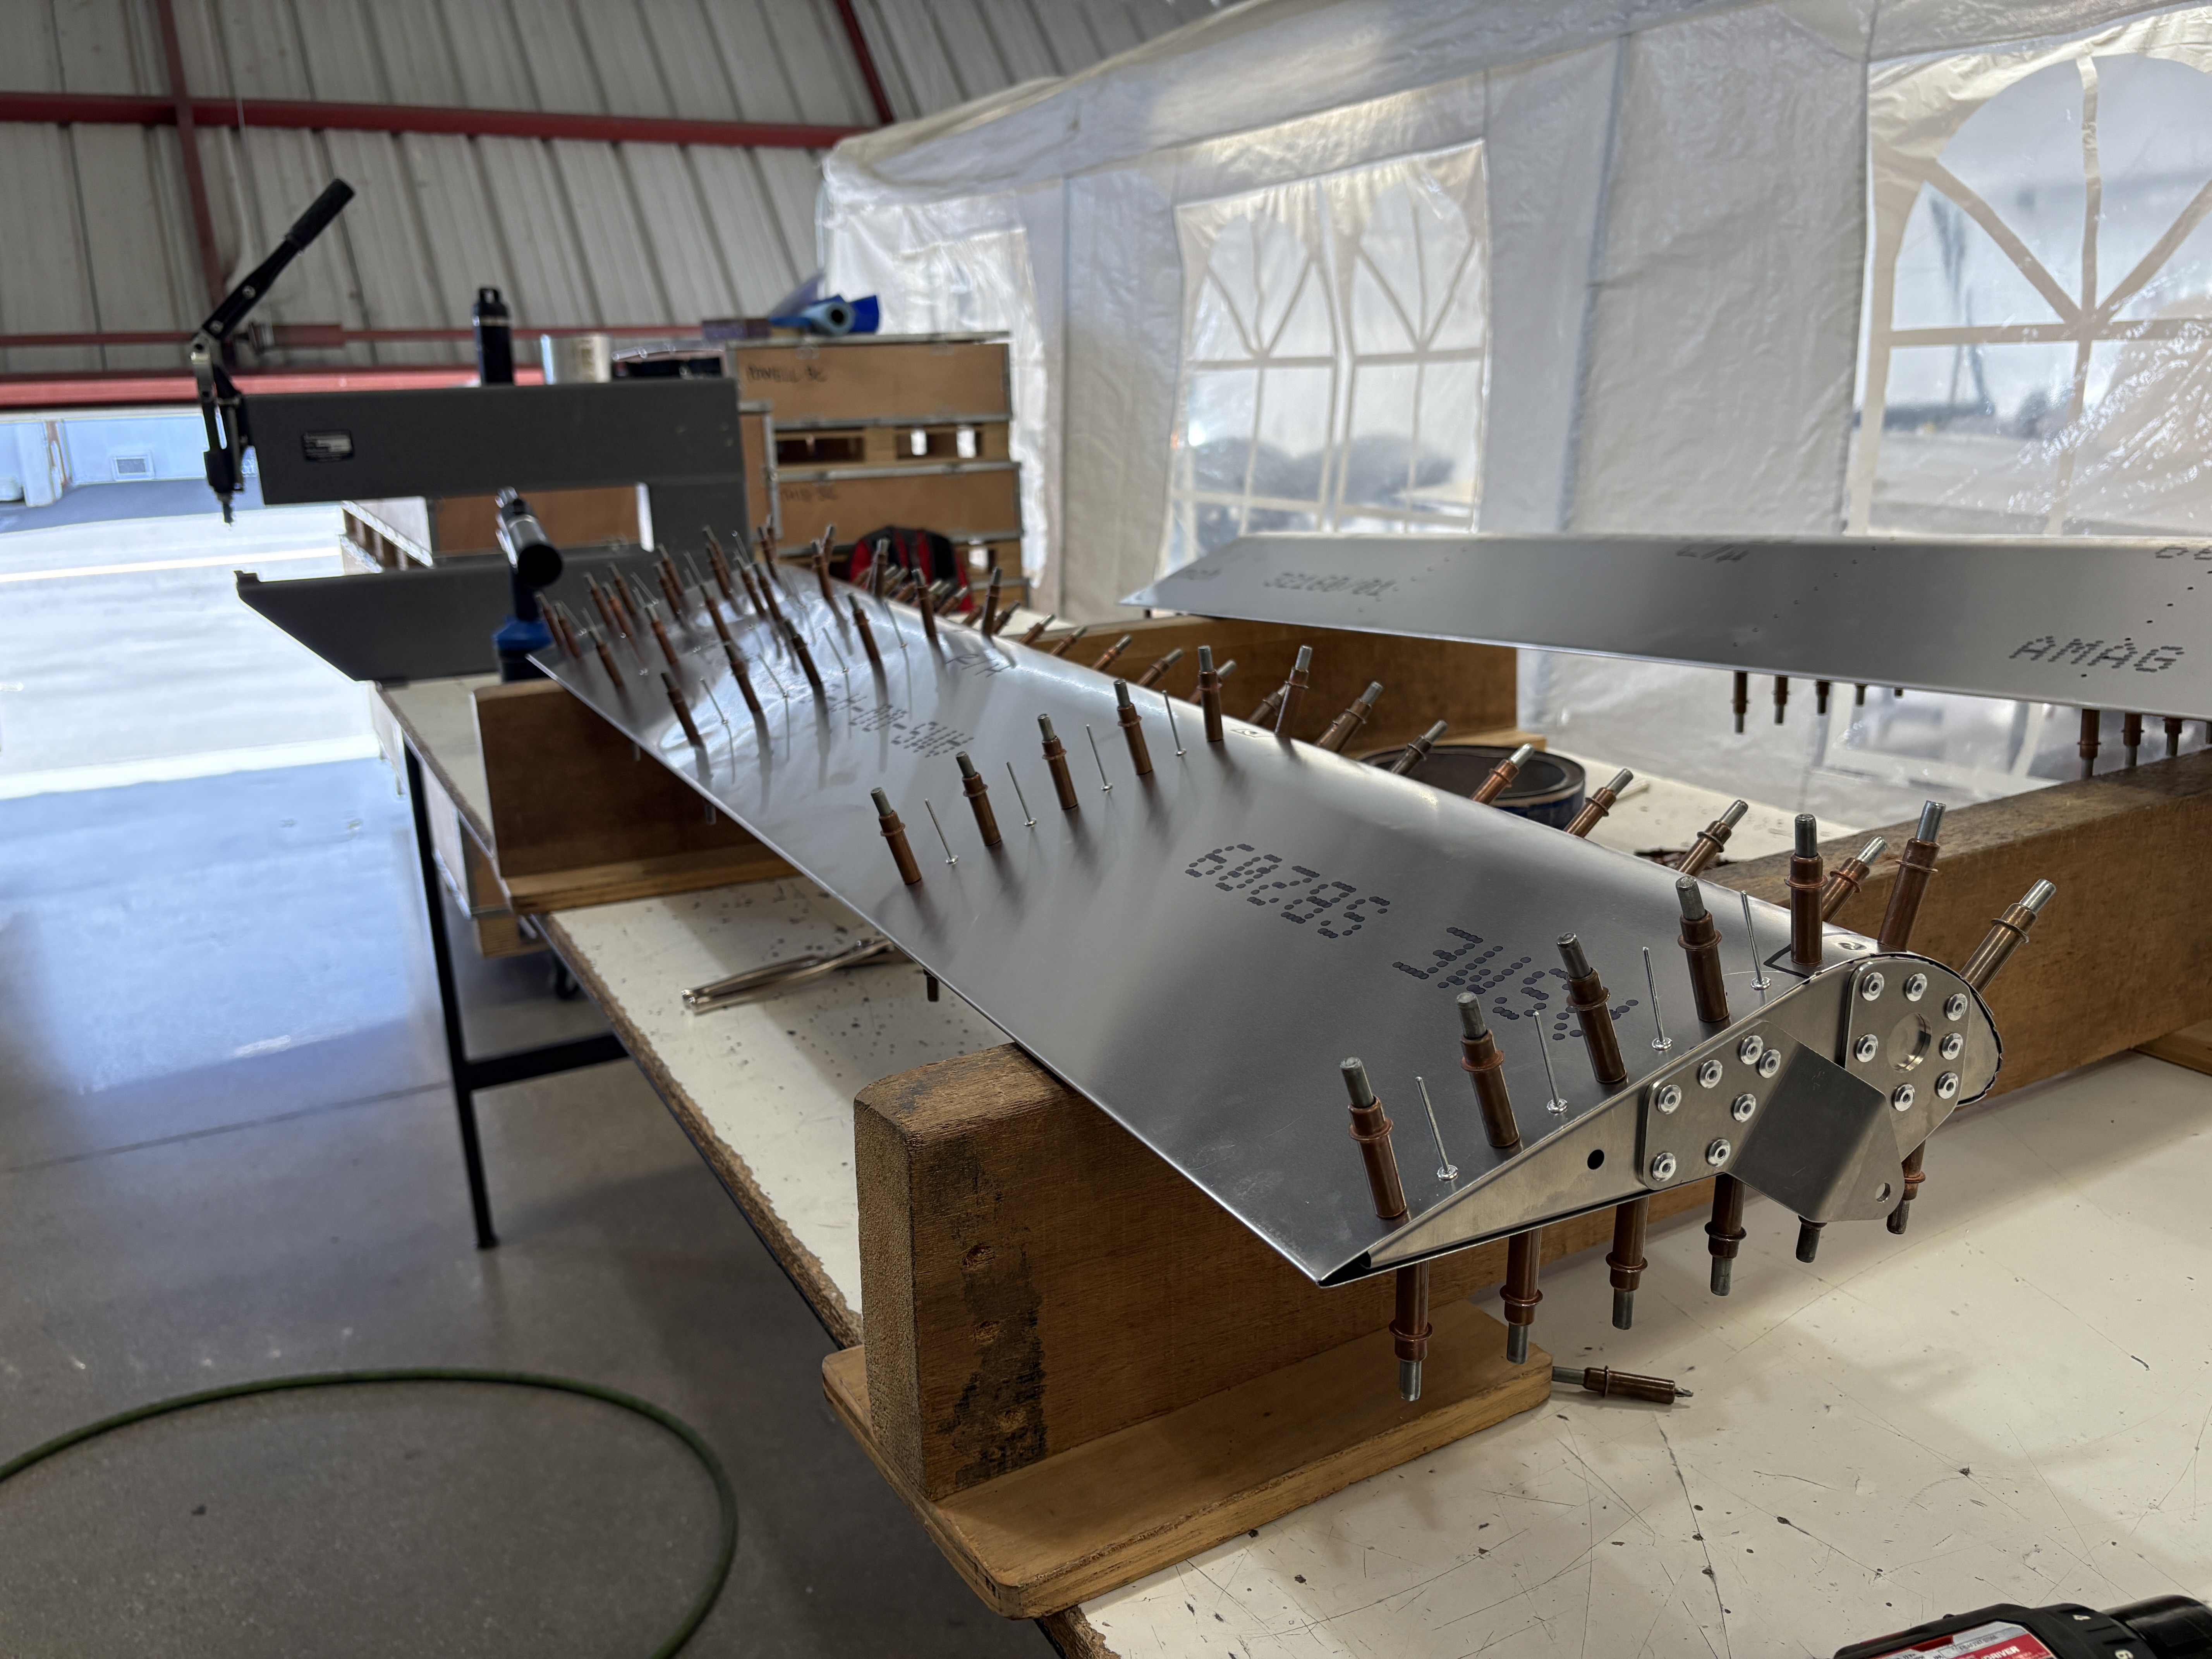
The flaps was my first real taste of building a control surface from scratch. Think skeleton work: ribs, brackets, and spars all coming together. Then came the dimpling for flush rivets on the leading edge — a bit fussy, but worth it for the smooth, drag-free finish. By the end, I had something that actually looked like the back end of an airplane instead of a collection of shiny puzzle pieces.


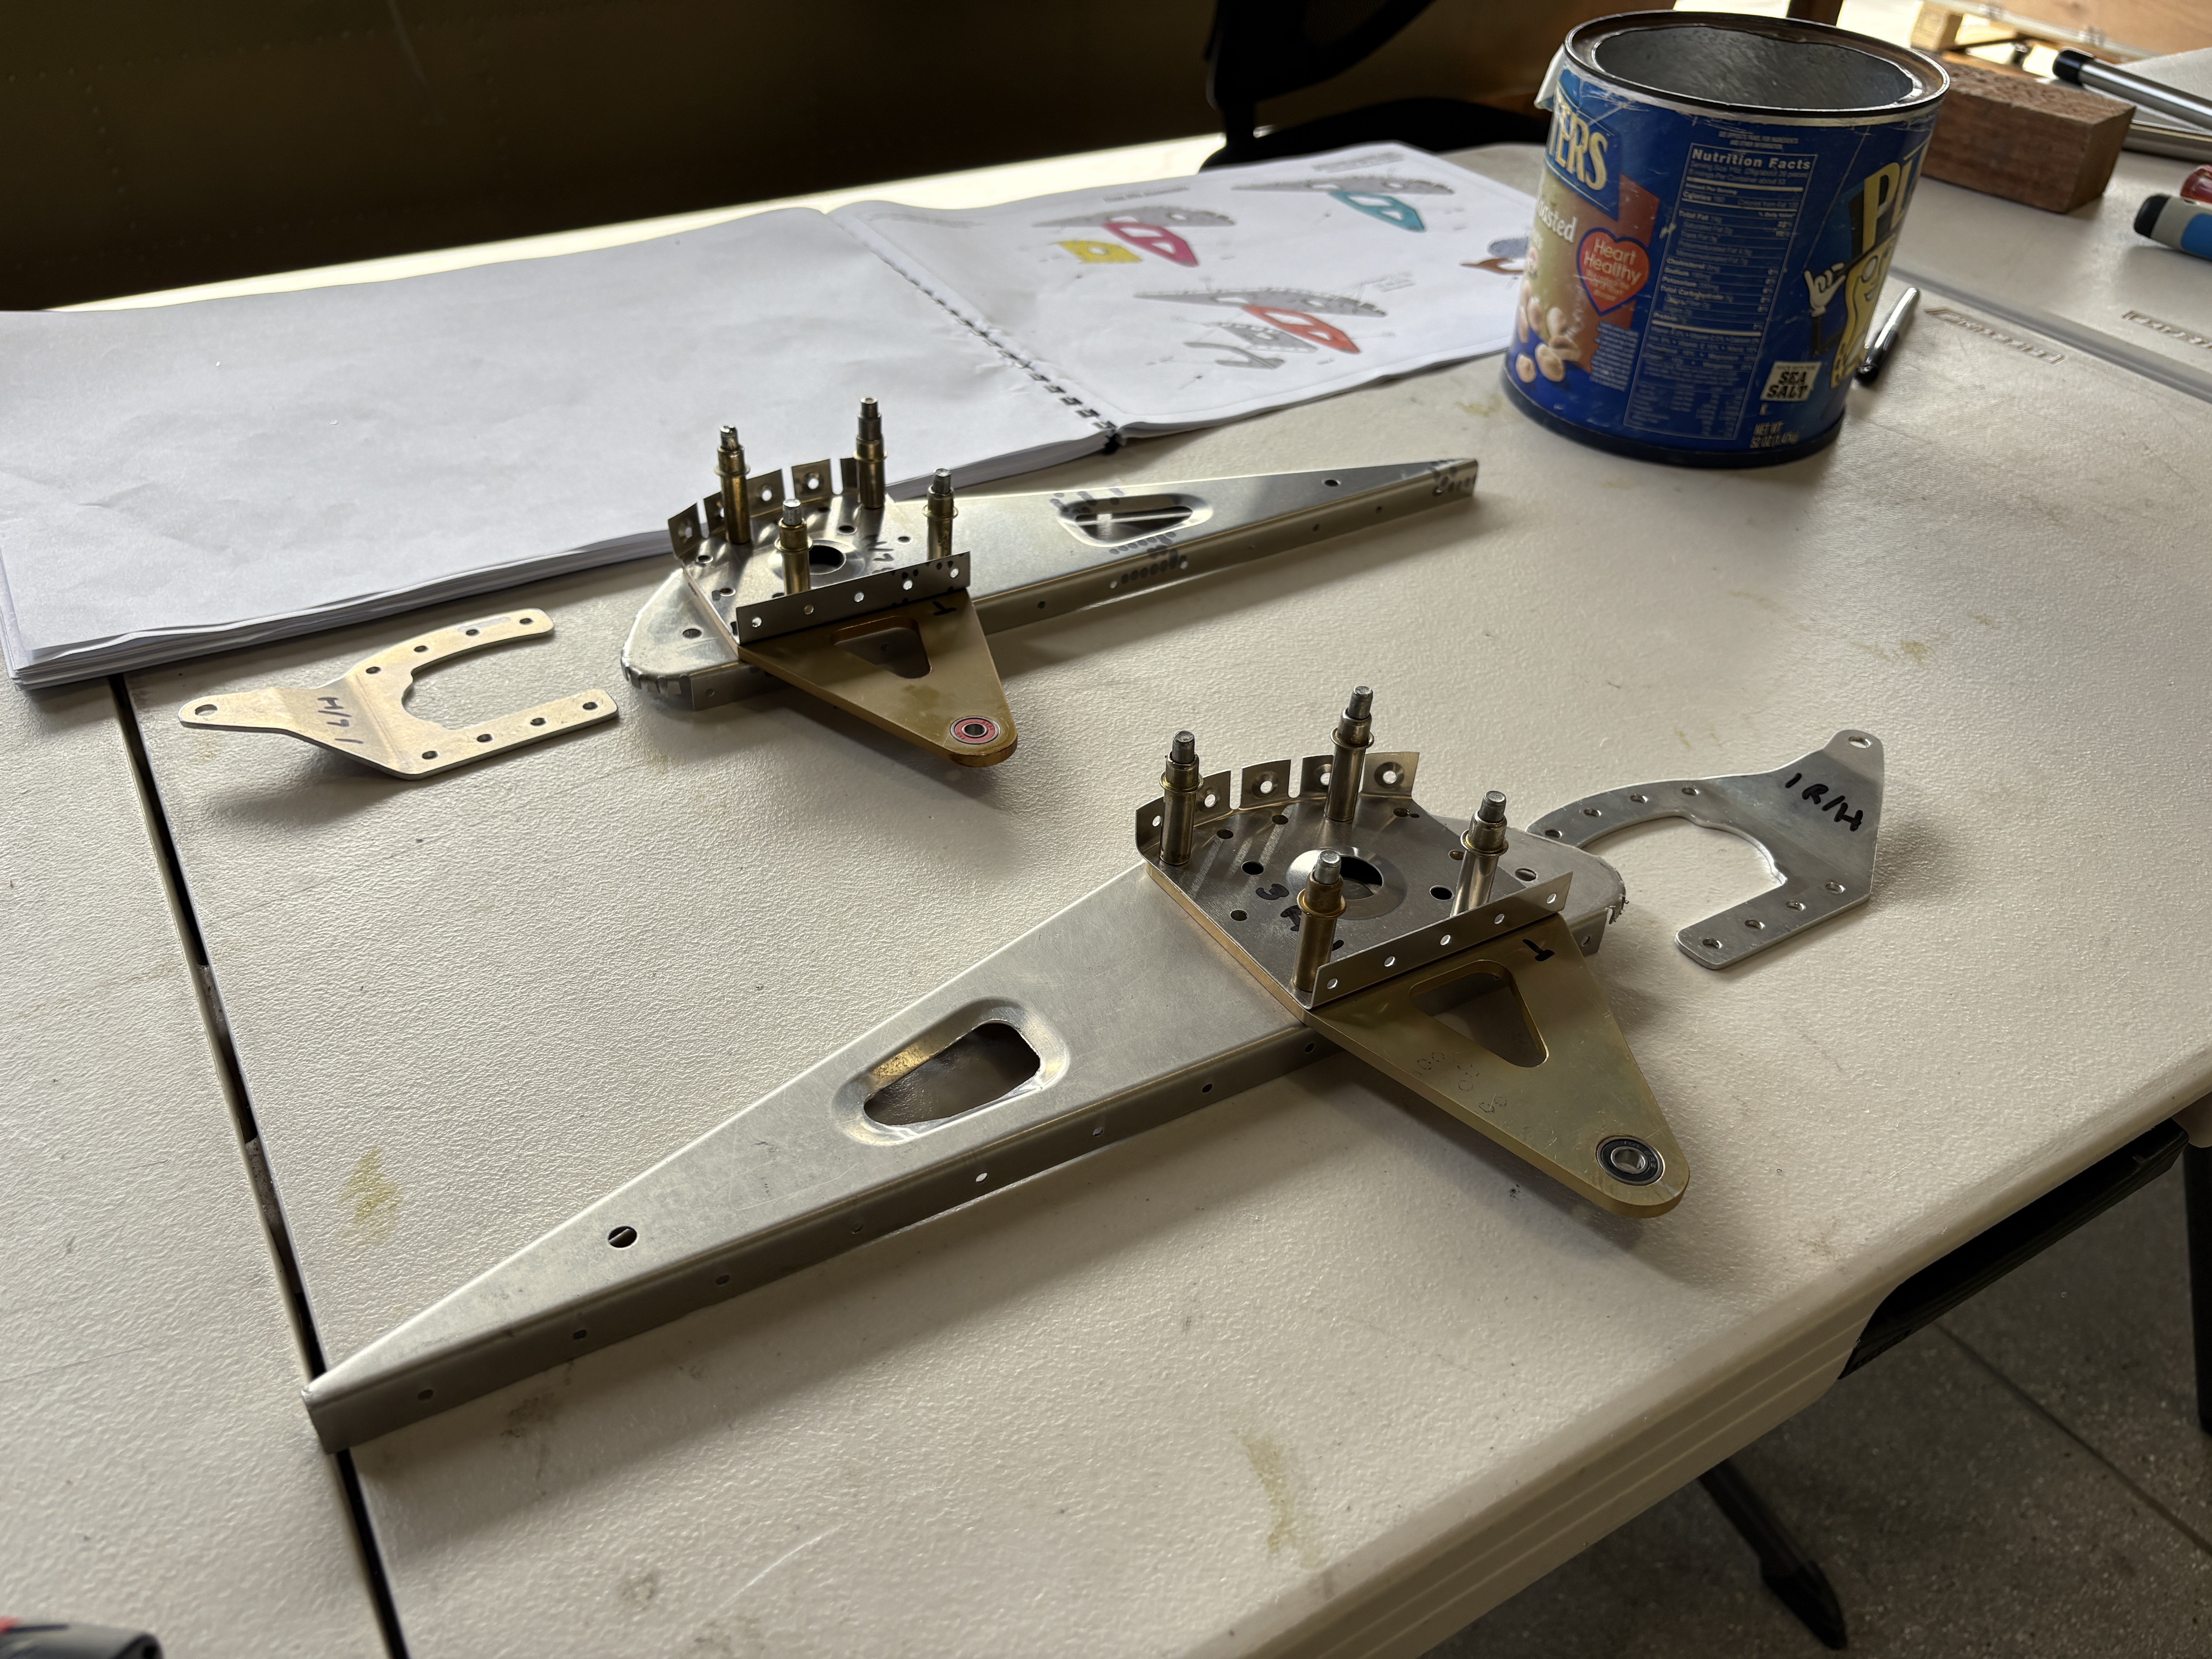
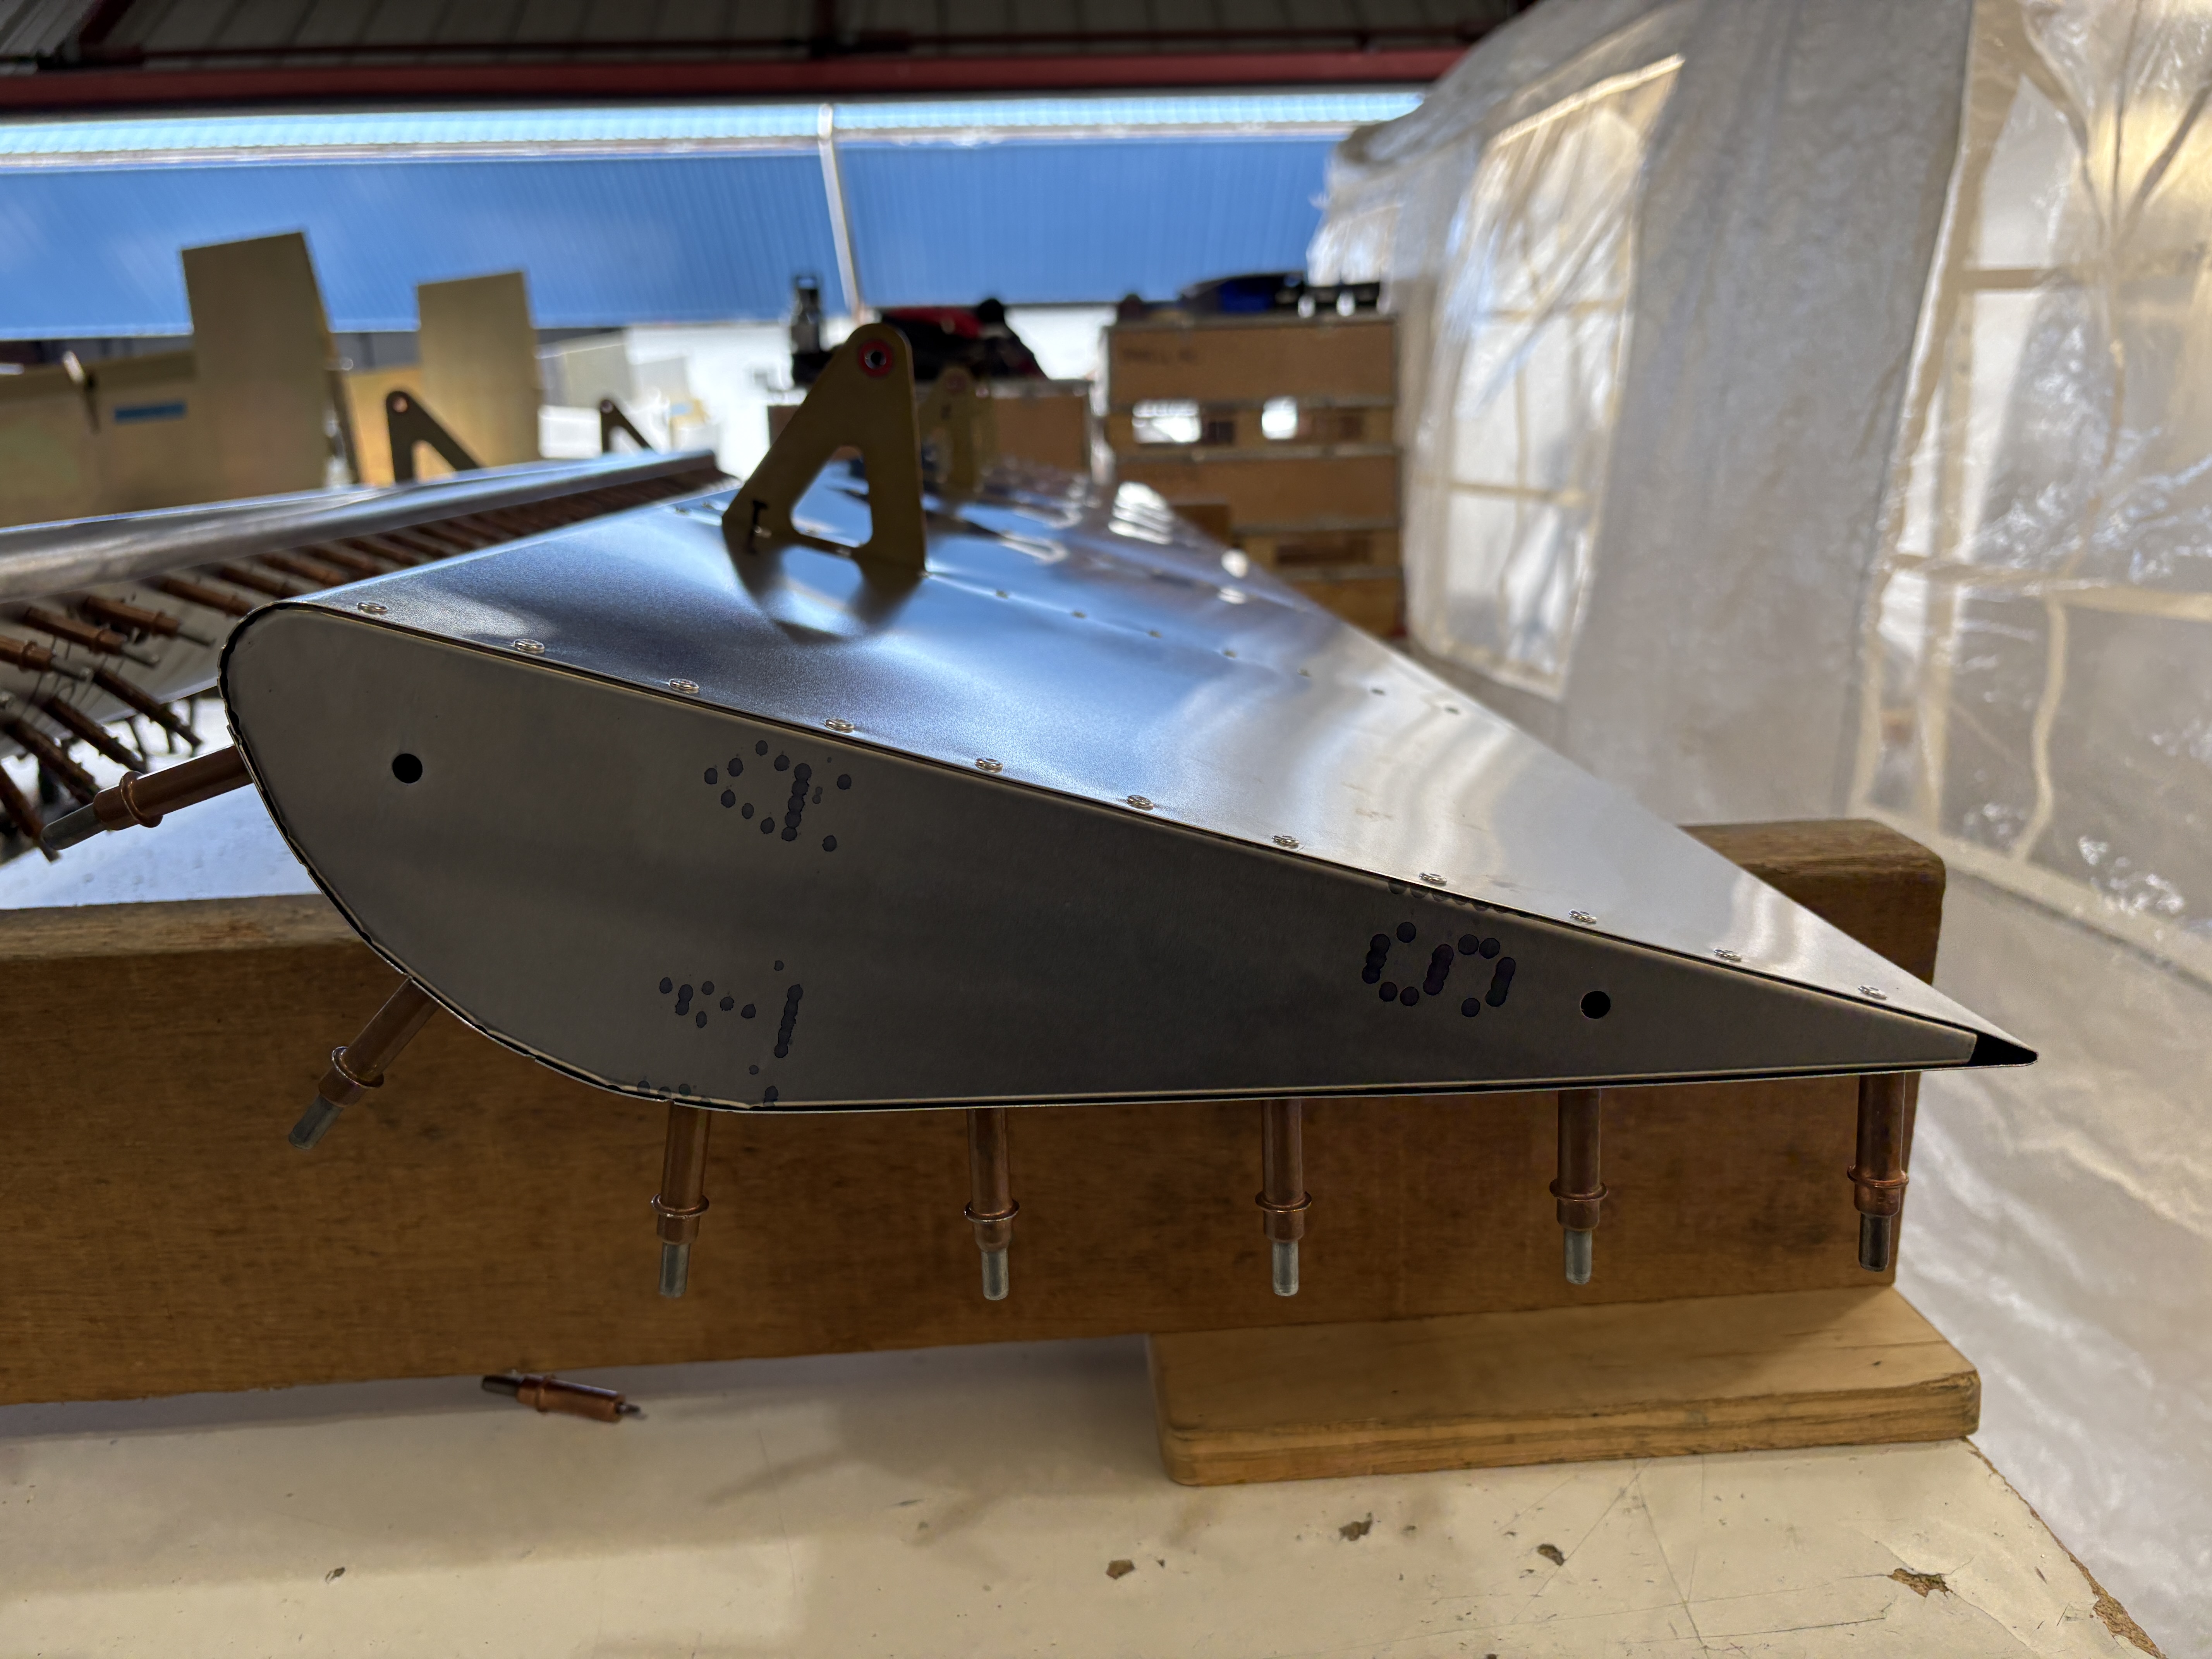
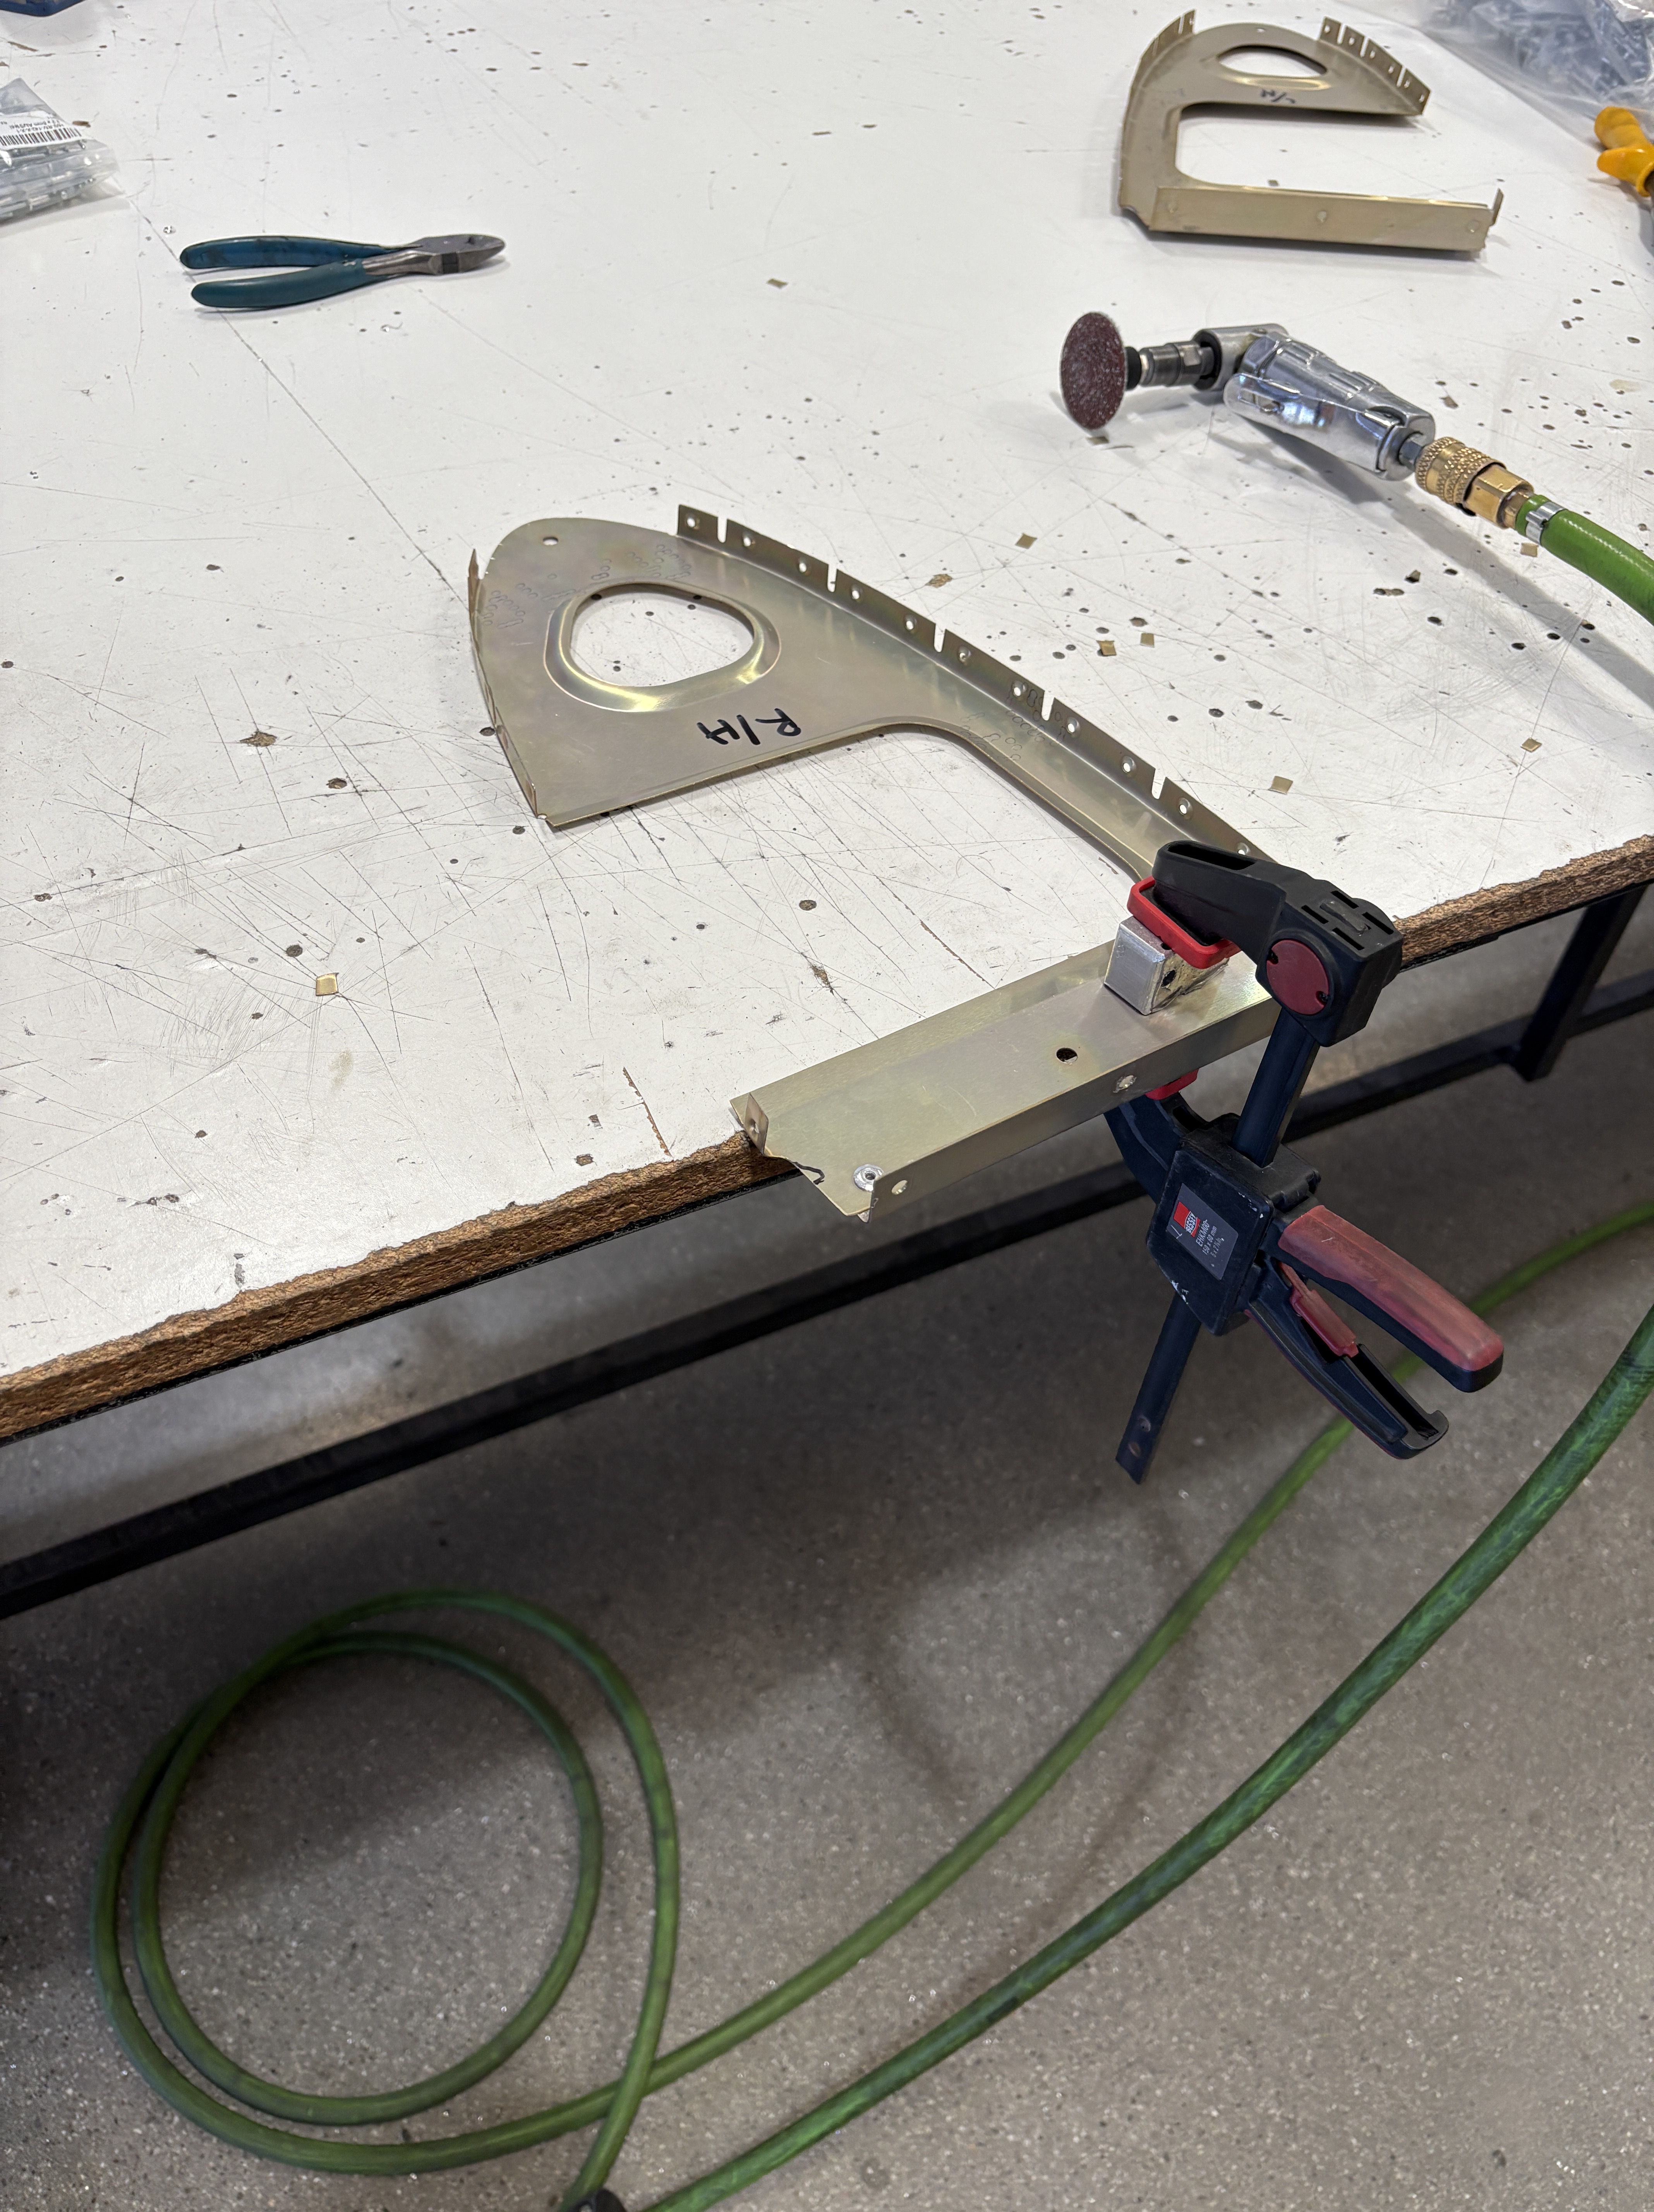
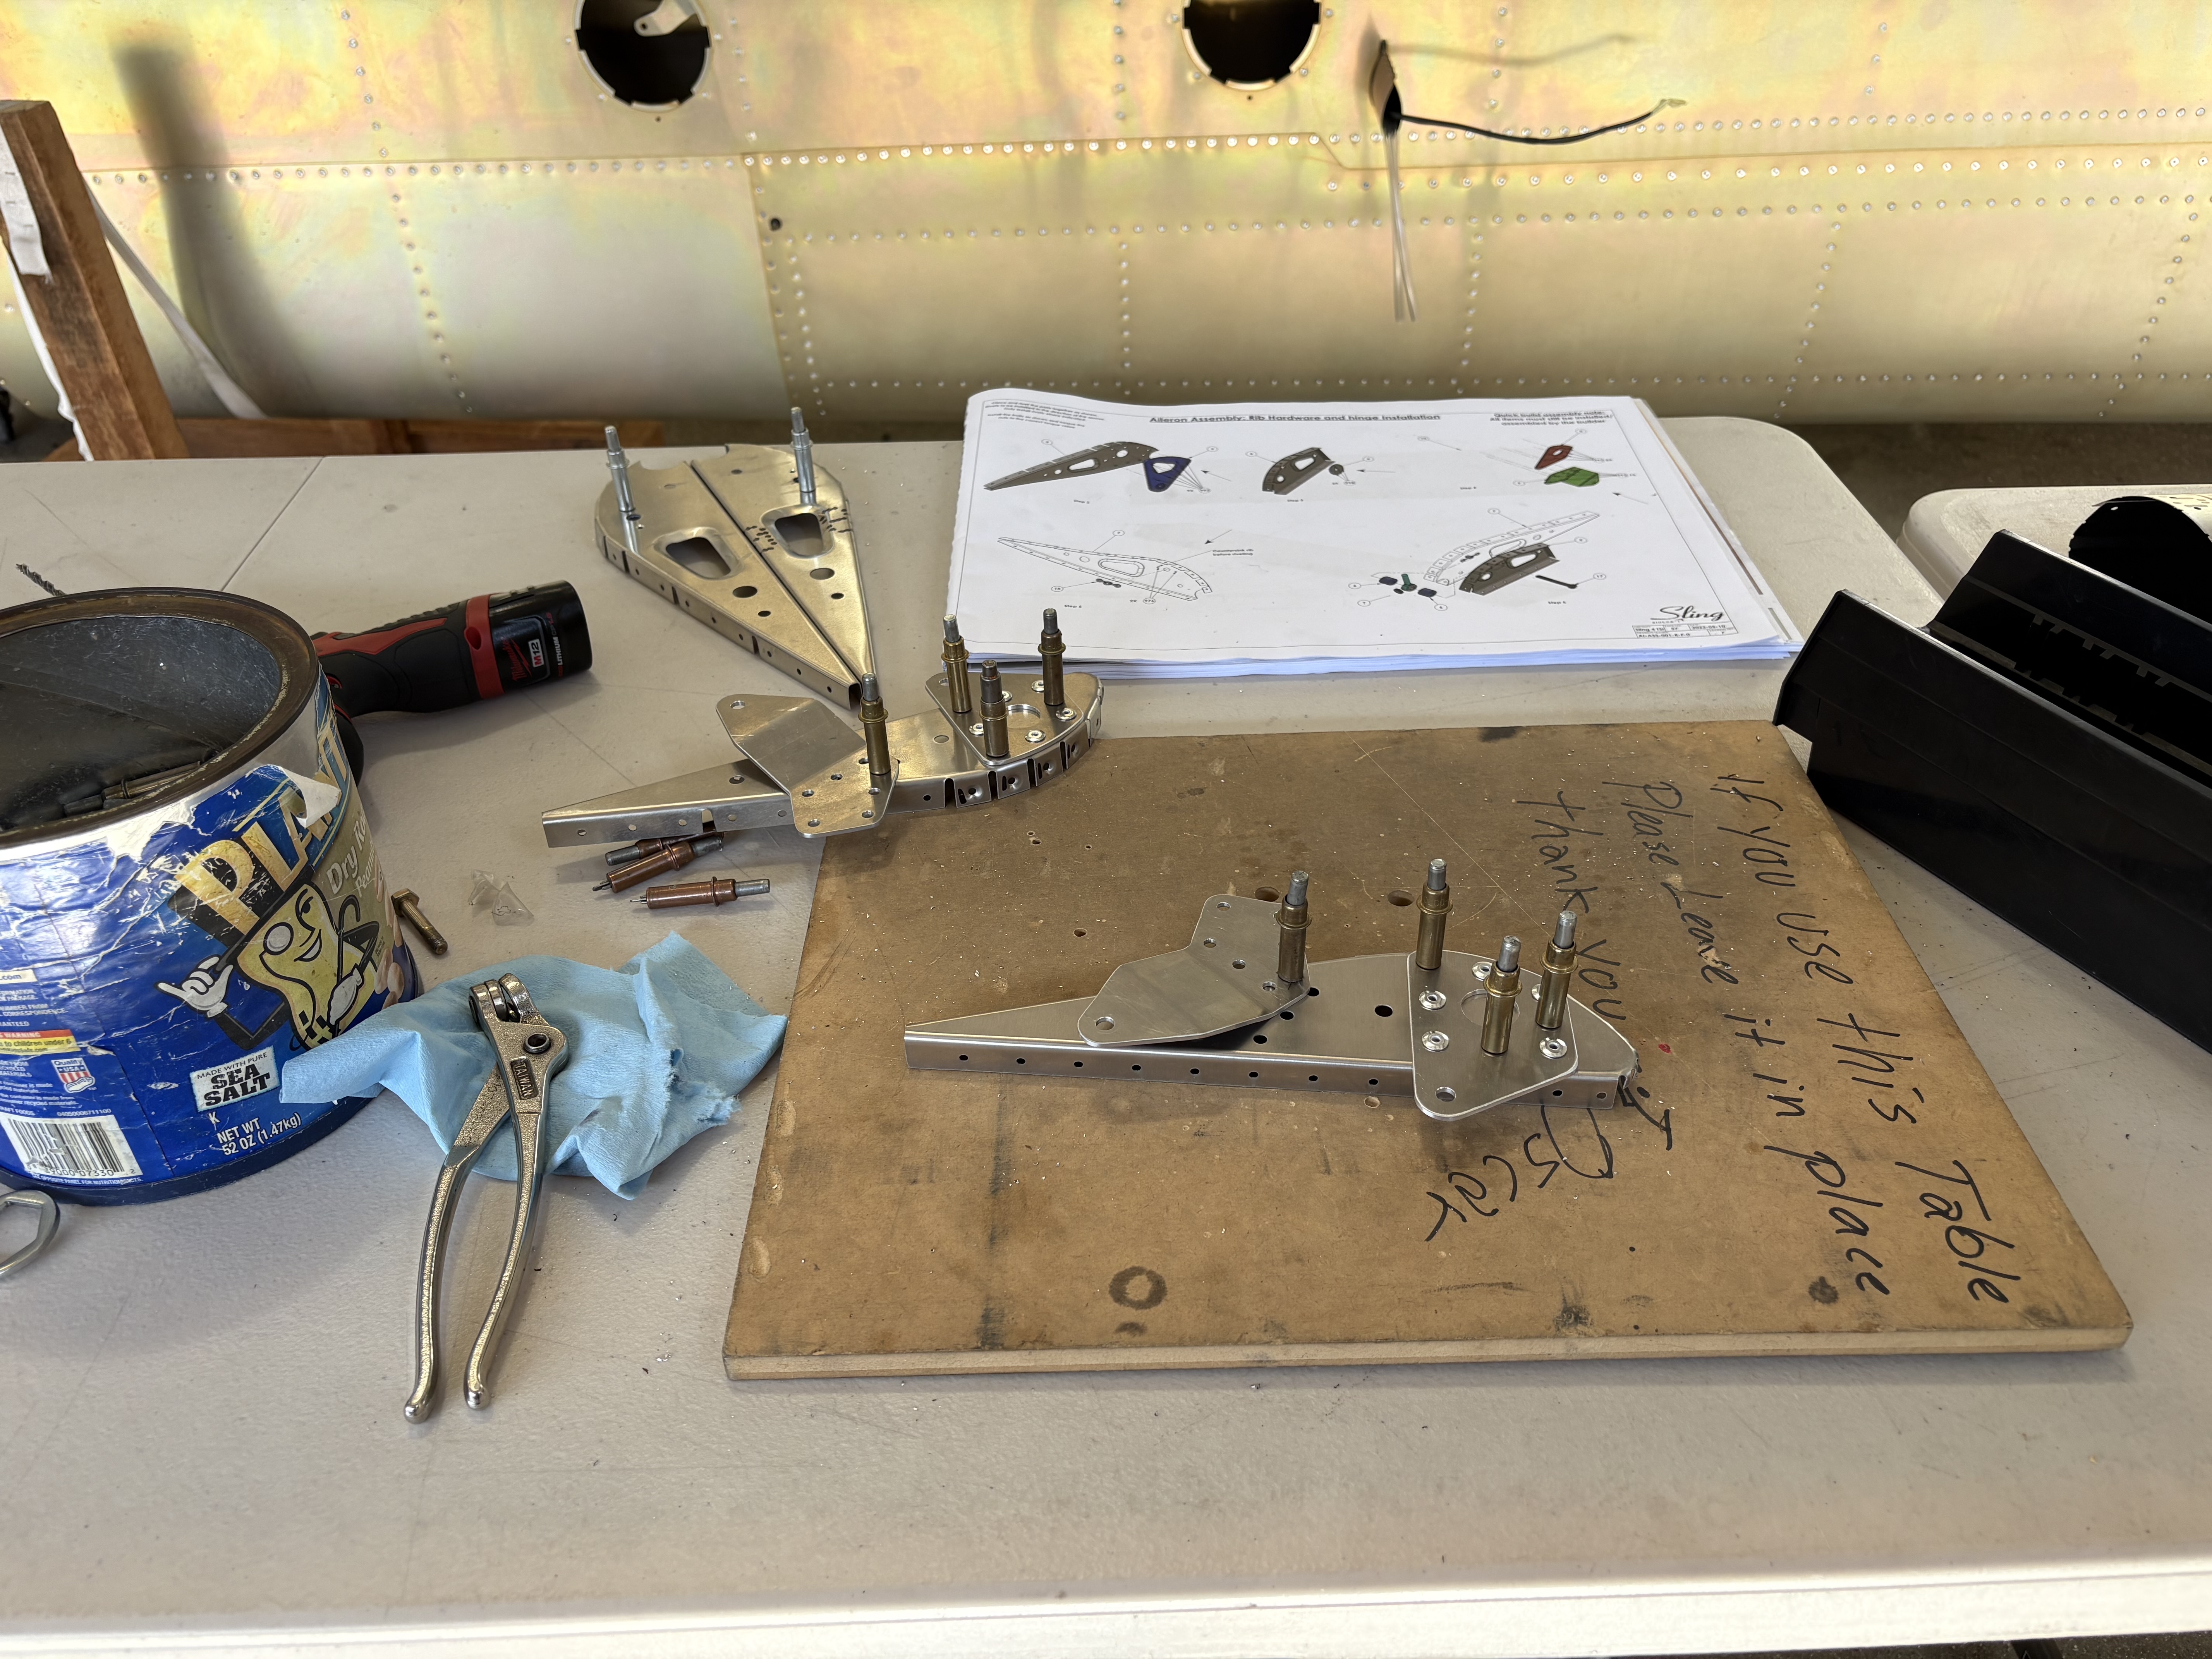
Ailerons
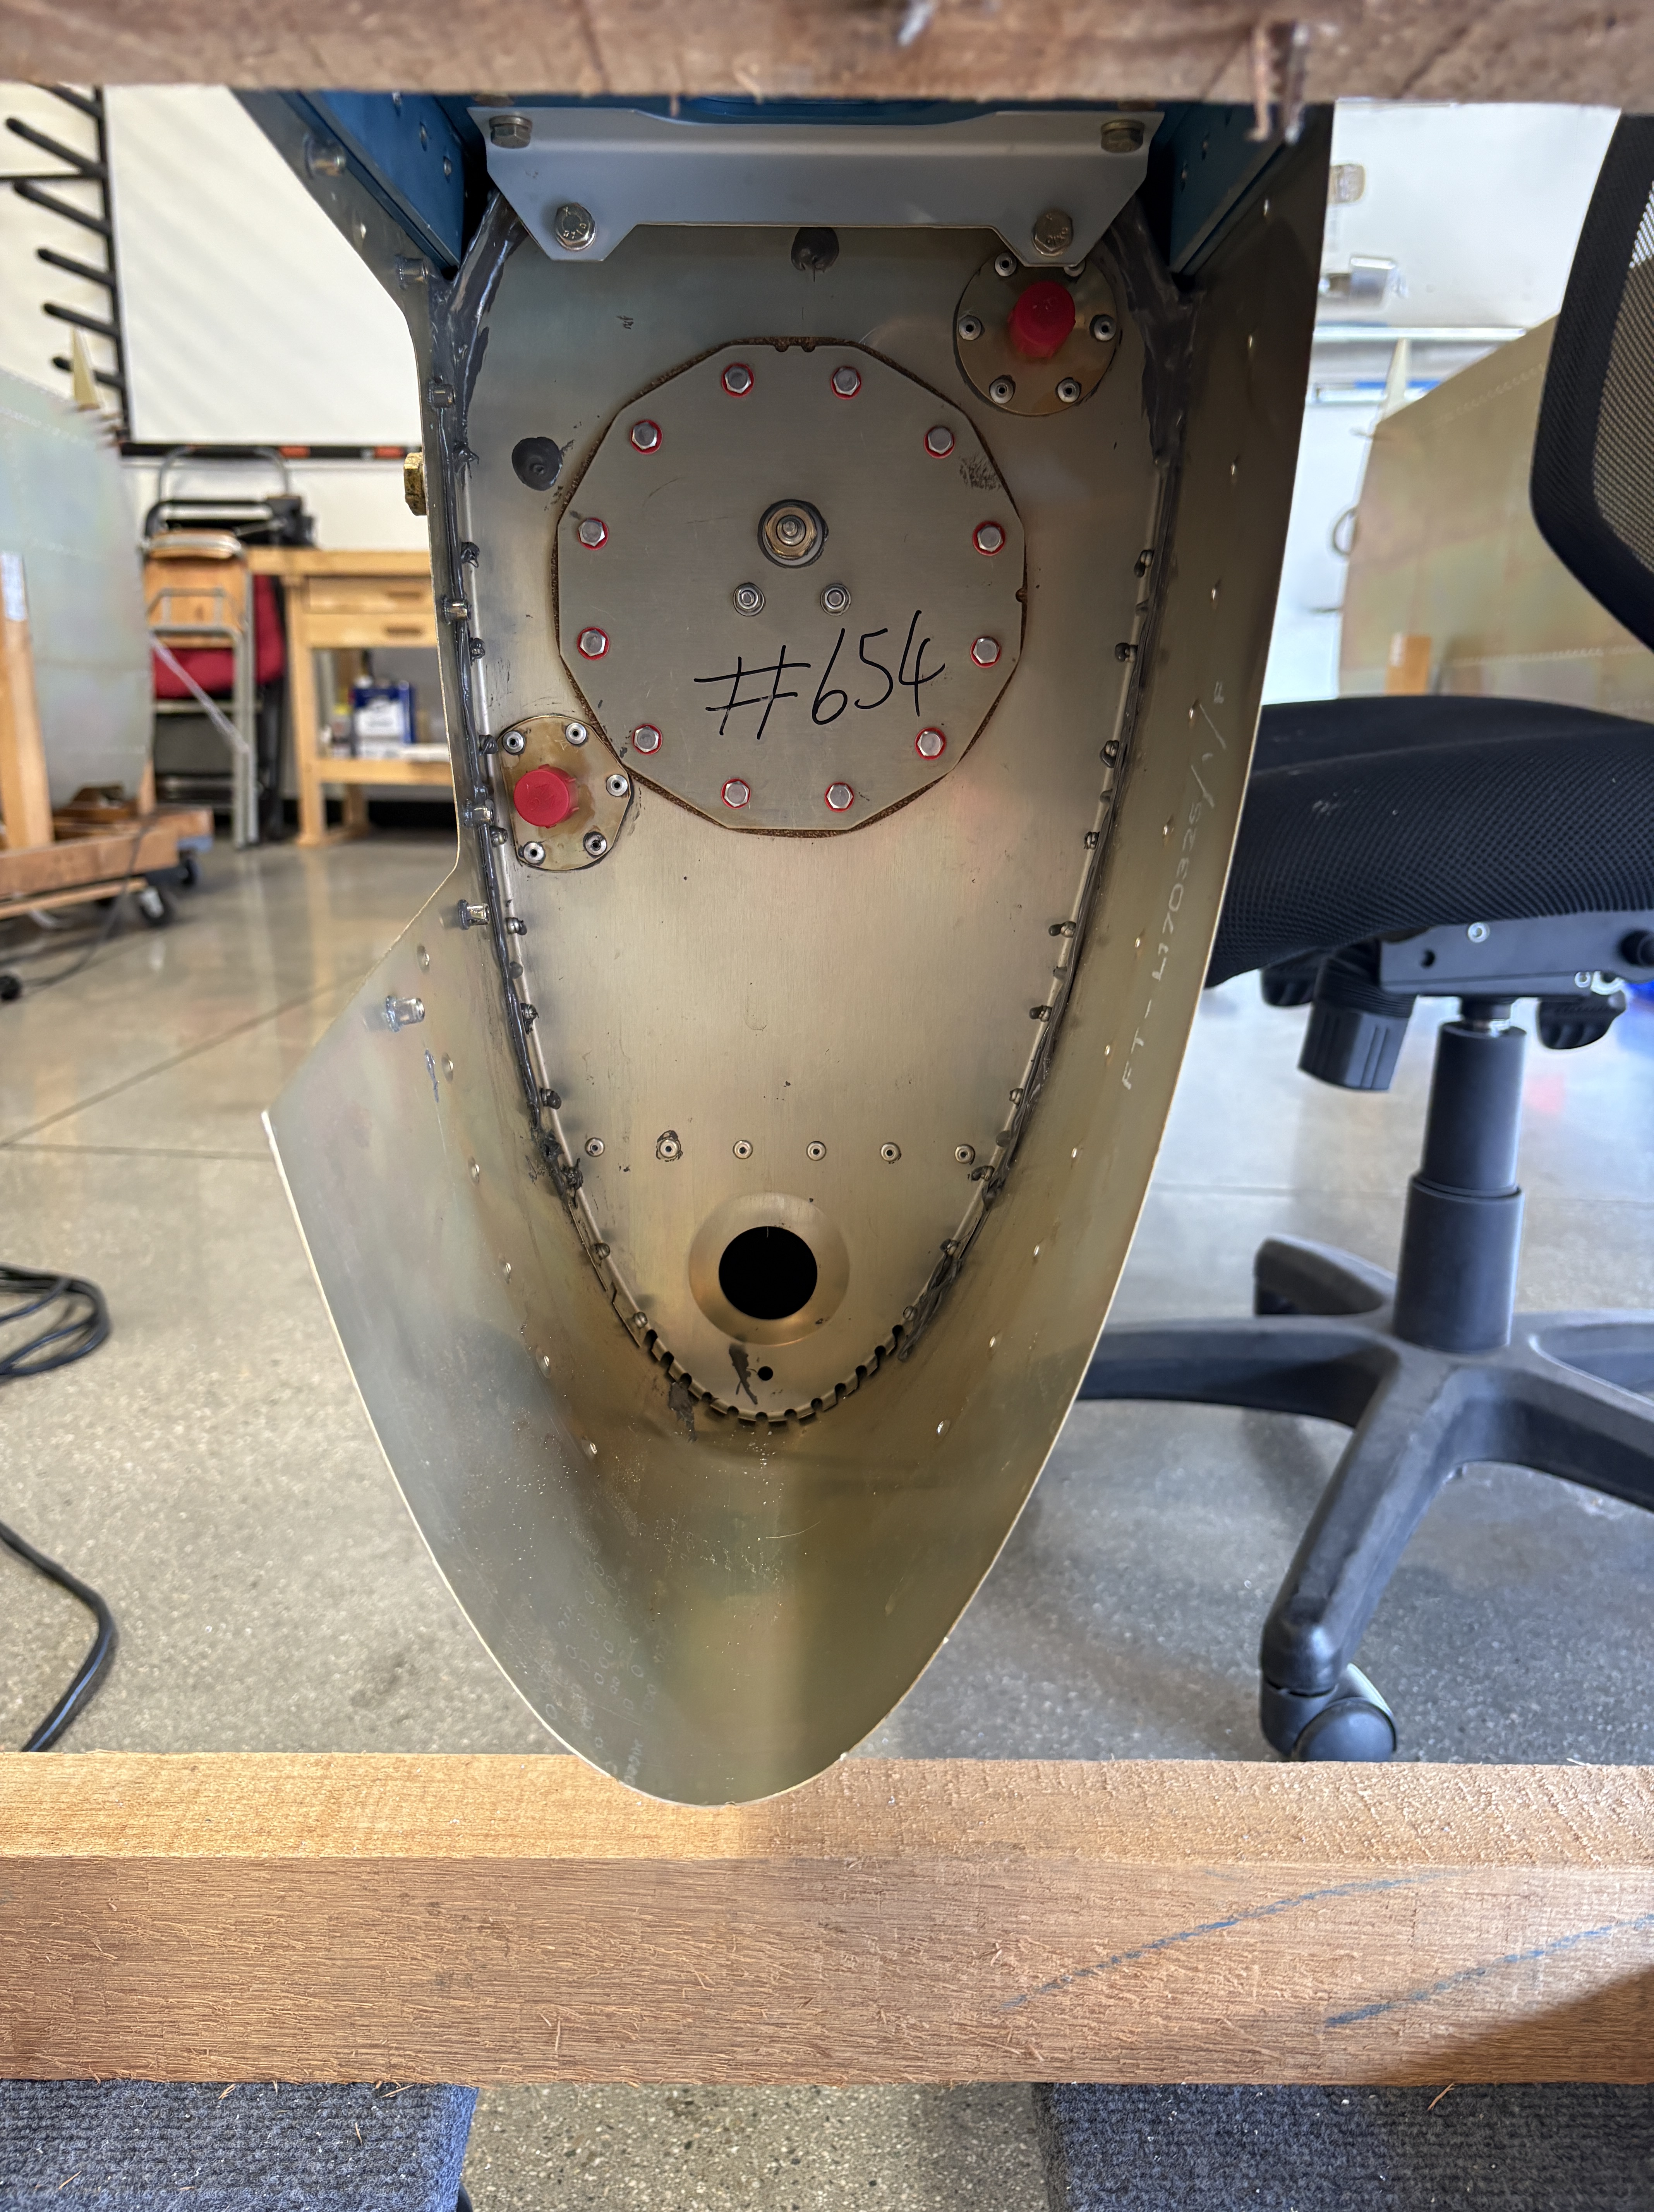
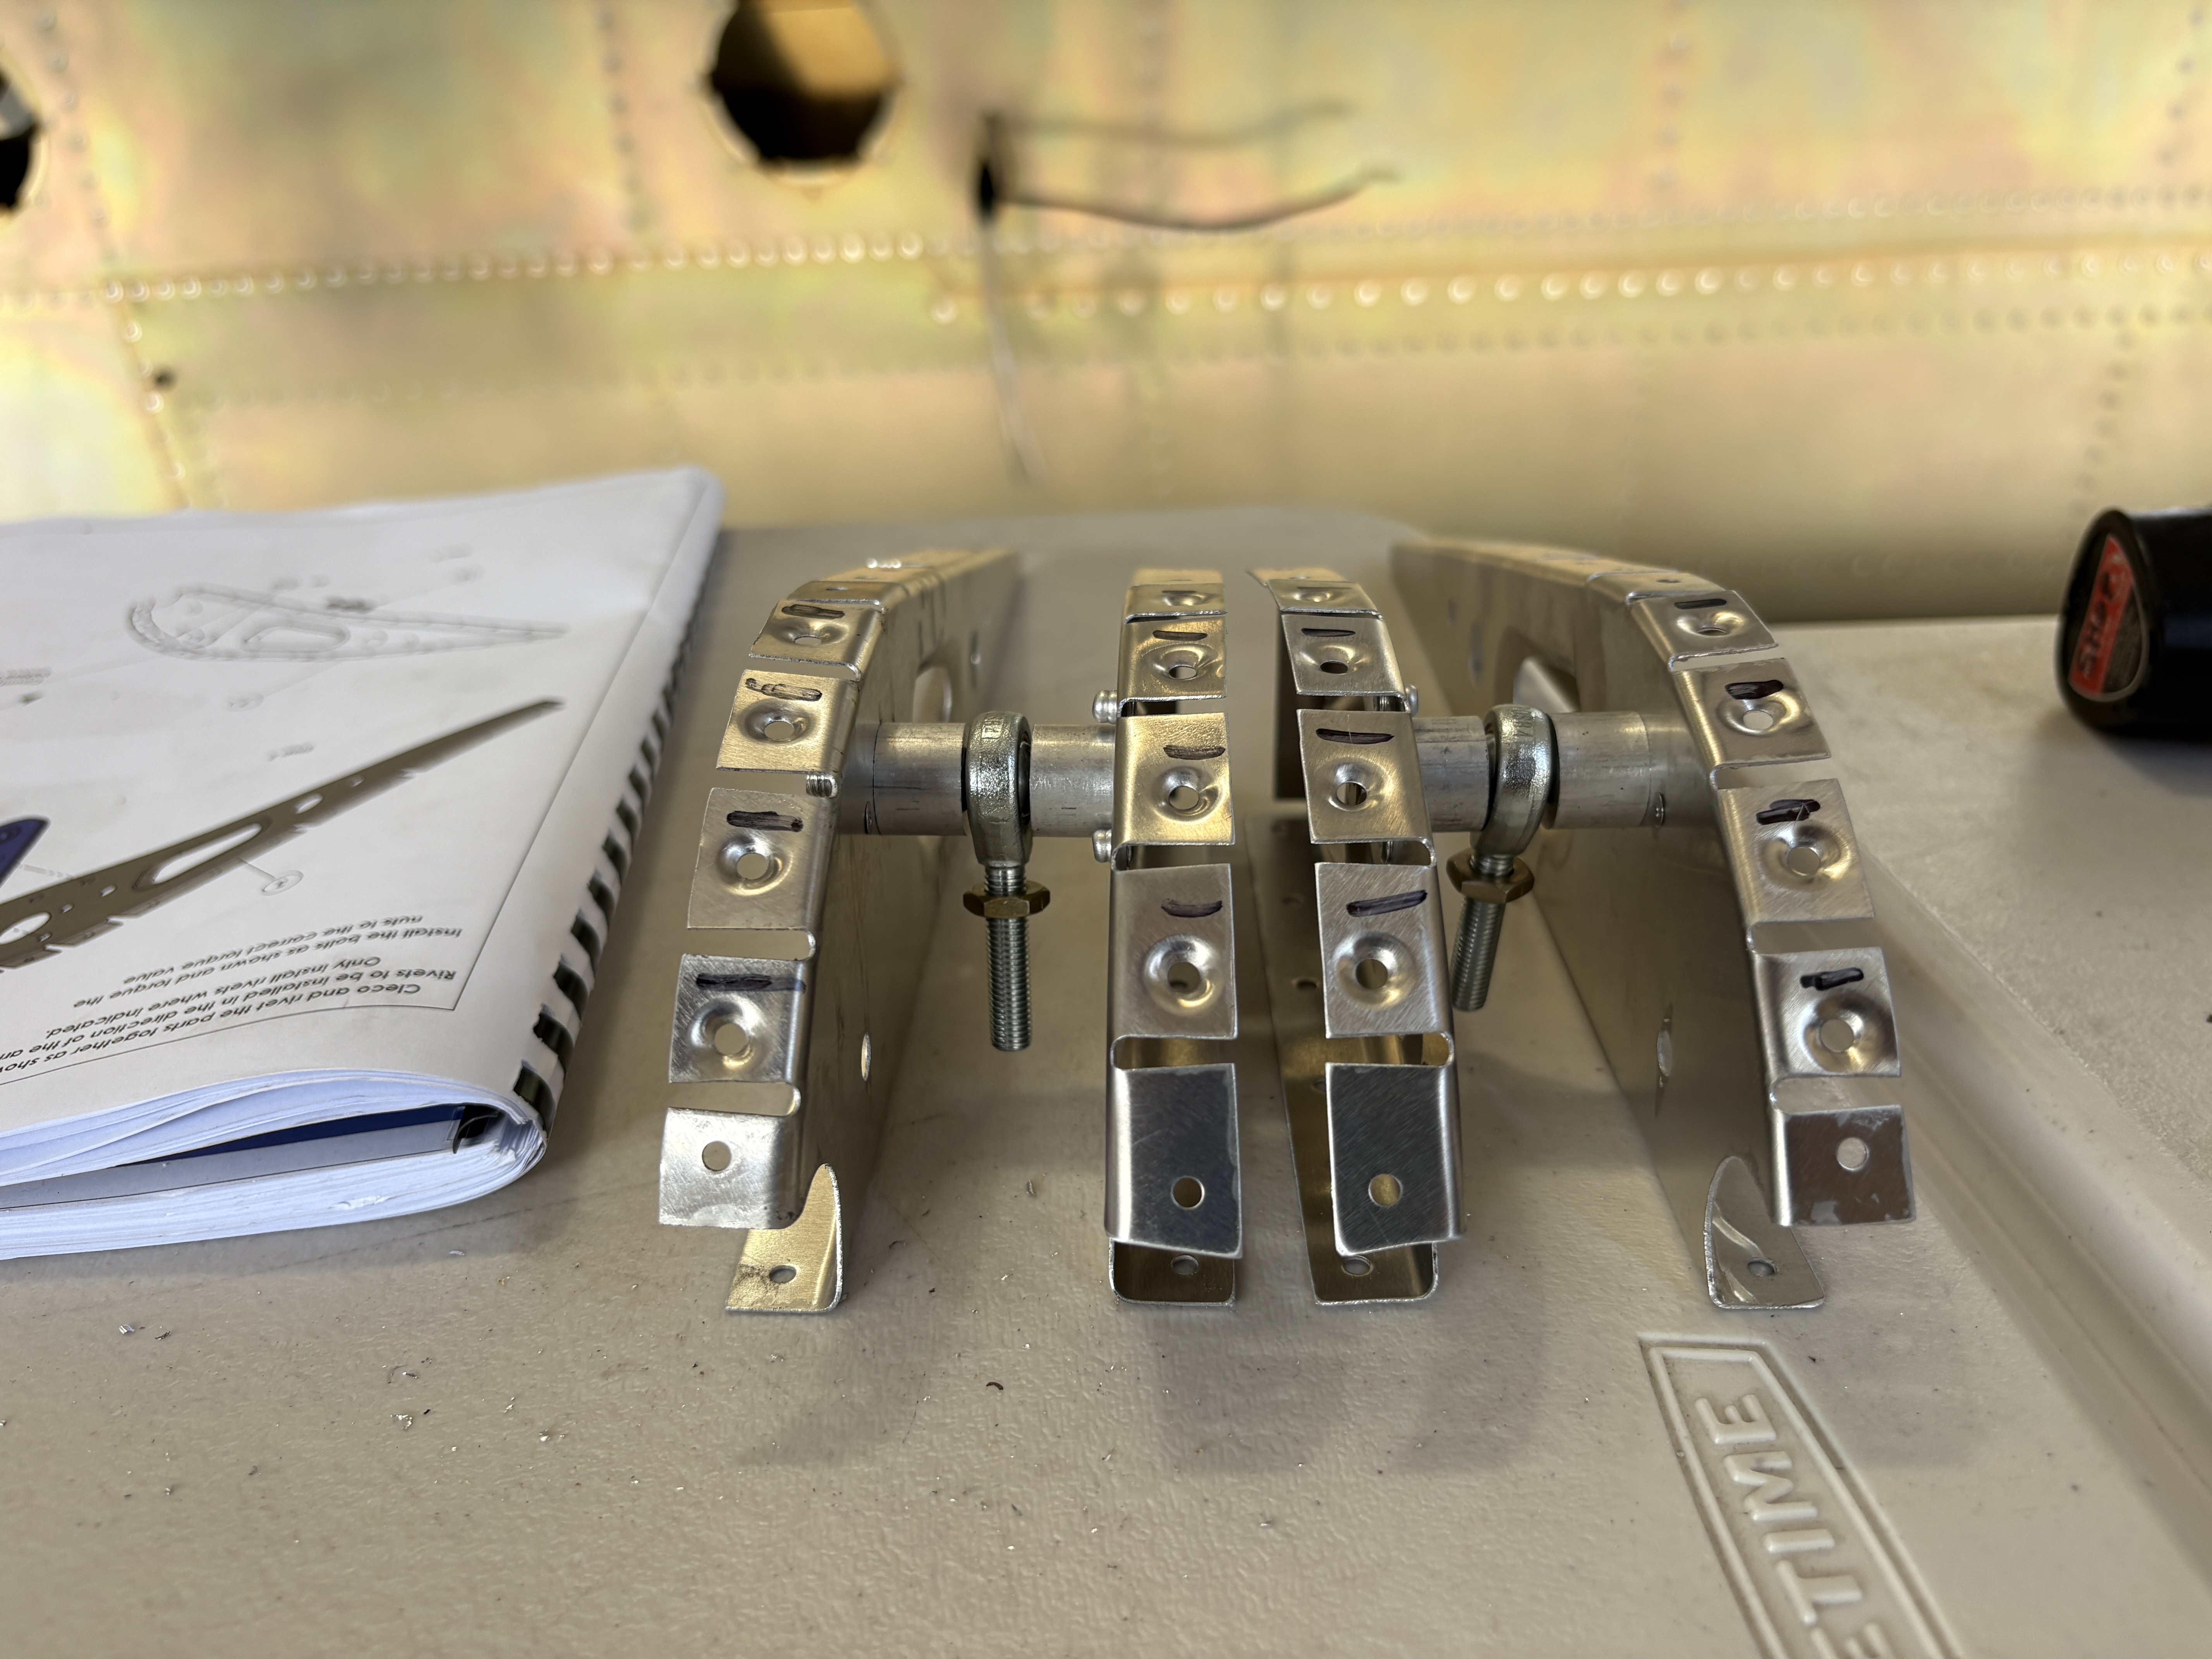
If the rudder is the entrée, the ailerons are the tapas version: smaller, but equally satisfying. Same process of ribs and skins, with one extra twist — the balance tube up front. This hunk of metal counteracts flutter in flight, and installing it gave me a newfound respect for all the little tricks that keep airplanes stable when you’re bouncing through turbulence.

Wrap-Up

This visit taught me a few things (besides how often you can whack your knuckles with a rivet gun before it stops being funny):
- Metalwork feels real. Ribs, brackets, dimples, and rivets all coming together make the airplane feel less theoretical and more alive.
- Flush rivets are a rite of passage. They’re fiddly, but they make the leading edges look slick and fast.
- Fuel tanks passing a pressure test is a thrill. No leaks means one less sleepless night imagining avgas dripping onto my hangar floor.
- The worst job? Hands down, peeling the protective plastic film off giant aluminum sheets — it’s basically CrossFit for builders.
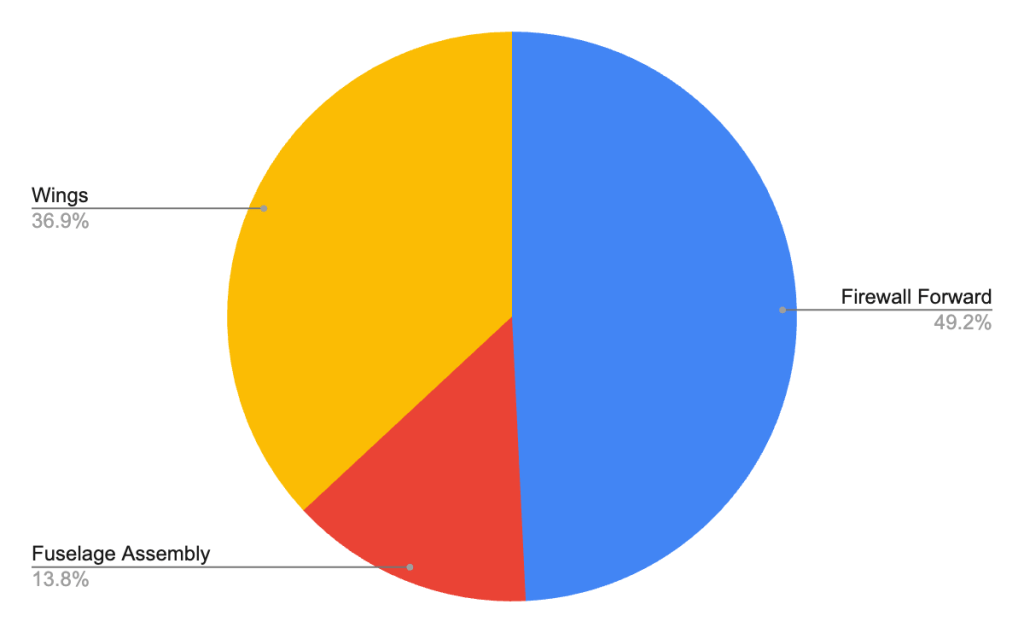
Here is the progress time allocation so far:
Next visit, it’s empennage time: the horizontal and vertical stabilizers plus the elevators that keep this whole thing flying level. With wings on one side and the tail on the other, the airplane will finally stop looking like scattered organs on a workbench and start resembling the bird it’s meant to be.


Leave a comment