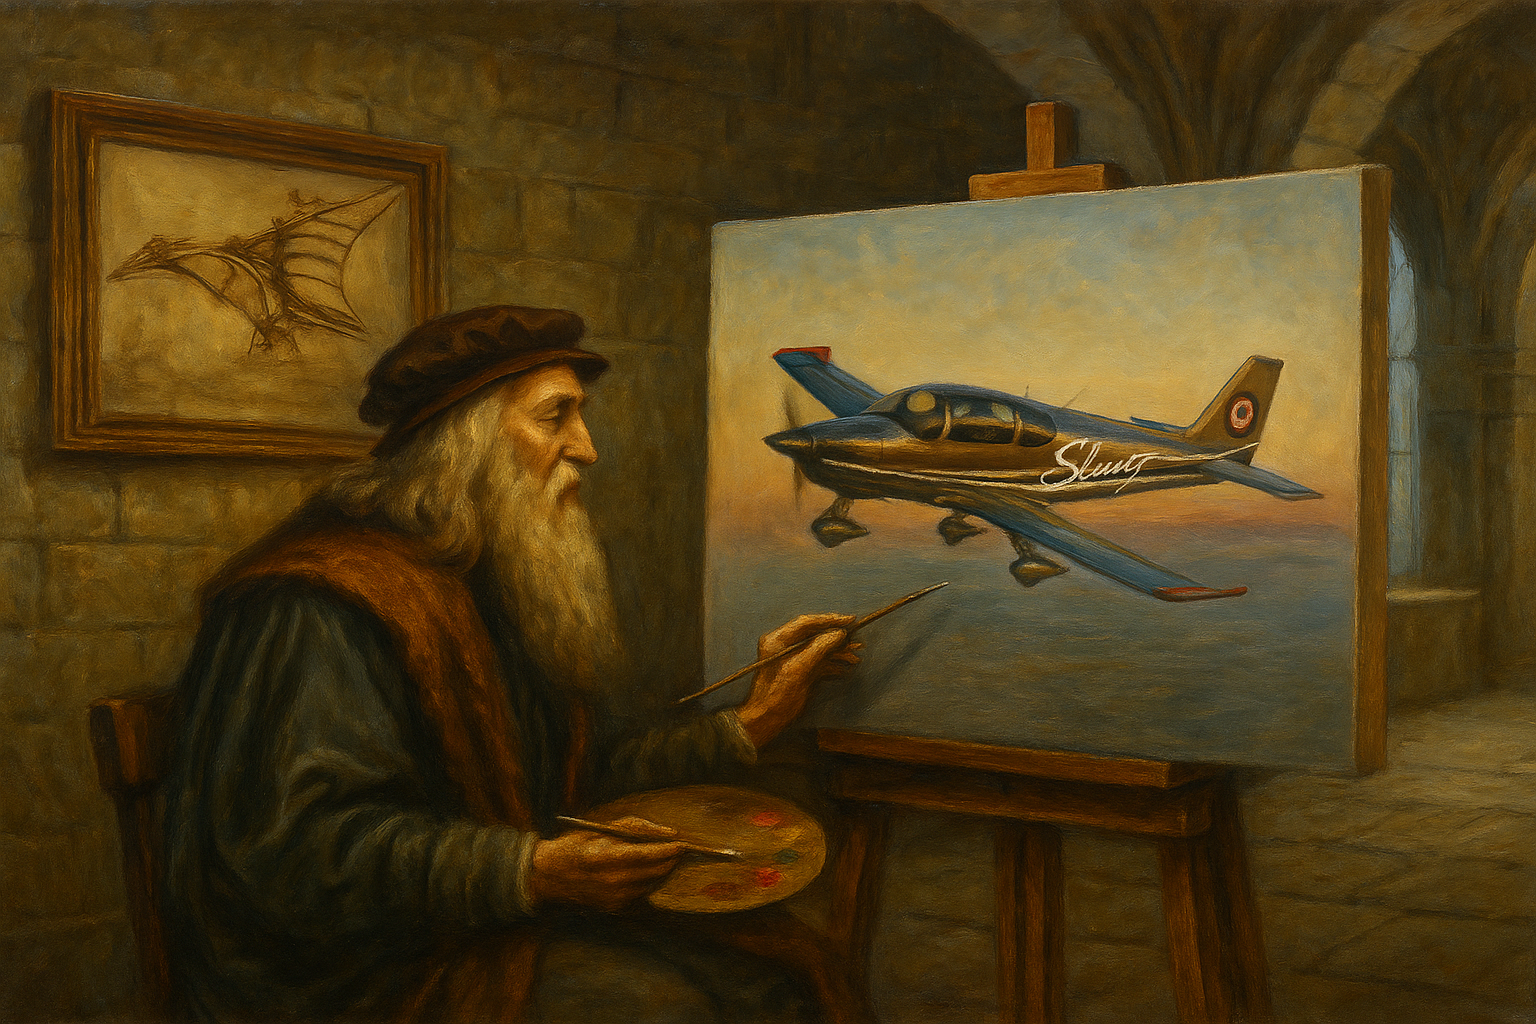
TL;DR: Designing your airplane’s paint scheme is one of the most rewarding parts of the build — and working with a professional studio like Evoke Aircraft Design brings structure, expertise, and precision to the process. In this post, I walk through how the process works, from defining a vision and iterating through renderings to finalizing a paint guide ready for the shop. You’ll see how our family turned color debates into design votes, how I chose colors, paint, 12-inch registration marks; and what I learned about cost, complexity, and coordination along the way. Whether you’re building a Sling TSi or any experimental aircraft, this guide shows what to expect — and how to make your airplane’s design as thoughtful as its engineering.
When you build your own airplane, there’s a moment when the aluminum, rivets, and wiring finally start looking less like a project and more like a machine. And then, somewhere between “ready for inspection” and “ready for first flight,” you realize something: this isn’t just a machine. It’s yours.
That’s where paint comes in.
Choosing a design and a paint scheme is one of the few steps in the airplane-building journey that’s both entirely optional and deeply personal. It’s equal parts art project, identity statement, and aerodynamic final touch. Paint defines first impressions—it’s what turns an airplane into your airplane.
But designing that paint job isn’t as simple as picking a color at the hardware store. For most experimental builders, this is where professional design studios like Evoke Aircraft Design come into play. They take your vague ideas (“something elegant but modern, maybe with a hint of speed”) and translate them into renderings, measurements, and ultimately, a paint guide your paint shop can use to bring it to life.
This post walks through what that experience looks like—how the design process unfolds, what to expect as a builder, and the kind of decisions (and compromises) that happen along the way. I’ll focus on my experience with Evoke, but the general principles apply to any professional design house.
Think of this as a behind-the-scenes tour of one of the most enjoyable, creative, and occasionally overwhelming parts of building your own airplane—the moment you stop thinking about rivet spacing and start debating whether “Papaya Orange” and “Nardo Grey” really belong on the same fuselage.
Working with Evoke Aircraft Design turned out to be one of the most enjoyable parts of the entire build. Their process was professional, creative, and collaborative from start to finish—and the end result exceeded my expectations. The team managed to take a jumble of reference photos, vague adjectives, and family color votes and turn it into a refined design that feels uniquely mine. I wouldn’t hesitate to recommend them to any builder considering a custom paint scheme. And while I won’t quote exact numbers, I can say this: in the context of an airplane project where nearly everything costs more than you expect, the design investment with Evoke is money very well spent. It’s a small fraction of the total build cost, yet it delivers an outsized impact every time you walk up to your airplane.
Choosing a Design House (and Why Experience with Your Airplane Model Matters)
When it came time to figure out what my Sling TSi would look like, I knew I needed help. I can spot a loose rivet from twenty feet away, but ask me to pick colors that look good together at 180 knots and I’m suddenly less confident.
That’s where Evoke Aircraft Design came in. They’ve earned a strong reputation for transforming a vague “something modern but elegant” idea into a fully engineered, paint-ready reality. They’re not just graphic artists—they’re aviation designers who understand how color, light, and contour interact on an airplane’s skin.
One of the reasons I chose Evoke was simple: they’ve done this before—specifically for Sling aircraft and with the Airplane Factory paint shop. In fact, they’ve designed several Sling TSis, so they already knew where the fuselage curves demand line breaks, how the fairings behave with stripes, and which panel seams can make or break a gradient. That kind of experience matters. You don’t want your painter improvising where a line should meet a wing root.
Whether you go with Evoke or another design house, the fundamentals are similar:
- You bring the vision. Even if it’s just a handful of photos or a Cirrus you saw on Instagram.
- They bring the tools. 3D renderings, color palettes, and deep familiarity with aircraft geometry.
- Together, you iterate. Round by round, you refine until the airplane on screen feels like it could only belong to you.
Other Design Houses to Consider
Evoke isn’t the only option—there’s a small but talented ecosystem of aviation design studios:
- Scheme Designers – One of the oldest and most widely known firms, they’ve worked on everything from homebuilts to business jets. Their strength lies in consistency and FAA compliance across a wide range of models (schemedesigners.com).
- ArtCraft Paint – A shop that combines in-house design and paint execution. They handle everything from experimental to certified aircraft and excel at turning digital renderings into reality (artcraftpaint.com).
- East Coast Aircraft Paint & Interior – A regional team that offers both design and full-service paint, popular with RV and composite-kit builders (eastcoastaircraft.com).
Each has its strengths, but the takeaway is this: pick a designer familiar with your airframe. A Sling, RV-10, or Lancair each has unique curves and joint lines that influence where color breaks naturally occur. Someone who’s drawn those shapes before will know what works—and what tends to look odd once the paint hits the aluminum.
How the Process Works
If there’s one thing airplane builders learn early, it’s that “design” and “execution” are two entirely different worlds. The design house turns your ideas into a paint guide; the paint shop turns that guide into a real airplane. The two roles overlap, but they’re not the same—and knowing the difference can save you both time and money.
Design House vs. Paint Shop
A design house (like Evoke) focuses on the look: the concept, layout, color selection, striping, and all the visual details that make your airplane yours.
A paint shop, on the other hand, focuses on execution: surface prep, priming, masking, and applying paint according to the design.
Some companies do both under one roof (Evoke has a sister company, Evoke Aviation, that handles paint for homebuilts), but in many cases you’ll be working with separate teams. If your designer and painter have worked together before, consider it a huge bonus—it means fewer surprises and a smoother handoff.
Step 1: The Kickoff
Timing matters. Most builders start the design process near the end of the airframe assembly, typically once the fuselage and major control surfaces are complete and a paint shop slot is in sight. For reference, it’s smart to begin three to six months before your expected paint date—earlier if you want to explore multiple design directions.
Evoke starts with a design questionnaire or a call to understand what you want. You’ll share reference photos, favorite color combinations, and maybe a few “please-don’ts.” Once they’ve got your preferences and the project payment, the real fun begins: the first round of renderings usually arrives in about two weeks.
Step 2: The Iteration Loop
Each Evoke client is paired with a dedicated designer who stays with you throughout the process. I worked with Chris, who was fantastic—patient, responsive, and genuinely invested in getting every detail right. From the first questionnaire through the final renderings, he was quick to understand what I was trying to achieve and turned even vague feedback into clear design refinements. Having a single point of contact made the process smoother and more personal—it felt less like working with a company and more like collaborating with a creative partner.
This is the creative heart of the process. You’ll get several design renderings—side profiles at first, then full 3D angles. You review, suggest tweaks, and go back and forth until it feels right. Some people nail it in three rounds; others take a dozen.
Evoke’s “unlimited design service” makes this process refreshingly flexible—you can iterate as long as needed until you’re happy. They’re open to revisiting earlier ideas or merging versions if you change direction midstream. It’s a dialogue, not a transaction.
Step 3: The Deliverables
Once the design is finalized, Evoke generates a set of deliverables that bridge the gap between art and manufacturing. The most critical of these is the paint guide, a detailed document that ensures your painter knows exactly where every color and stripe belongs.
A typical Evoke paint guide includes:
- Scaled side, top, and front views of the aircraft with dimensioned stripe placements.
- Detailed close-ups of complex areas (like the cowl, fairings, or tail junctions).
- Exact color callouts, including manufacturer codes (e.g., PPG, Axalta, Sherwin-Williams).
- Notes on masking boundaries, overlapping layers, and recommended order of paint application.
- Vector-based cut files that can be used by the paint shop’s CNC cutter to create vinyl or paper stencils.

This level of precision minimizes interpretation errors—something that can save you thousands once paint starts flowing.
This is also the stage where coordination between design house and paint shop becomes critical. If your painter has worked with Evoke before, they’ll already know how to read the files and interpret the guide. If not, set up a short handoff call between the two. A 15-minute chat here can prevent a 15-hour correction later.
Step 4: Paint and Reality Check
When the paint shop takes over, they’ll translate the guide into masking and spraying. Even with perfect documentation, there’s still art involved—curves, reflections, and paint behavior can subtly change the look once the airplane is painted. Some builders choose to have the same company handle both design and paint for this reason—it ensures a seamless translation between vision and execution.
If you’re using a different painter, coordination matters even more. Ask your designer to send high-resolution renders, vector files, and color codes (e.g., PPG or Axalta) directly to the paint shop. It reduces the “telephone game” effect.
Timeline
Timing is everything here. Ideally, you’ll start talking to a design house about three to six months before your estimated paint date—roughly when the airframe is structurally complete and you can visualize how the scheme will flow across real surfaces. At the same time, it’s wise to reserve your paint slot; many quality paint shops are booked months ahead.
By the time your designer delivers the final paint guide, your paint shop should already be lined up and—importantly—in the loop. If they’ve worked together before, the handoff will be seamless. If not, schedule a short joint call or email exchange once the final renderings are approved.
Think of it as a relay race: the baton (your airplane’s look) passes smoothly when everyone’s already running in sync. A good design guide can survive a few miscommunications—but a misplaced stripe can haunt you for years.
4. My Design Journey
Working with Evoke wasn’t just a transaction — it felt like a creative partnership. I came in with a rough sense of direction but no clear destination. I wanted a design that reflected the Sling TSi’s modern personality without being flashy or overcomplicated. My brief to Evoke captured that intent in six main ideas:
- Avoid dark, heavy tones like full black or overly bright accents like neon orange.
- Start from a blue or gray base, both timeless colors that convey sophistication without shouting for attention.
- Use accent colors — perhaps orange, black, or white — sparingly for contrast and personality.
- Keep it simple and cohesive, with clean lines and balance across the wings, empennage, and wheel covers.
- Incorporate 12-inch registration marks for visibility and proportion.
- Don’t be afraid to try something unconventional — subtle creativity over loud statement.
It was the kind of design brief that could have gone in a dozen directions. And that’s exactly what happened.
From Ideas to Iterations
Evoke’s first renderings explored multiple stylistic paths: darker gray fuselages with sharp contrast lines, lighter gray foundations with black accents, and a few bold experimental variants with bright colors. Each iteration brought refinements — simplifying stripes, adjusting proportions, testing different accent placements.
At one point, I requested a version that swapped out orange for a deep blue accent, thinking it might create a cooler, more balanced tone. Evoke delivered, and that experiment shaped the next few rounds. We tried the same layout with different base colors, then stripped away some visual noise until the composition felt calm and deliberate.
I quickly learned that what looks clean in your head can feel empty on the fuselage, and what looks exciting in a rendering can feel chaotic once projected onto a real airplane. Evoke was patient through every iteration, translating comments like “it feels too busy” or “can we make it breathe more?” into elegant, measurable changes.
A Family Design Project
As the design narrowed down to a handful of contenders, the whole family got involved. Each new round of renderings turned into a household design review. Zoe favored the sharper contrasts, Sam leaned toward bold modern touches, Amanda gravitated to the refined grays, and I was somewhere in between — trying to balance all of it into a single coherent statement.
Eventually, the discussion turned into stack rankings of our preferred options. The spreadsheet became our family’s democratic record — each design labeled, explained, and scored. The process wasn’t just fun; it made the final choice feel shared, something all of us had a hand in creating.

In hindsight, it was the perfect reflection of what the airplane represents for us — a project that brings everyone together, from rivets to paint.
Traversing the Decision Tree
If you looked at the design history as a branching diagram, it would start wide and narrow like an evolutionary tree. The early versions played with multiple tones of gray, with varying accent colors — black, orange, and white. Some combinations leaned aggressive, others minimal.


Through feedback and elimination, the options converged toward what would become the final concept:
- A flat gray base (no metallics, for easier maintenance and a clean aesthetic).
- Simplified, purposeful accent lines that emphasize the TSi’s fast, modern stance.
- Balanced contrast—neither too stark nor too subtle.


Each decision pruned a branch from the tree, until the design that remained felt inevitable — understated, elegant, and cohesive.


The Final Design
As the design narrowed, I started coordinating with the paint shop to understand how design complexity affects cost. One thing became immediately clear: every extra color adds measurable time, masking, and material cost. Reducing the number of colors wasn’t just an aesthetic decision — it had a substantial impact on the price of the job.
With that in mind, I asked Evoke to help me visualize a more streamlined approach. I loved the overall color layout and geometry of the scheme, but I wanted to see what it would look like using a single shade of gray instead of two. Chris, my designer, quickly produced side-by-side renderings — one with the lighter tone and one with the darker — which made the trade-off easy to see. The lighter gray had a cleaner, more refined presence that immediately felt right for the airplane.
The same thinking applied to the accent stripes. Earlier versions included both black and white stripes, which added nice contrast but also visual and practical complexity. After studying several iterations, I asked whether we could simplify the stripes to a single color. Chris re-rendered the design with unified accents, and the result was striking — cohesive, elegant, and still full of character, just without the visual noise.

That simplification became the key turning point in the design process. The final layout retained all the style and movement of the earlier versions but felt calmer and more confident — a look that emphasizes the Sling TSi’s natural lines rather than competing with them.
The end result was exactly what I’d hoped for: a flat gray base with a single accent color, simple yet distinctive, balancing aesthetics with practicality. It looks fast without trying too hard, refined without being sterile — the kind of design that will still feel fresh years down the road.

Insights for Builders
By the time the paint scheme was finalized, I’d learned that designing the exterior of your airplane is as much about trade-offs, regulation, and process as it is about aesthetics. Below are several lessons drawn from my Evoke journey—things I wish I’d known earlier.
Start Early — But Also Use the Paint Shop During the Design
While it’s ideal to begin the design phase 3–6 months before your planned paint date, the interaction shouldn’t be isolated to just you and the designer. Bring your paint shop into the loop early. Ask them about masking cost, complexity penalties, and practical constraints.
For example: that extra stripe your designer loves might require more masking passes, more cure time, and more labor—costs your paint shop can help you quantify. When the designer and painter talk early, they can adjust the layout, eliminate overly intricate intersections, or choose color transitions that save hours in the booth. That collaboration often pays for itself many times over.
Flat, Metallic, or Gloss — Think Practical, Not Just Pretty
Paint type decisions go beyond aesthetics. I loved how metallic paints shimmered in renderings, but in practice they’re tricky: every nick or touch-up can reveal color shifts under sunlight. After a lot of thought, I went with a flat paint finish — elegant, easier to maintain, and consistent under varying light.
The same logic applies to multi-tone schemes. Each extra color means another masking pass, spray cycle, and day in the booth. It’s a classic aviation equation: every stripe has both a visual and a financial weight.
Costs — Think “Used Car to New SUV”
Without diving into exact numbers, airplane paint design and execution vary wildly in cost depending on complexity. The analogy I like to use:
- A simple, two-color layout might cost about the same as a used car.
- A multi-layered, metallic, or complex scheme can reach the new SUV range.
Design complexity, number of colors, paint type, and surface prep all scale the cost. Evoke’s design service sits comfortably on the value side of that spectrum — a small investment that pays huge dividends in confidence and final appearance.
Keep the Designer and Painter Connected
If your design house and paint shop already know each other, that’s gold. If not, introduce them early. Evoke’s deliverables are very precise — with dimensioned paint guides and digital cut files — but interpretation still matters. A quick call or shared email thread between designer and painter ensures everyone’s on the same page (and the same shade of gray).
Know When to Stop
Design iteration can go on forever. There’s always another tweak, another accent color to test. But there’s a magic moment when the design stops feeling “in progress” and starts feeling right. When that happens — stop. Save your energy (and budget) for seeing it in paint.
Make It Yours
It’s easy to get caught up in trends — matte blacks, lightning bolts, or swoopy gradients that look fast standing still. But your airplane is a reflection of you. The more you personalize the process — whether through color choices, family input, or small creative touches — the more satisfying it will feel when you finally walk up to it on the ramp.
Choosing Size of N Registration Marks
Every builder must dance with regulation. Here’s an overview of what the Federal Aviation Regulations (FARs) say about aircraft registration marks—especially for experimental airplanes:
- 14 CFR § 45.29 — Size of marks: For fixed-wing aircraft, the default is that nationality and registration marks must be at least 12 inches high.
- Exceptions for experimental / light-sport / exhibition aircraft: The regulation allows 3-inch marks for aircraft when the cruising speed does not exceed 180 knots CAS.
- Experimental placard requirement: Under § 45.23(b), amateur-built (experimental) aircraft must display “EXPERIMENTAL” near the cockpit entrance in lettering between 2 and 6 inches high.
- International / ADIZ / DEWIZ operations: After March 7, 1988, any aircraft penetrating an Air Defense Identification Zone must display permanent marks at least 12 inches high.
- Special surface-size exceptions: If there’s no surface large enough to display 12-inch marks, the regulation allows marks “as large as practicable” on the largest authorized surface.
When I weighed the options, I decided to go with 12-inch registration marks. Here’s why:
- International ops / ADIZ compliance: If I ever fly outside U.S. sovereign airspace—or enter ADIZ zones—I want my airplane to already meet the standard requirements. Smaller 3-inch marks could disqualify me or force a repaint.
- Perception as a GA aircraft: I wanted the plane to read more like a general-aviation (GA) airplane and less like a homebuilt. Bigger, crisp registration gives it a more production-like presence on the ramp.
- Privacy implications under ADS-B: With current ADS-B out rules, your aircraft’s registration (and thus aircraft identity) is broadcast and can be tracked. Smaller marks don’t help hide that; in fact, since many tracking systems use the tail number as the Flight ID, having legible 12-inch marks and matching registration avoids confusion. (More on privacy below.)
- Aesthetic balance: In the renderings, the 12-inch marks visually grounded the side profile. Smaller numbers tended to float, making the fuselage feel more “empty” or disproportionately tall.
So for me, 12 inches was both a practical decision and a stylistic one.
Designing It Yourself — Pros, Cons, and Community Wisdom
Some builders choose to design their own paint scheme (rather than hiring a professional). That path has both appeal and pitfalls:
Pros:
- Full creative control — no need to translate your vision through a designer.
- Lower upfront cost — you may skip paying for design fees.
- Satisfaction and ownership — there’s pride in realizing your own visual concept.
Cons & Pitfalls:
- Lack of experience with aircraft surfaces — what looks balanced on paper often fails when wrapped around curves, panel gaps, and fairings.
- Color mistakes — mismatched shades, poor contrast in sunlight, or accent lines that get lost in reflection.
- Masking / transition errors — without a designer’s experience, you may create masking layouts that are awkward or unnecessarily complex for the paint shop.
- Iteration fatigue — you can get stuck endlessly tweaking if there’s no external perspective or deadline.
- Risk of amateur look — something that reads well in a mock-up might appear “DIY” in reality.
From what I’ve heard from other builders, the DIY path sometimes leads to “good-enough” compromises or rework later. Many end up bringing in a designer or paint shop at the last minute to rescue the scheme. In my case, I preferred to avoid that risk and get it right the first time with Evoke’s expertise.
Closing Reflections
When I started this airplane project, I thought of the paint scheme as the dessert—a final indulgence after all the real work was done. In reality, it turned out to be one of the most satisfying and creative parts of the entire journey.
Designing a paint scheme forces you to think differently about your airplane. Up until that point, every decision is about function—center of gravity, torque specs, rivet pitch. Suddenly, you’re making choices about emotion, identity, and aesthetics. What story do you want your airplane to tell before it even leaves the ground?
Working with Evoke made that transition seamless. They were patient, collaborative, and consistently elevated the ideas I brought to the table. The final design doesn’t just look good—it feels right. Every line and color carries intention. It’s simple, clean, and quietly confident, just like I hoped the airplane itself would be.
But what surprised me most was how much the process reflected the larger spirit of experimental aviation. This whole endeavor—the building, learning, deciding, revising—isn’t just about ending up with an airplane. It’s about becoming the kind of person who can build one. The design phase is just the most visible expression of that mindset: dreaming, iterating, collaborating, and eventually committing to something that’s uniquely yours.
So yes, the paint matters. Every time I walk up to the plane, that first glance—the shape, the colors, the way the light hits the flat gray—reminds me that this machine isn’t just built to fly. It’s built to tell a story. And like the best stories, it’s one we wrote together.


Leave a Reply