
This week’s visit to Torrance looked a little different from the recent ones. I wasn’t on the shop floor turning wrenches or checking off build tasks. Instead, this was a review milestone—looking at the work completed by the Airplane Factory team over the past several weeks and confirming that the aircraft was ready to move into painting.
It was also an opportunity to step back and look at the broader process. As the airplane transitions from primary construction to paint, I spent time discussing a set of recommendations with the Airplane Factory team around program management and builder communication. These conversations were constructive and forward-looking, focused on improving clarity, expectations, and overall coordination as builders move through the assist program.
That context makes this a good moment to zoom out. Rather than a traditional “what I built this week” entry, this post is both a builder update and an introduction to how the Factory-Assist process is structured—from initial construction, through paint, and into final assembly.
The Factory-Assist Build Process: The Big Picture
One of the things that becomes clearer as you move through the Sling Factory-Assist program is that this is not a single, continuous build, but a sequence of well-defined build stages, each with a distinct purpose, skill set, and outcome. Understanding this structure helps set expectations—not just for timelines, but for what kind of decisions, involvement, and learning happens at each step.
To avoid confusion with FAA Phase I flight testing, I’ll refer to these as build stages rather than phases. At a high level, the assist program breaks down into three major stages:
- Main Construction – where the airframe, systems, and major assemblies come together.
- Painting – a labor-intensive process that transforms a raw aluminum airplane into a finished aircraft.
- Fit & Finish – final assembly, avionics, interior, and system integration that produces a flight-ready airplane.
Each stage is sequential, and each one builds directly on the quality and completeness of the previous. With my aircraft now transitioning out of Main Construction and into paint, this felt like the right point to walk through what each stage actually entails—starting with where most of the heavy lifting happens.
Stage 1: Main Construction
The Main Construction stage is where the majority of the aircraft is built and where most of the structural, mechanical, and systems work takes place. While the Sling TSi kits are classified as quick-build, that term can be misleading. Quick-build refers to how the kits arrive from the Sling factory in South Africa—not to how complete the aircraft is when it shows up in Torrance.
Major structural elements such as the fuselage shell and primary wing structure come preassembled, which significantly accelerates the timeline. However, nearly everything that turns a structure into an airplane—systems, controls, integration, and installation—happens during this stage.
What Gets Built During Main Construction
| Area | Components and Work Performed |
|---|---|
| Airframe & Structure | Empennage; fuselage internal structure; seat frame assembly |
| Flight Controls | Wings (ailerons, rudder, control surfaces); control sticks; pushrods; cables; connectors |
| Firewall Forward | Engine hang and installation; accessory mounting; hose routing |
| Landing Gear | Undercarriage; wheels; brakes |
| Visibility & Access | Canopy installation |
| Composites | Cowlings; wheel pants |
Schedule Expectations
Work on my aircraft began in mid-August and wrapped up in mid-December—roughly four months from start to finish. That timeline is particularly impressive given that this period coincided with an unusually busy stretch at the factory, driven in part by a surge of aircraft deliveries earlier in the year as customers worked to get ahead of potential U.S. tariff changes.
With Main Construction complete, the aircraft is structurally finished, systems are in place, and everything is ready to come apart once more—this time in preparation for paint.
Stage 2: Painting
Once Main Construction is complete, the aircraft moves into what is often the most time-consuming and least visible stage of the entire build: painting. While it’s easy to think of paint as primarily cosmetic, this stage is as much about surface preparation, durability, and long-term protection as it is about appearance.
Surface Preparation
Painting begins with an extensive preparation process. Every surface is carefully sanded, inspected, and corrected to remove imperfections. Aluminum surfaces are anodized, rivets are sealed, and transitions between materials are refined. This work is meticulous and repetitive, but it directly determines the quality and longevity of the finished paint.
This preparation phase alone typically accounts for around 200 hours of labor.
Paint Application
Only after preparation is complete does the actual painting begin. The effort required here depends heavily on the complexity of the design, the number of colors, and the type of paint used—flat, metallic, or pearl finishes all carry different labor demands.
For my design, the paint application is expected to require approximately 180–200 additional labor hours.
Schedule Expectations
Taken together, preparation and painting span roughly six weeks end to end. Assuming everything stays on schedule, the aircraft should be ready to move into the final stage—Fit & Finish—by the end of January.
This is the point where the airplane stops looking like a project and starts looking unmistakably like my airplane.
Stage 3: Fit & Finish
Fit & Finish is the final build stage and the point where the painted airframe is transformed into a complete, operational aircraft. While much of the work in earlier stages focuses on structure and preparation, this stage is about integration—bringing together systems, interiors, and final hardware so the airplane can function as a cohesive whole.
What Happens During Fit & Finish
Once the painted components return, the aircraft is reassembled and the following major tasks are completed:
- Avionics installation
- Interior work, including upholstery, carpet, side panels, and cabin heating
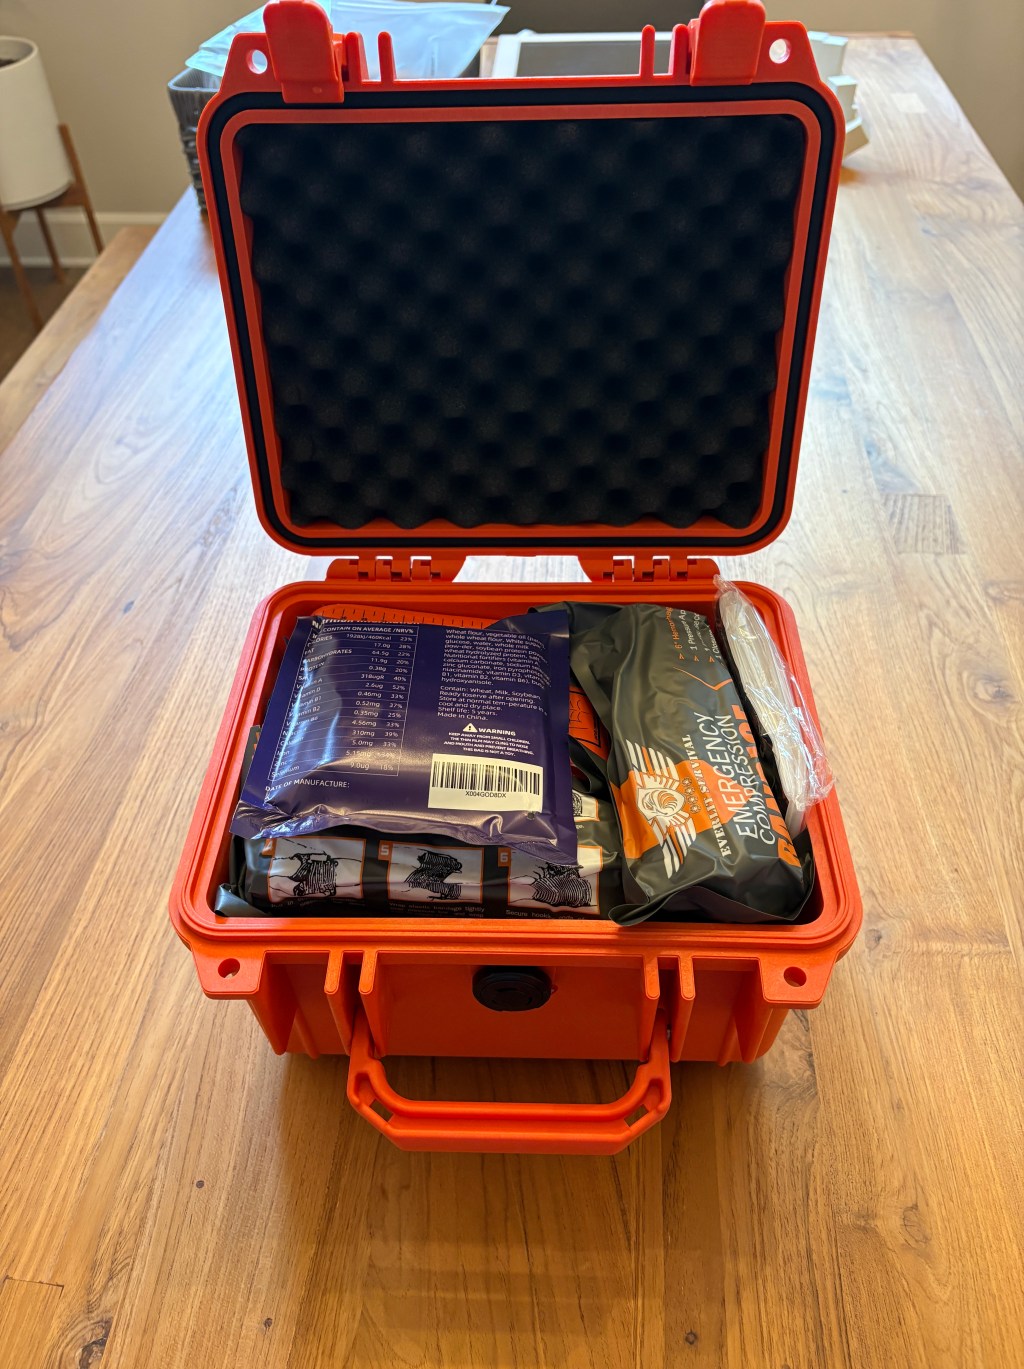
- Parachute installation
- Full aircraft reassembly
- Final engineering installations (such as the external alternator)
- Propeller installation
- Initial engine start
By the end of this stage, the aircraft is fully assembled, electrically and mechanically complete, and functionally ready for flight.
Transition to Flight Testing
After Fit & Finish, the airplane is disassembled one final time and transported by truck to French Valley. There, it is reassembled and prepared for FAA Phase I flight testing.
Fit & Finish typically takes about three weeks, which puts completion around mid-February if the schedule holds. At that point, the build phase ends and an entirely different chapter begins—testing, flying, and learning the airplane in the air rather than on the ground.
Here is the next section, covering Updates from Torrance, and shifting the tone slightly toward personal experience while staying grounded and informative.
Updates from Torrance
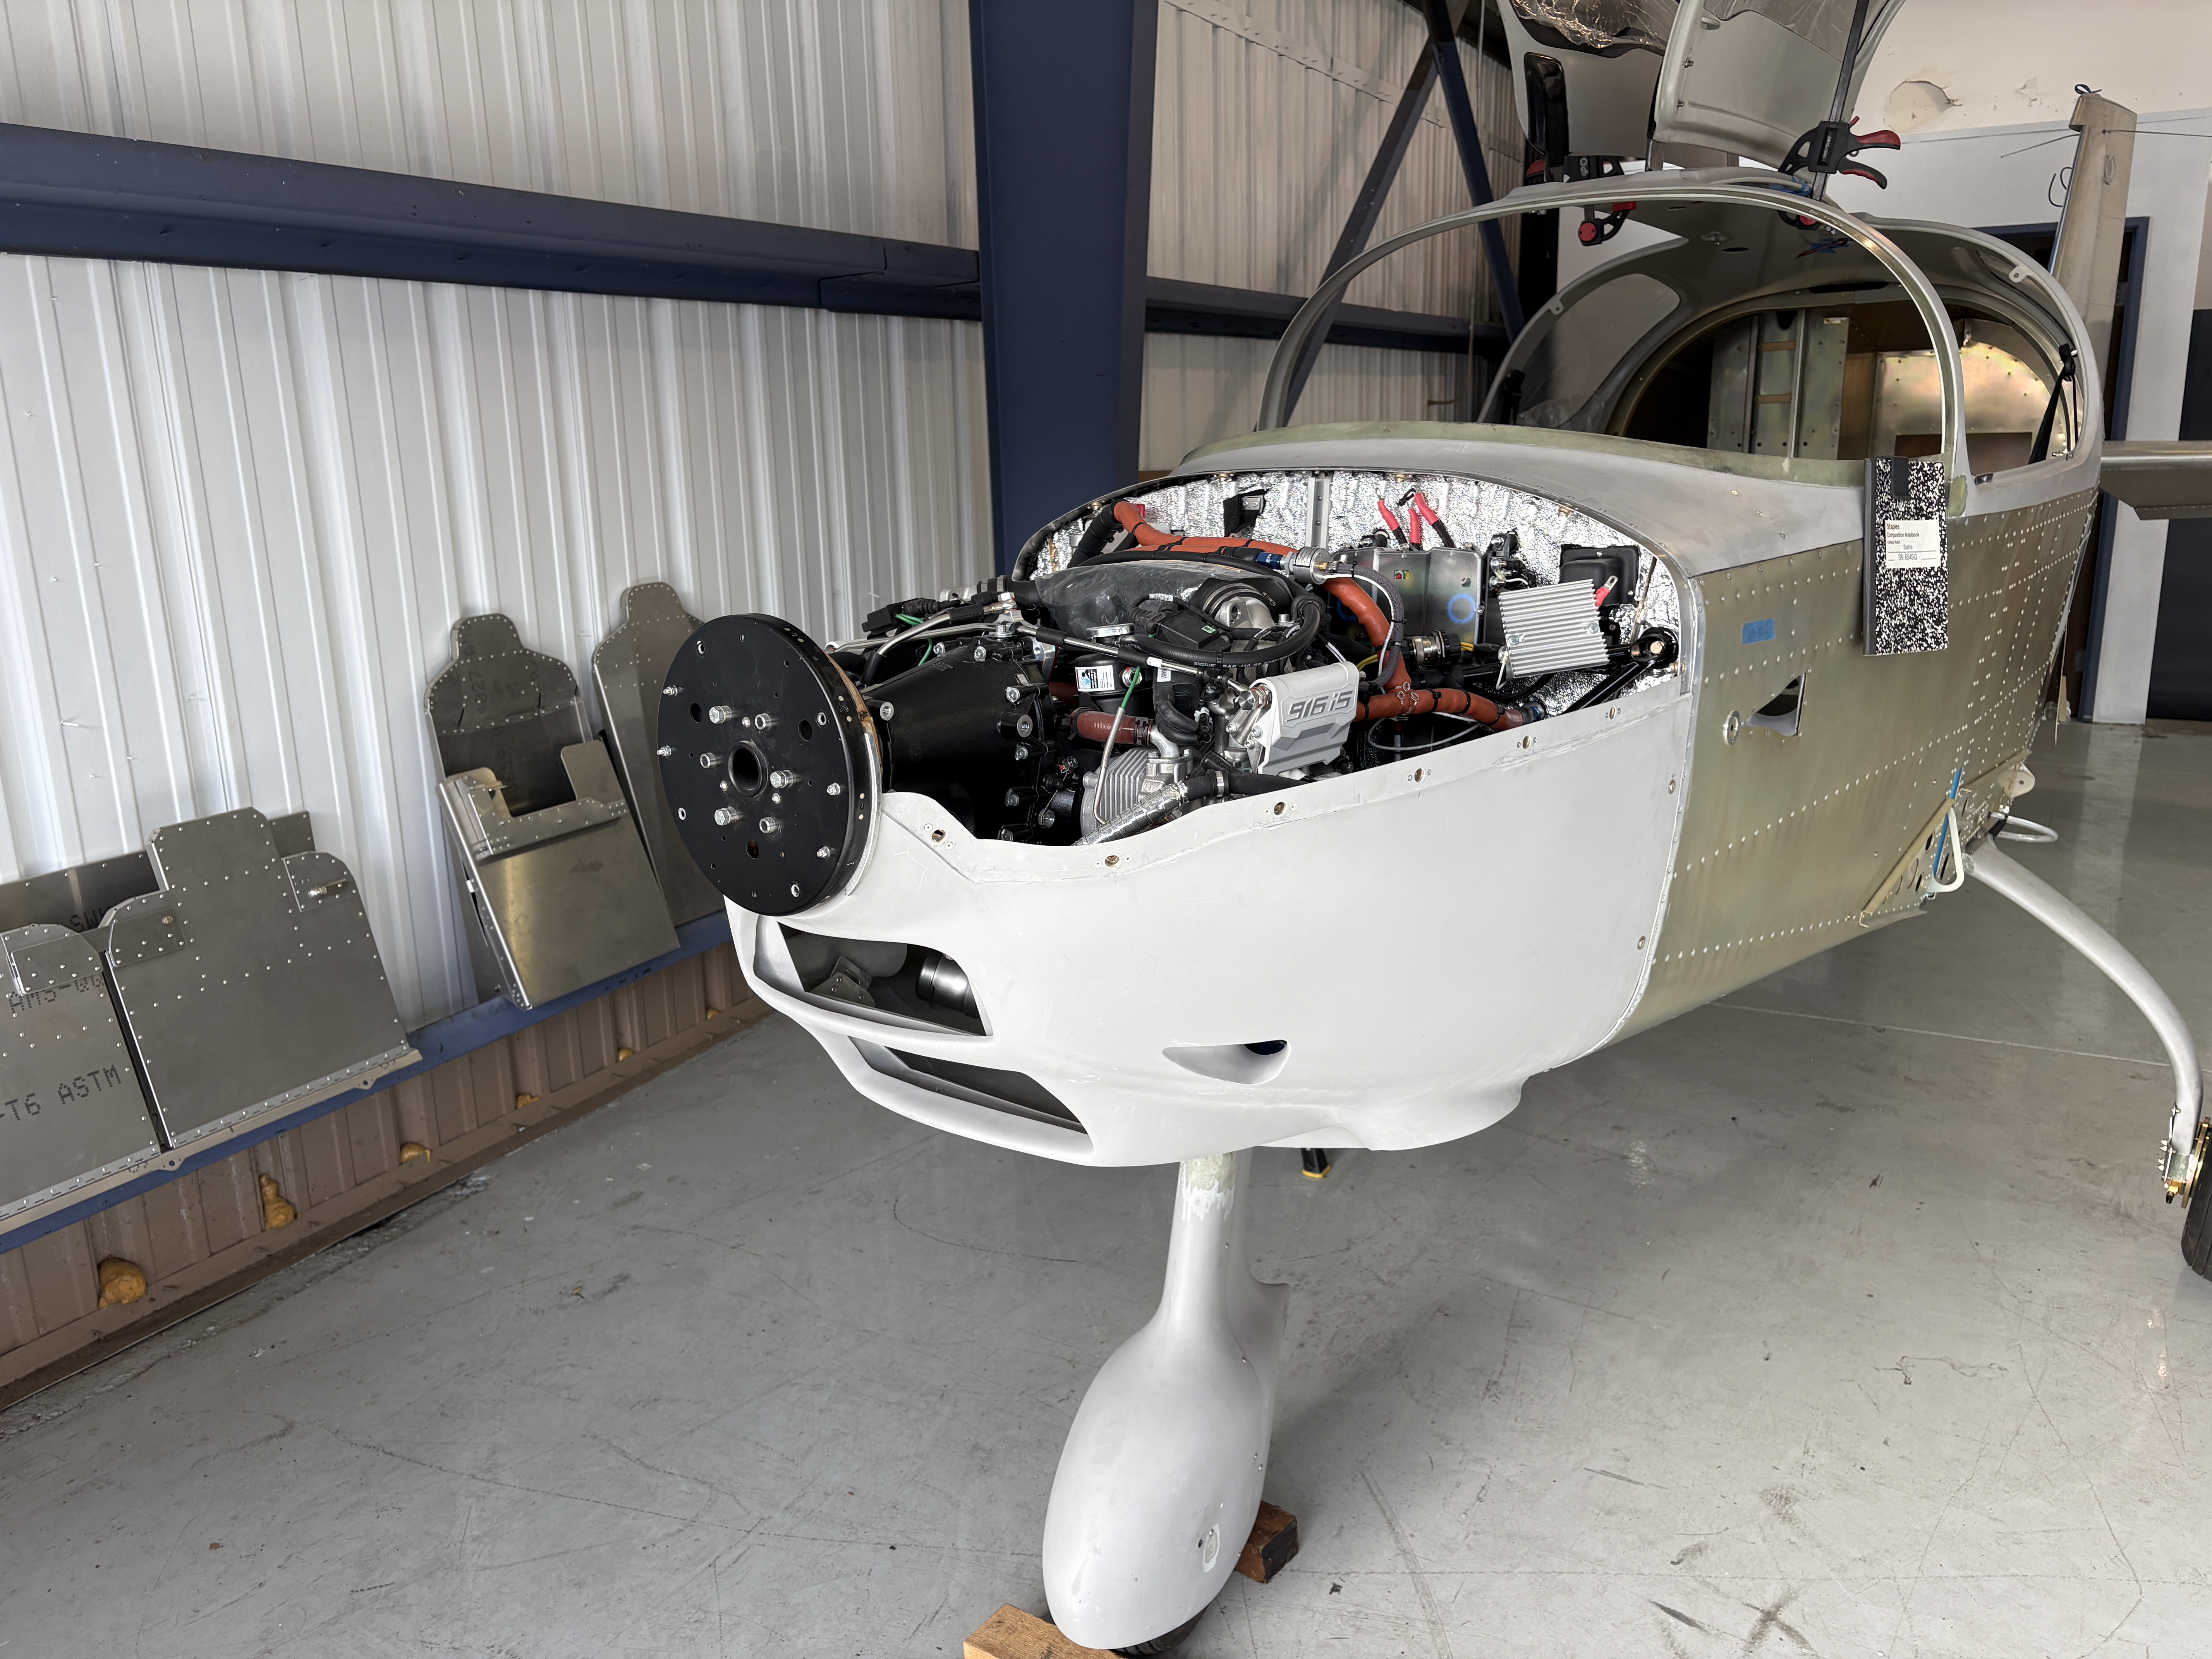
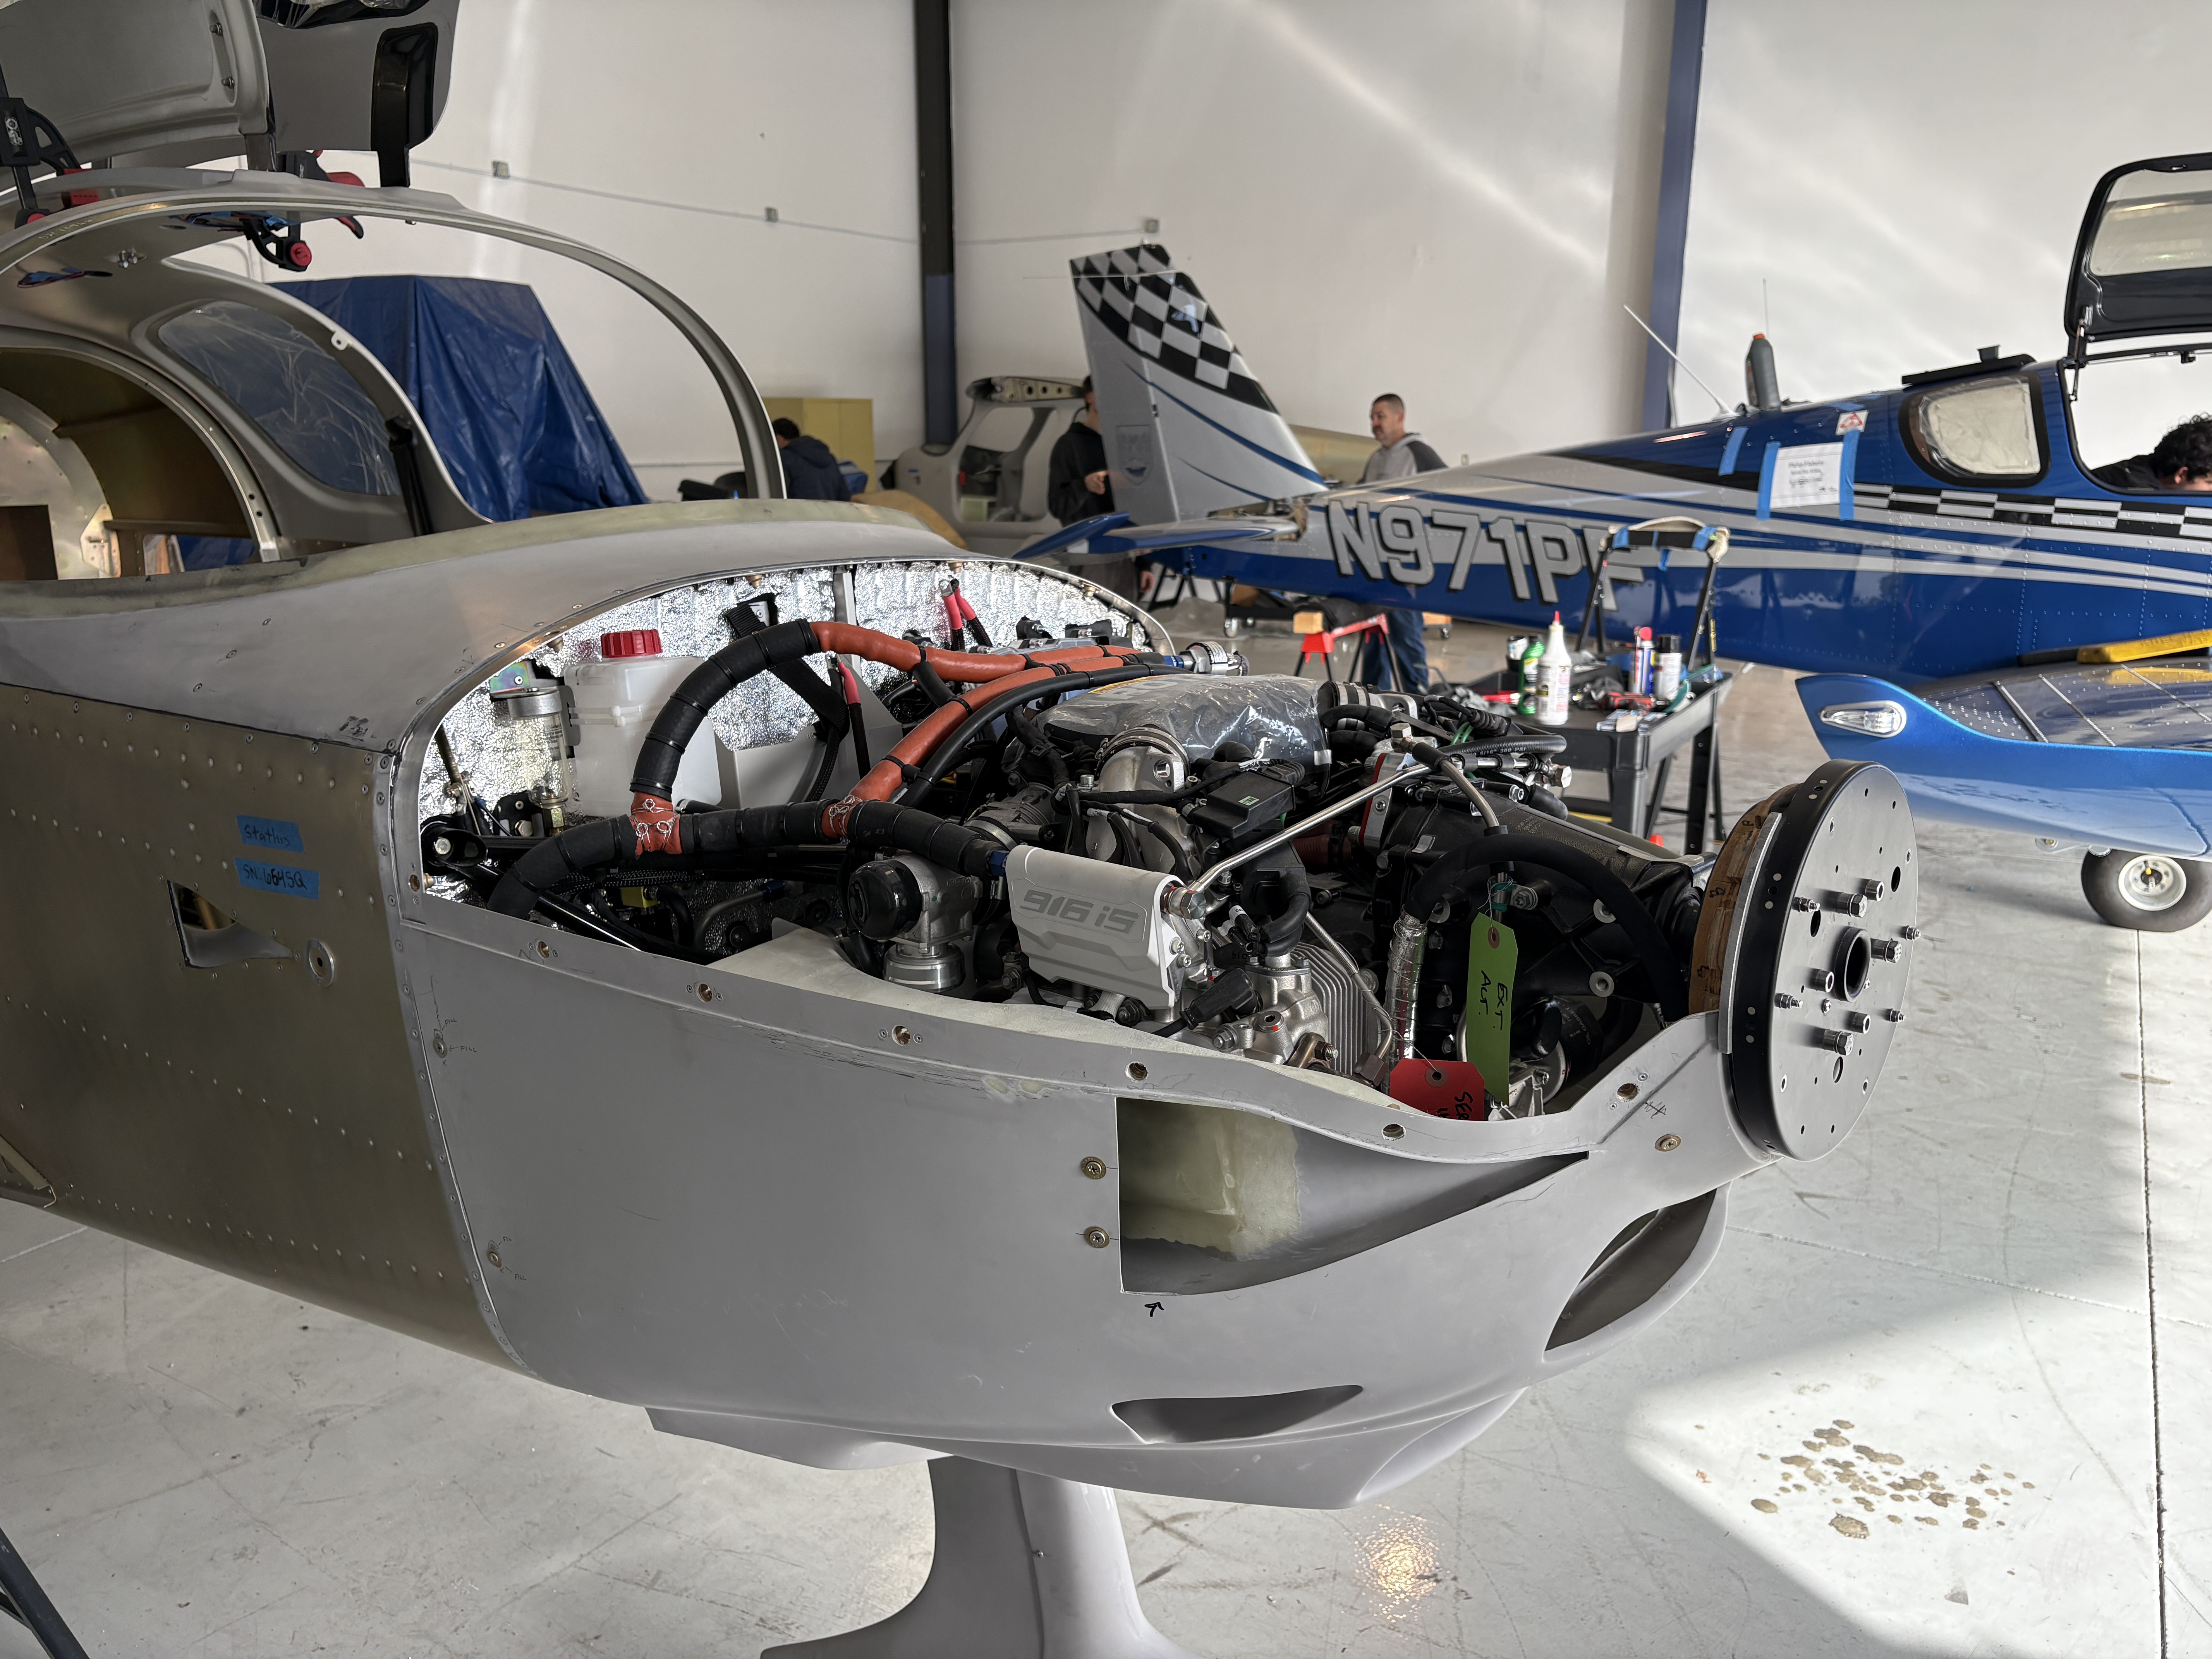
During this visit, I also had the opportunity to fly in a customer aircraft equipped with the same engine and propeller combination I selected for my build: the Rotax 916iS paired with an Airmaster constant-speed propeller. This was my first time flying behind a 916iS.
All of my transition training so far has been in aircraft equipped with the 915iS, so this flight provided a direct and meaningful comparison. The difference was immediately apparent. Takeoff and initial climb performance were striking, with climb rates on the order of 1,600 feet per minute, and the airplane continued to climb strongly through 7,000 feet.
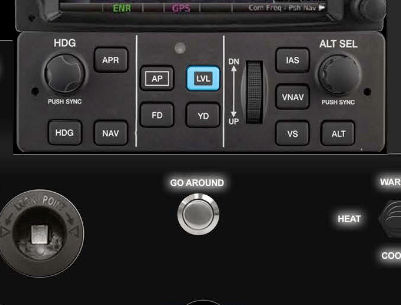
The aircraft also had an avionics configuration very similar to mine, which made the experience especially valuable. Between the engine performance and the familiar cockpit layout, the flight reinforced my confidence in the overall configuration choices for this airplane and gave me a clear preview of what to expect once my own aircraft reaches this stage.
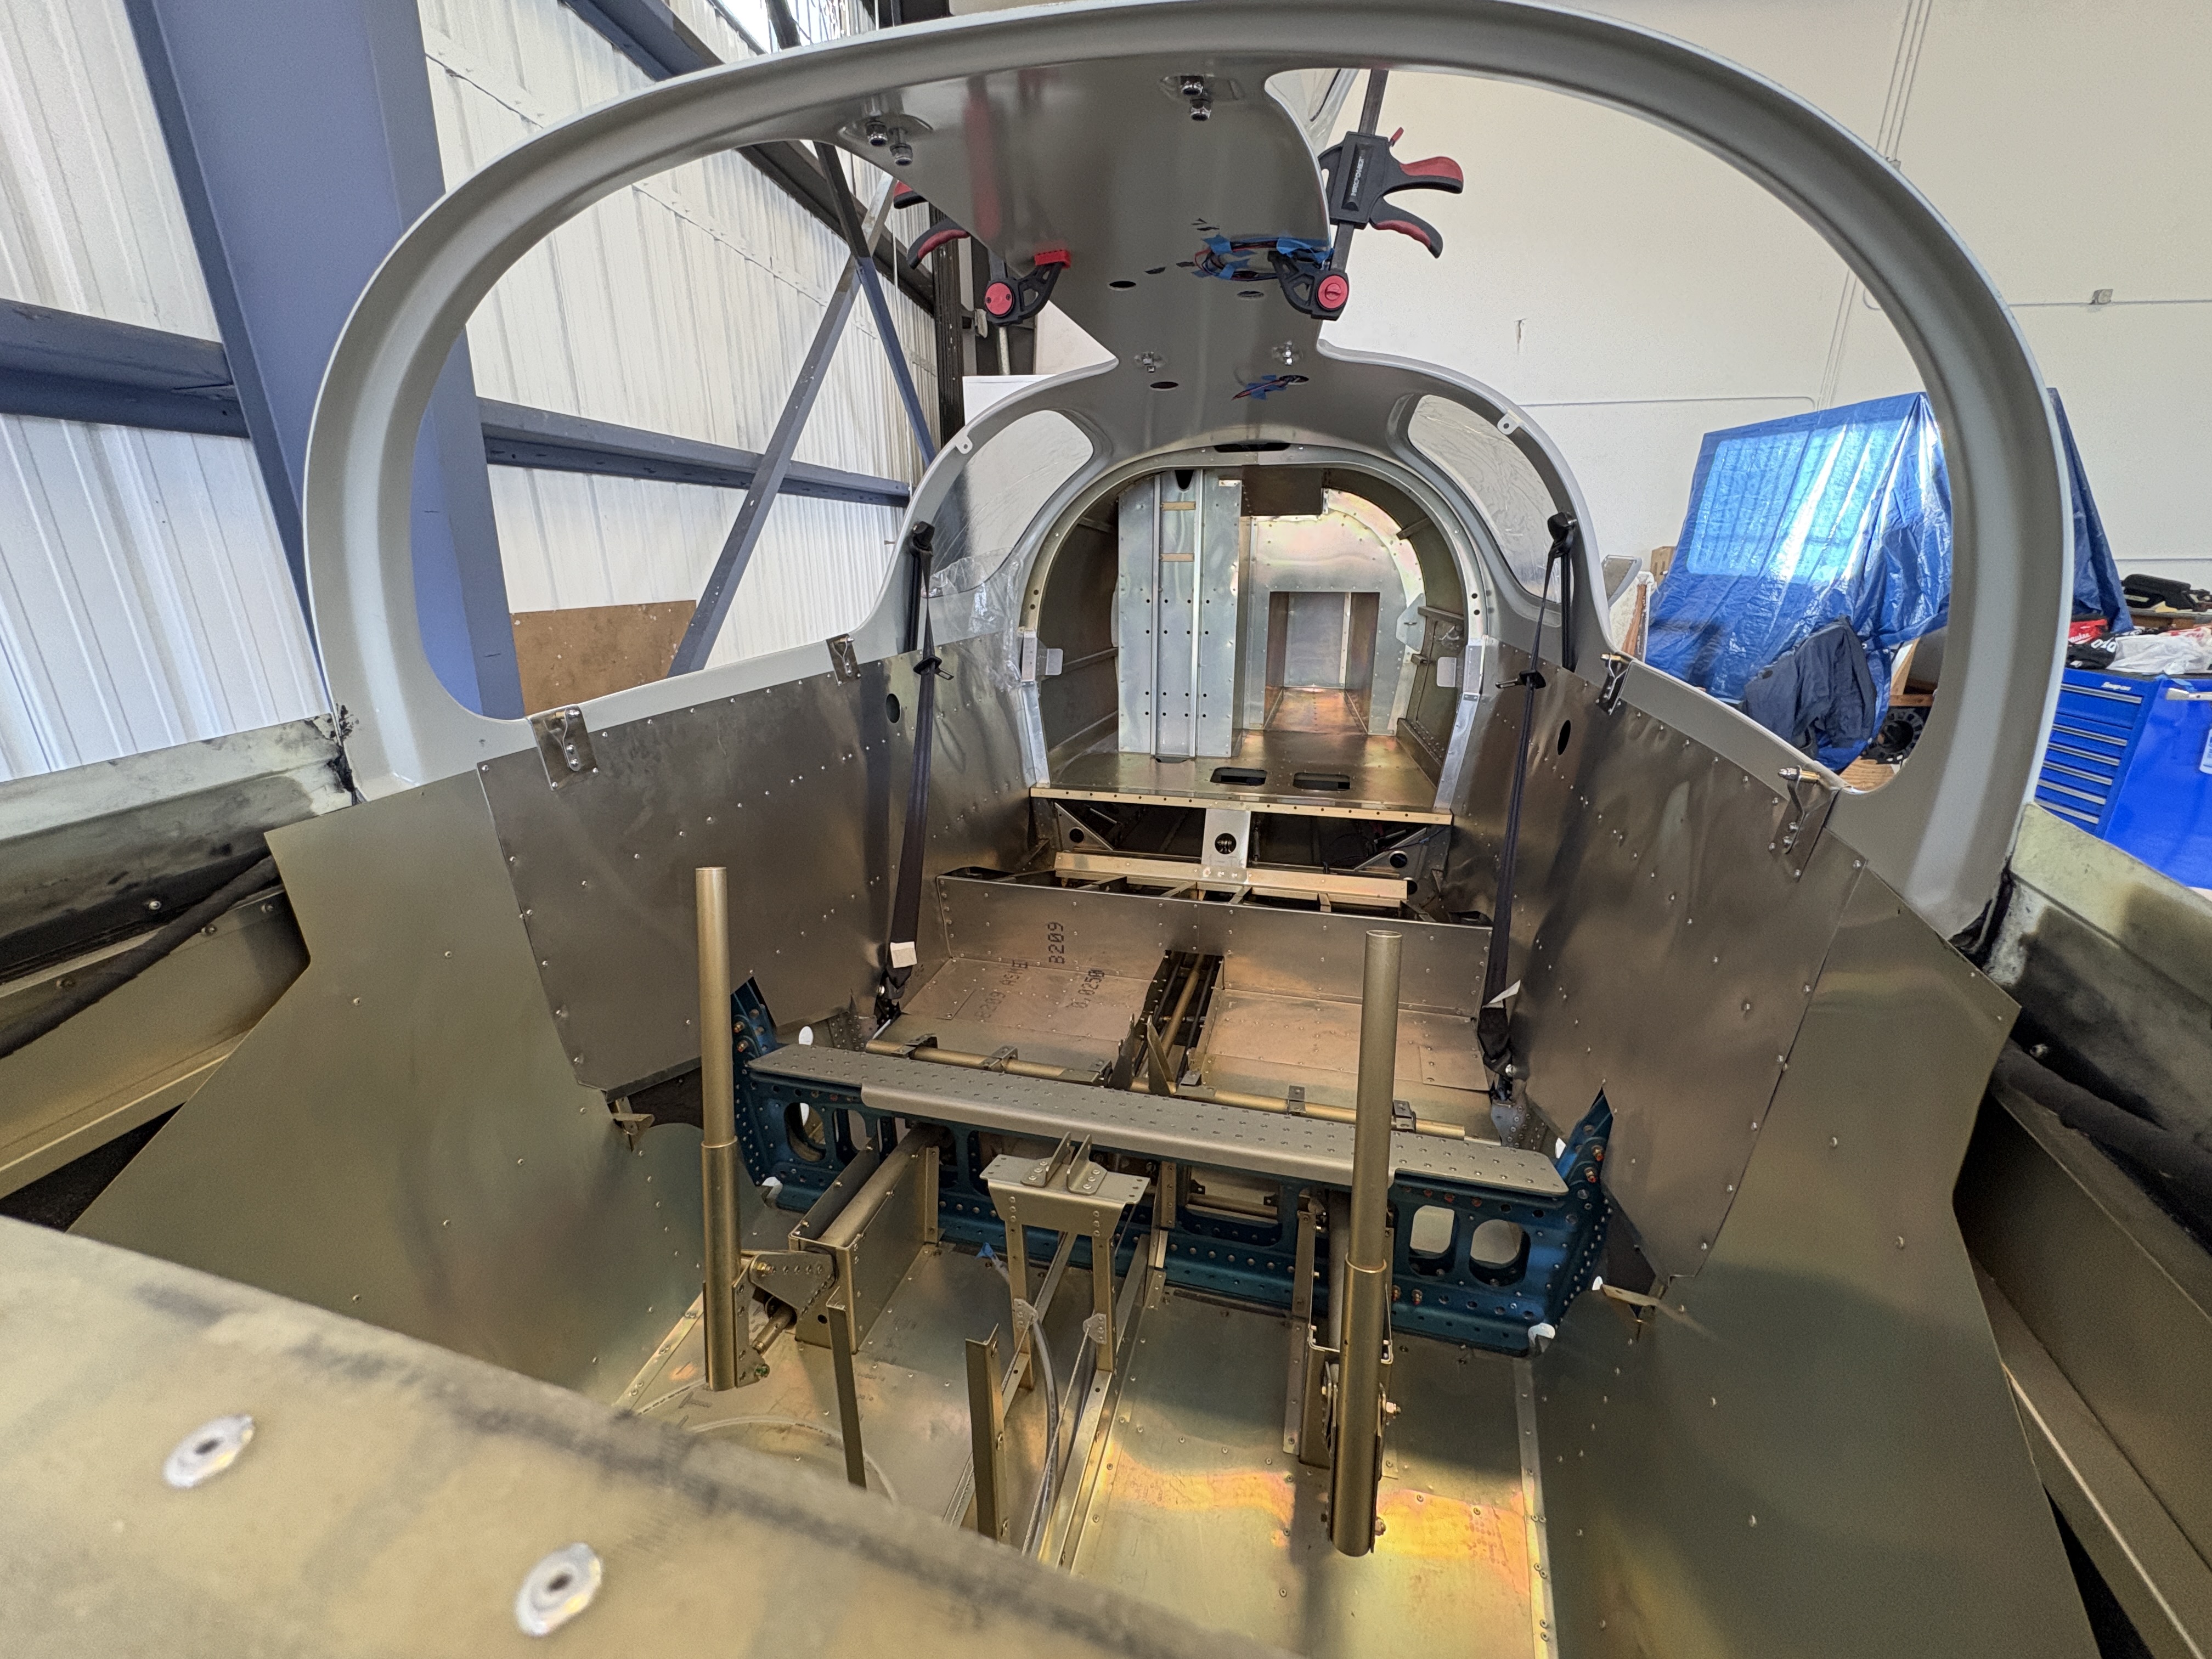
What the Photos Show
I have included a set of photos from this visit, organized to reflect where the airplane stands just before it heads to paint. Rather than a general gallery, these images are grouped to highlight specific areas and milestones in the build:
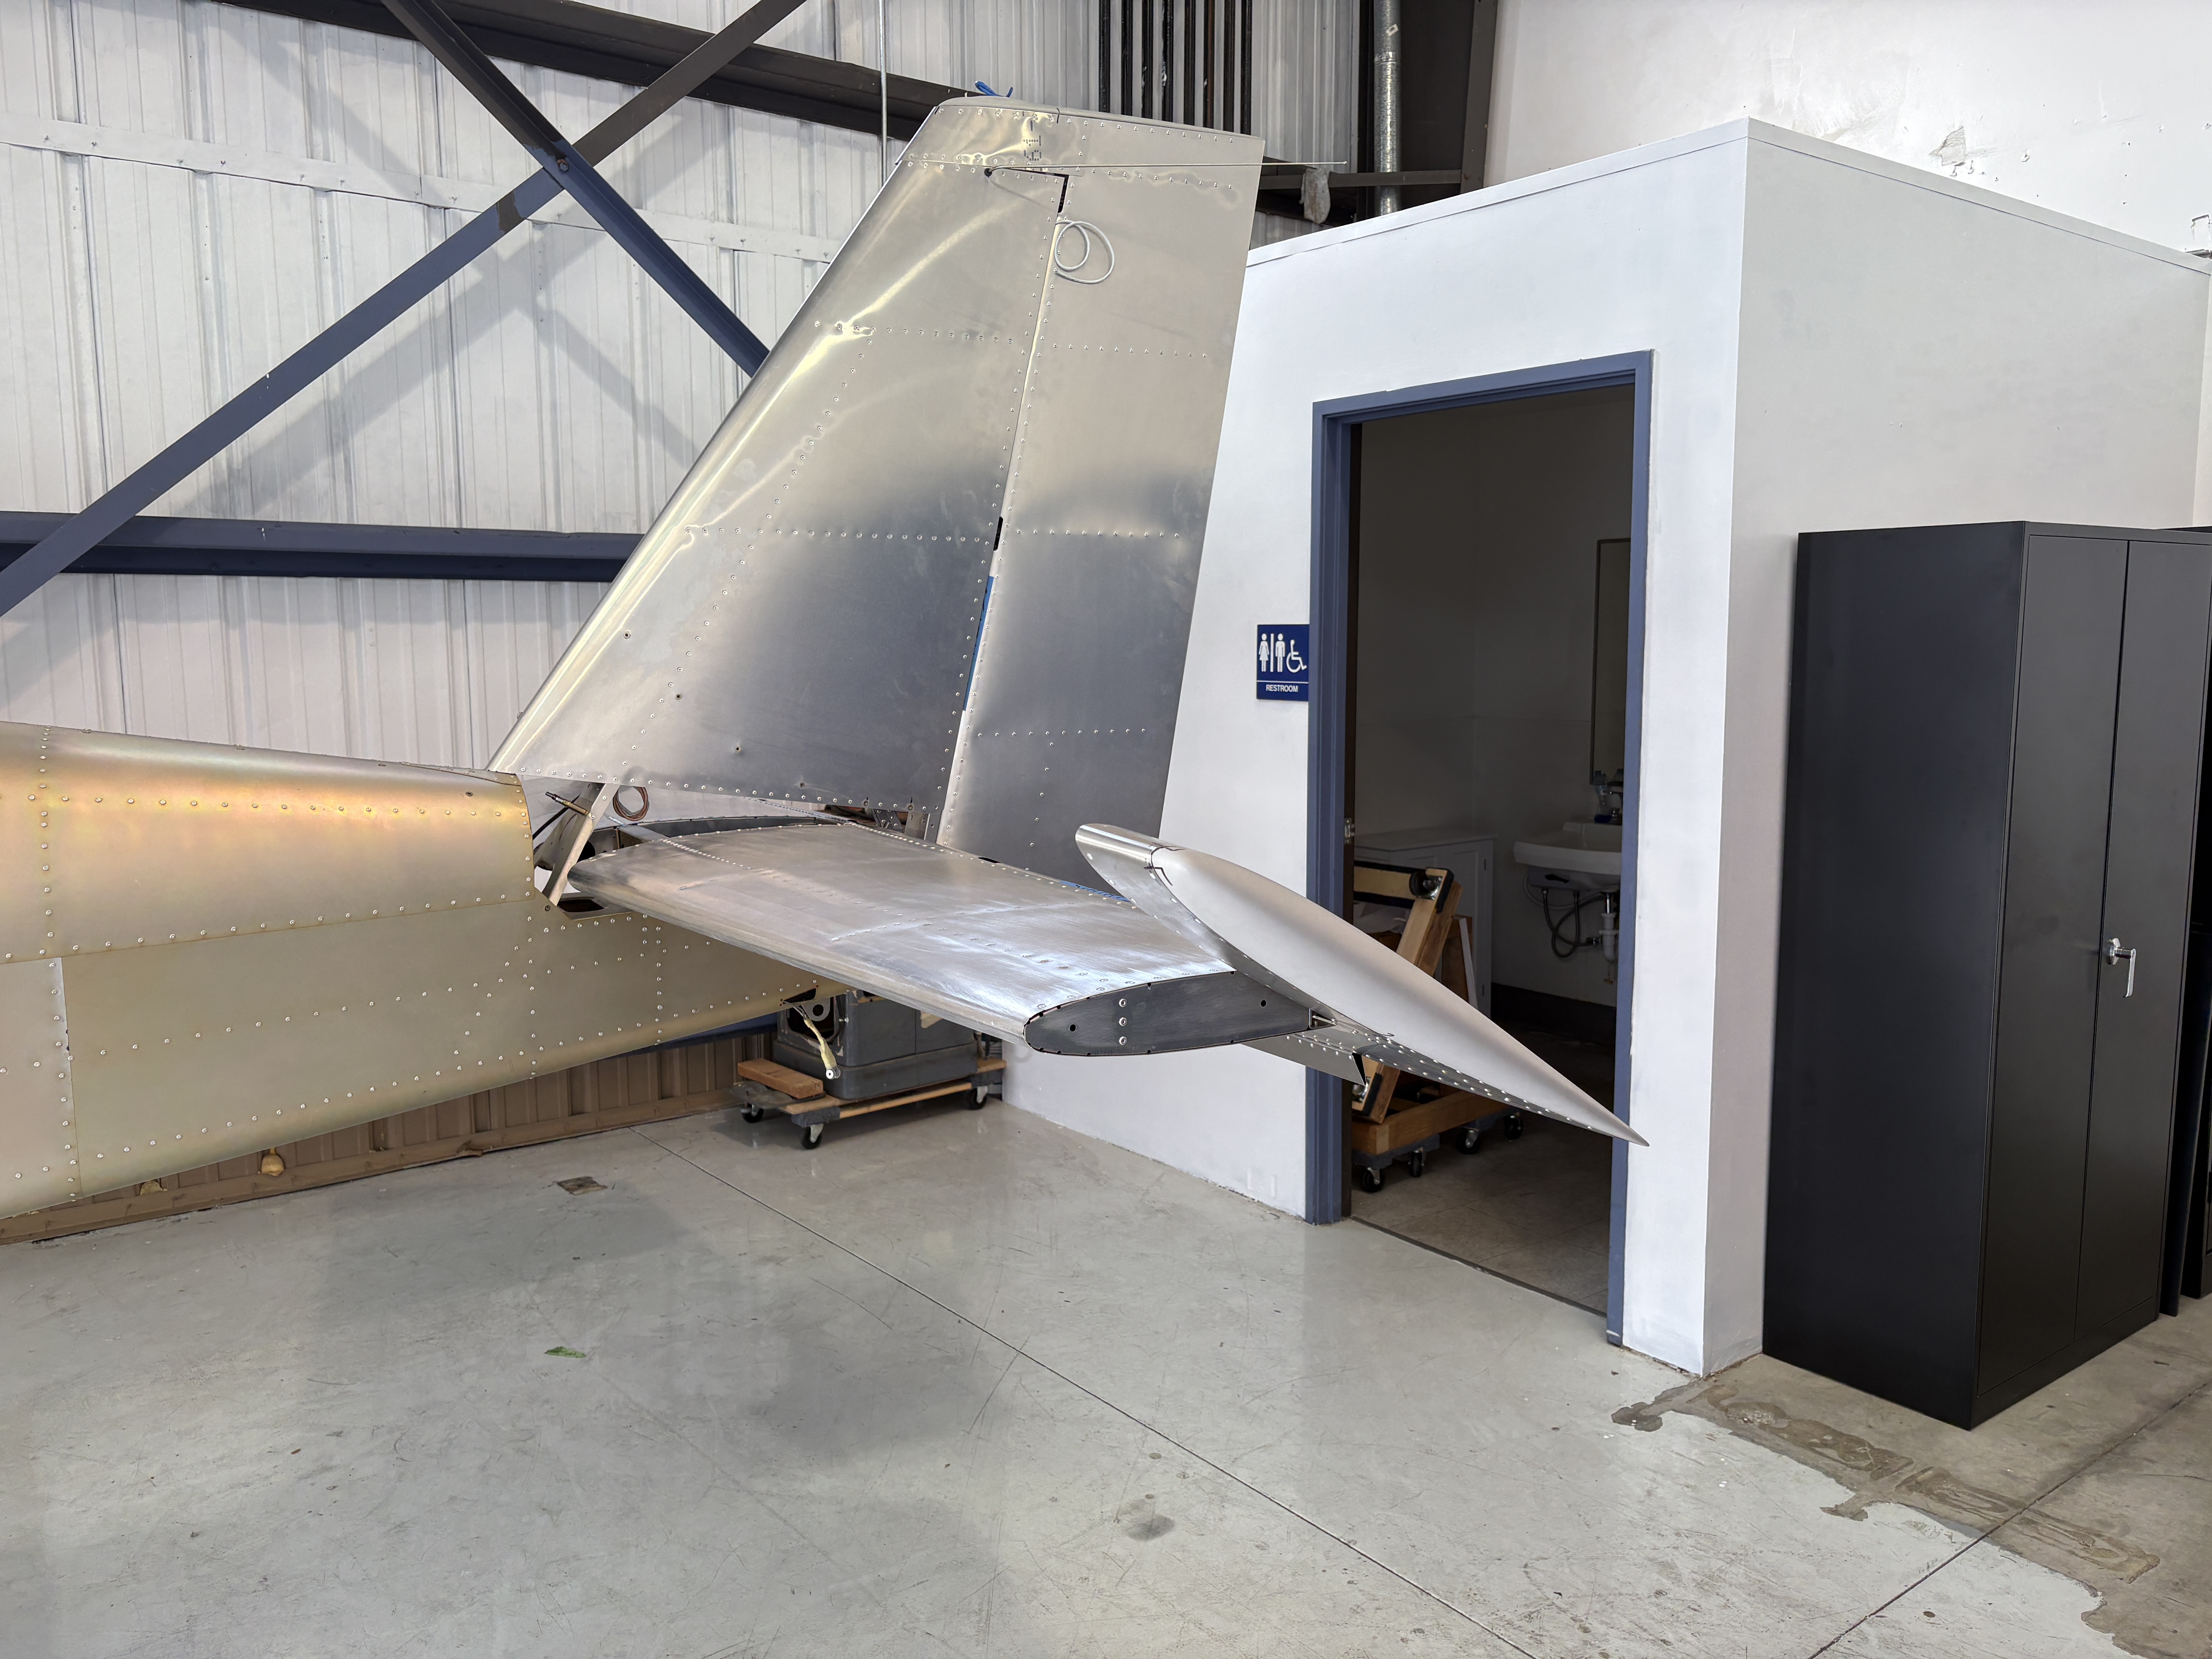
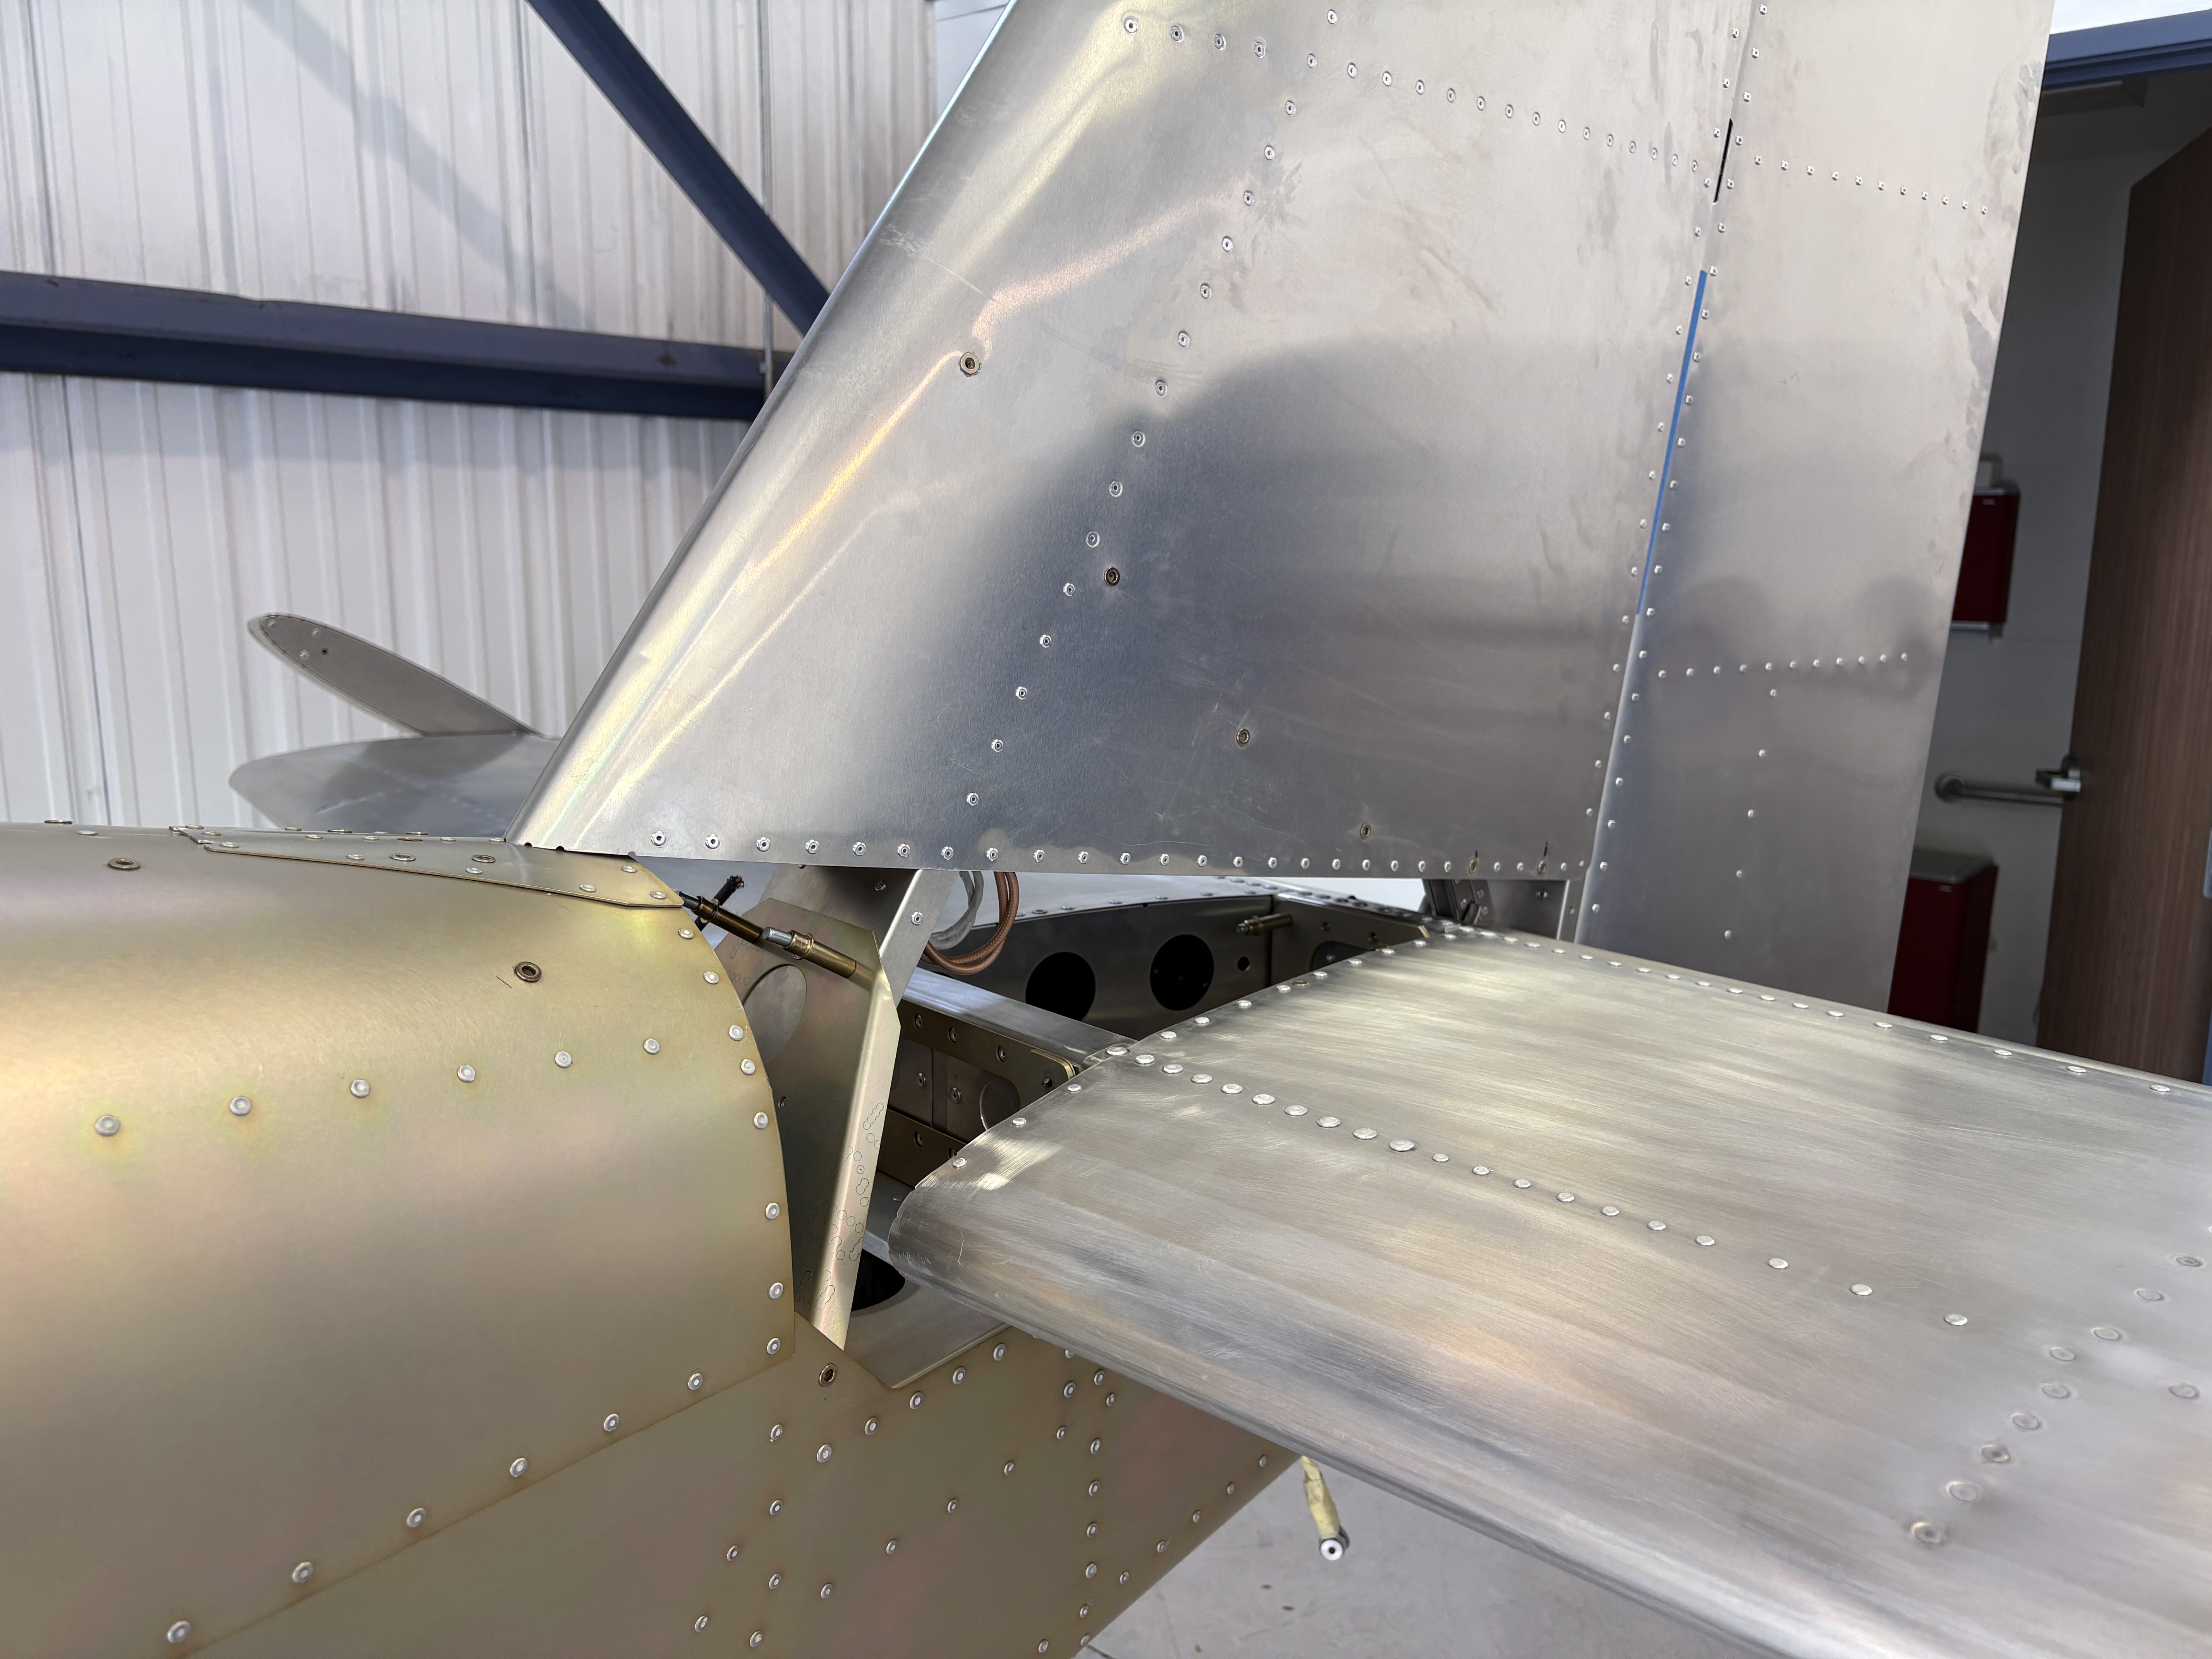
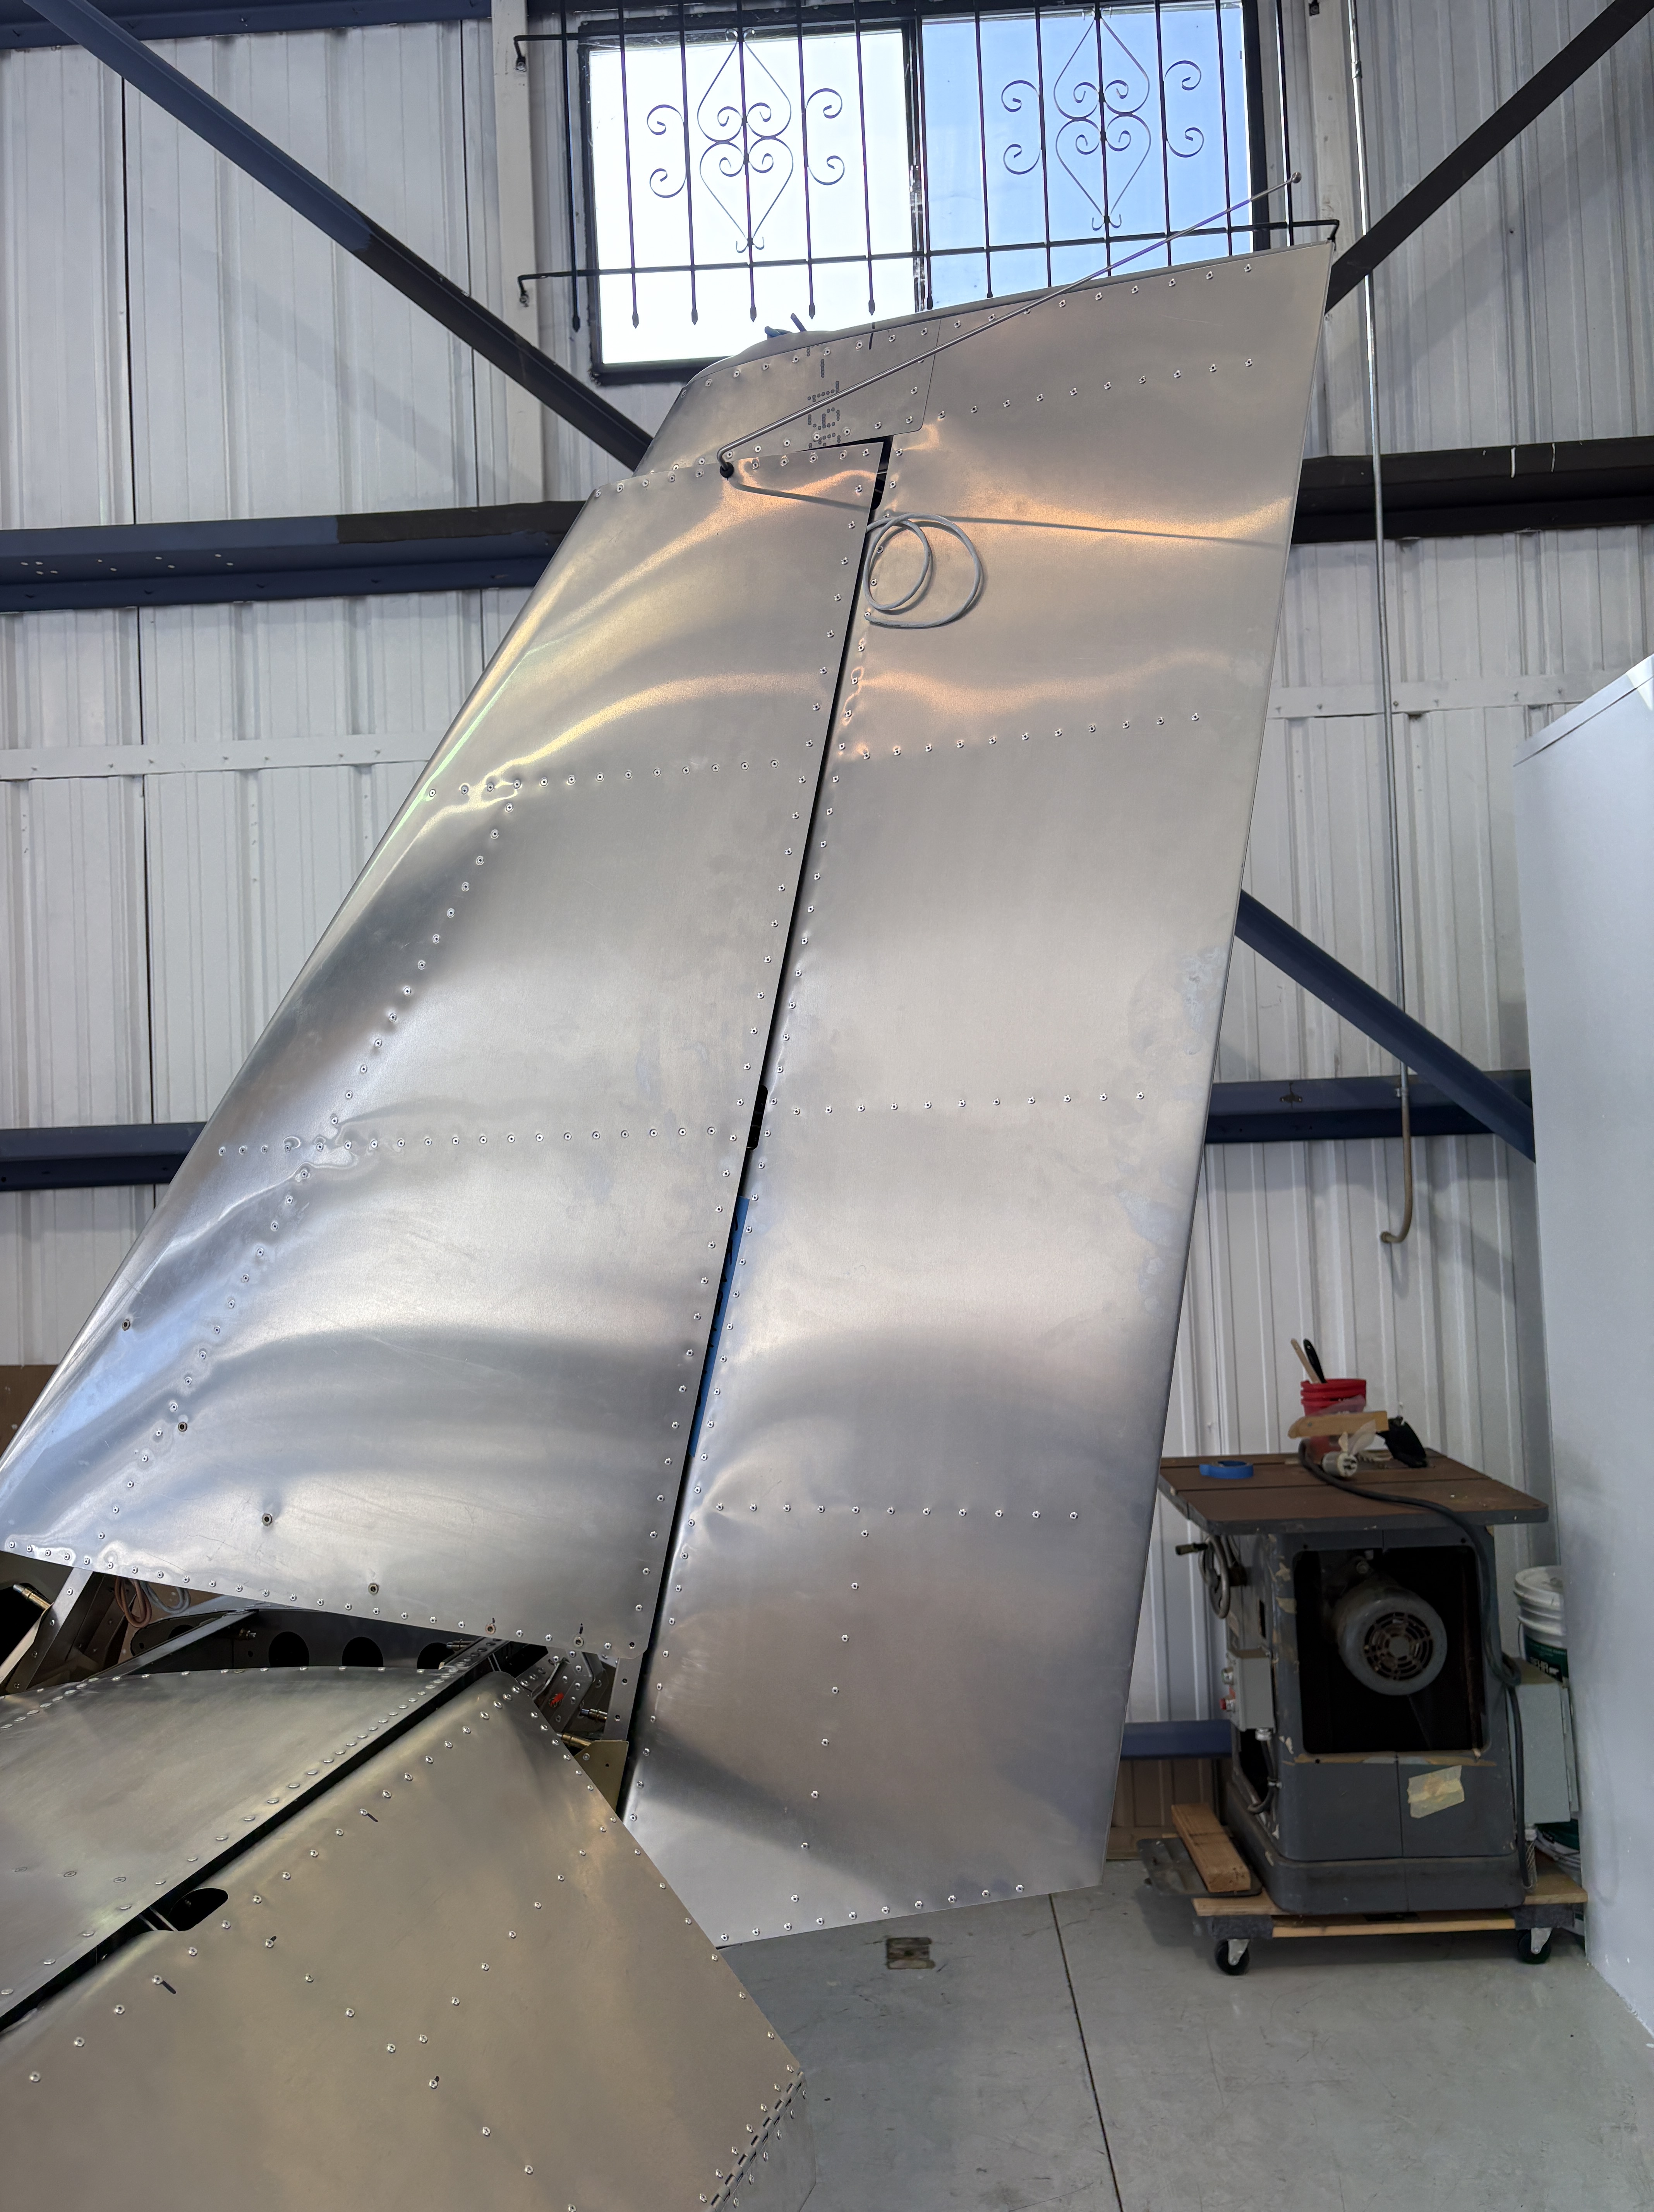
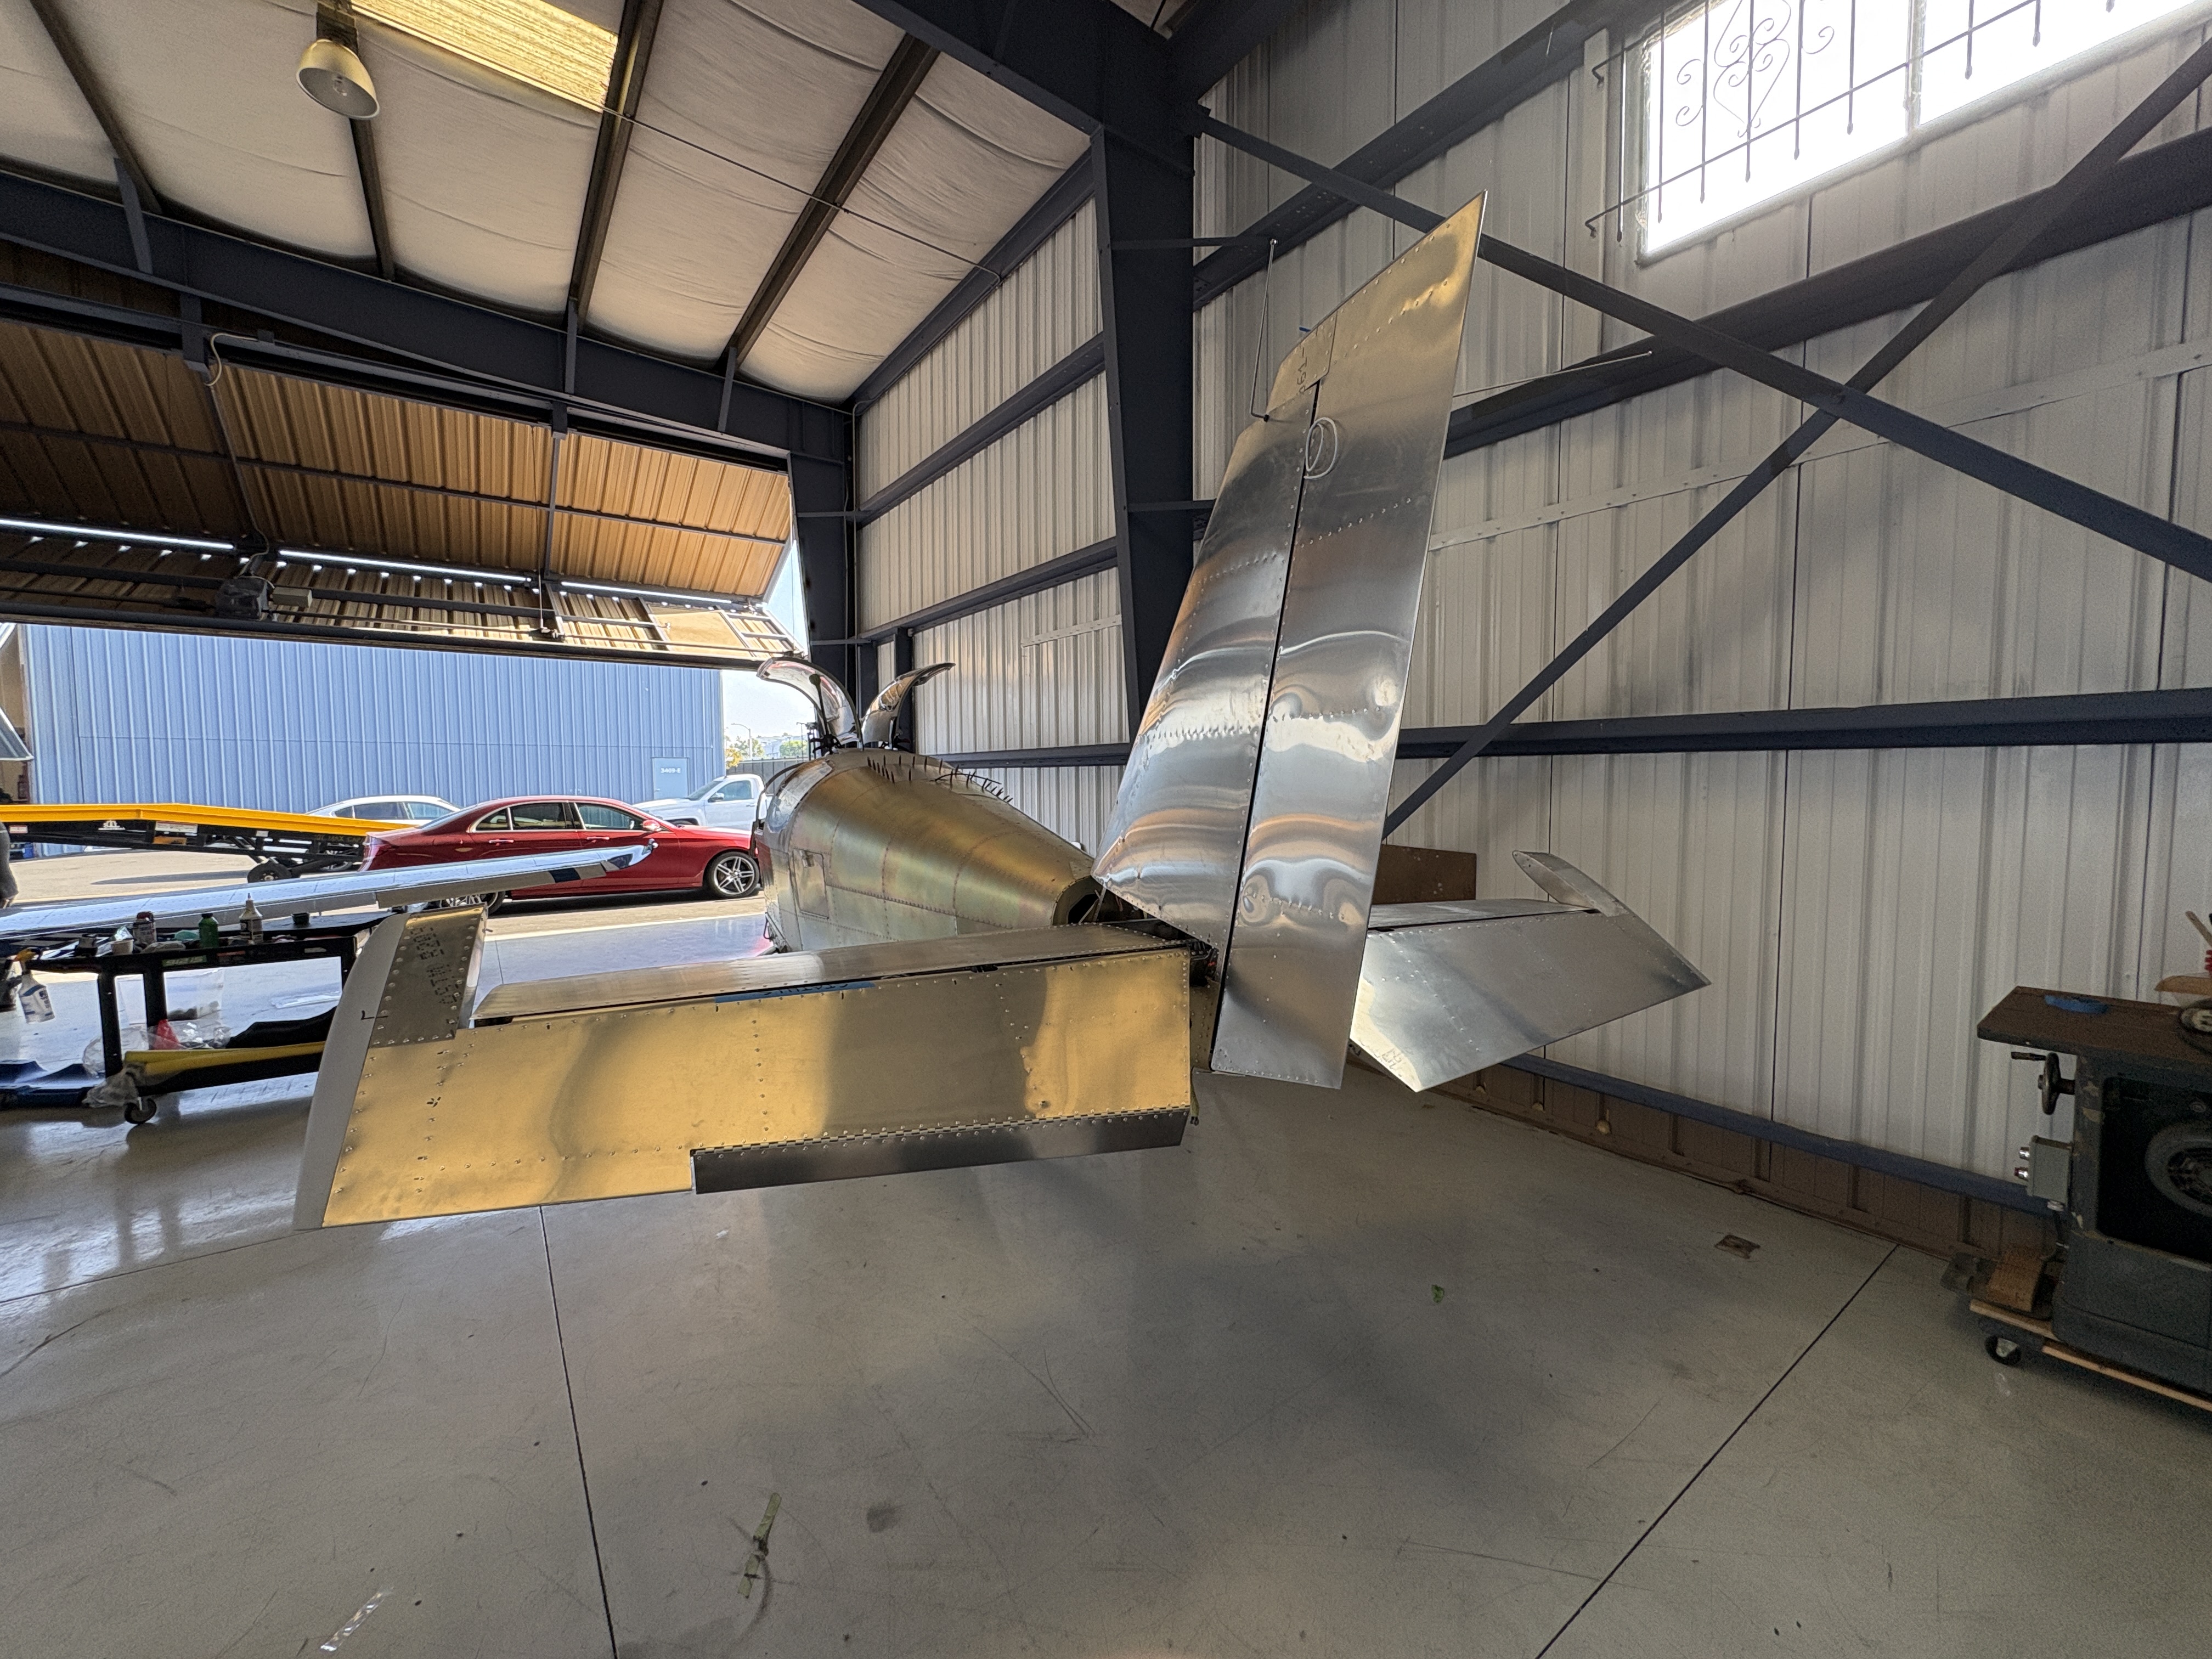
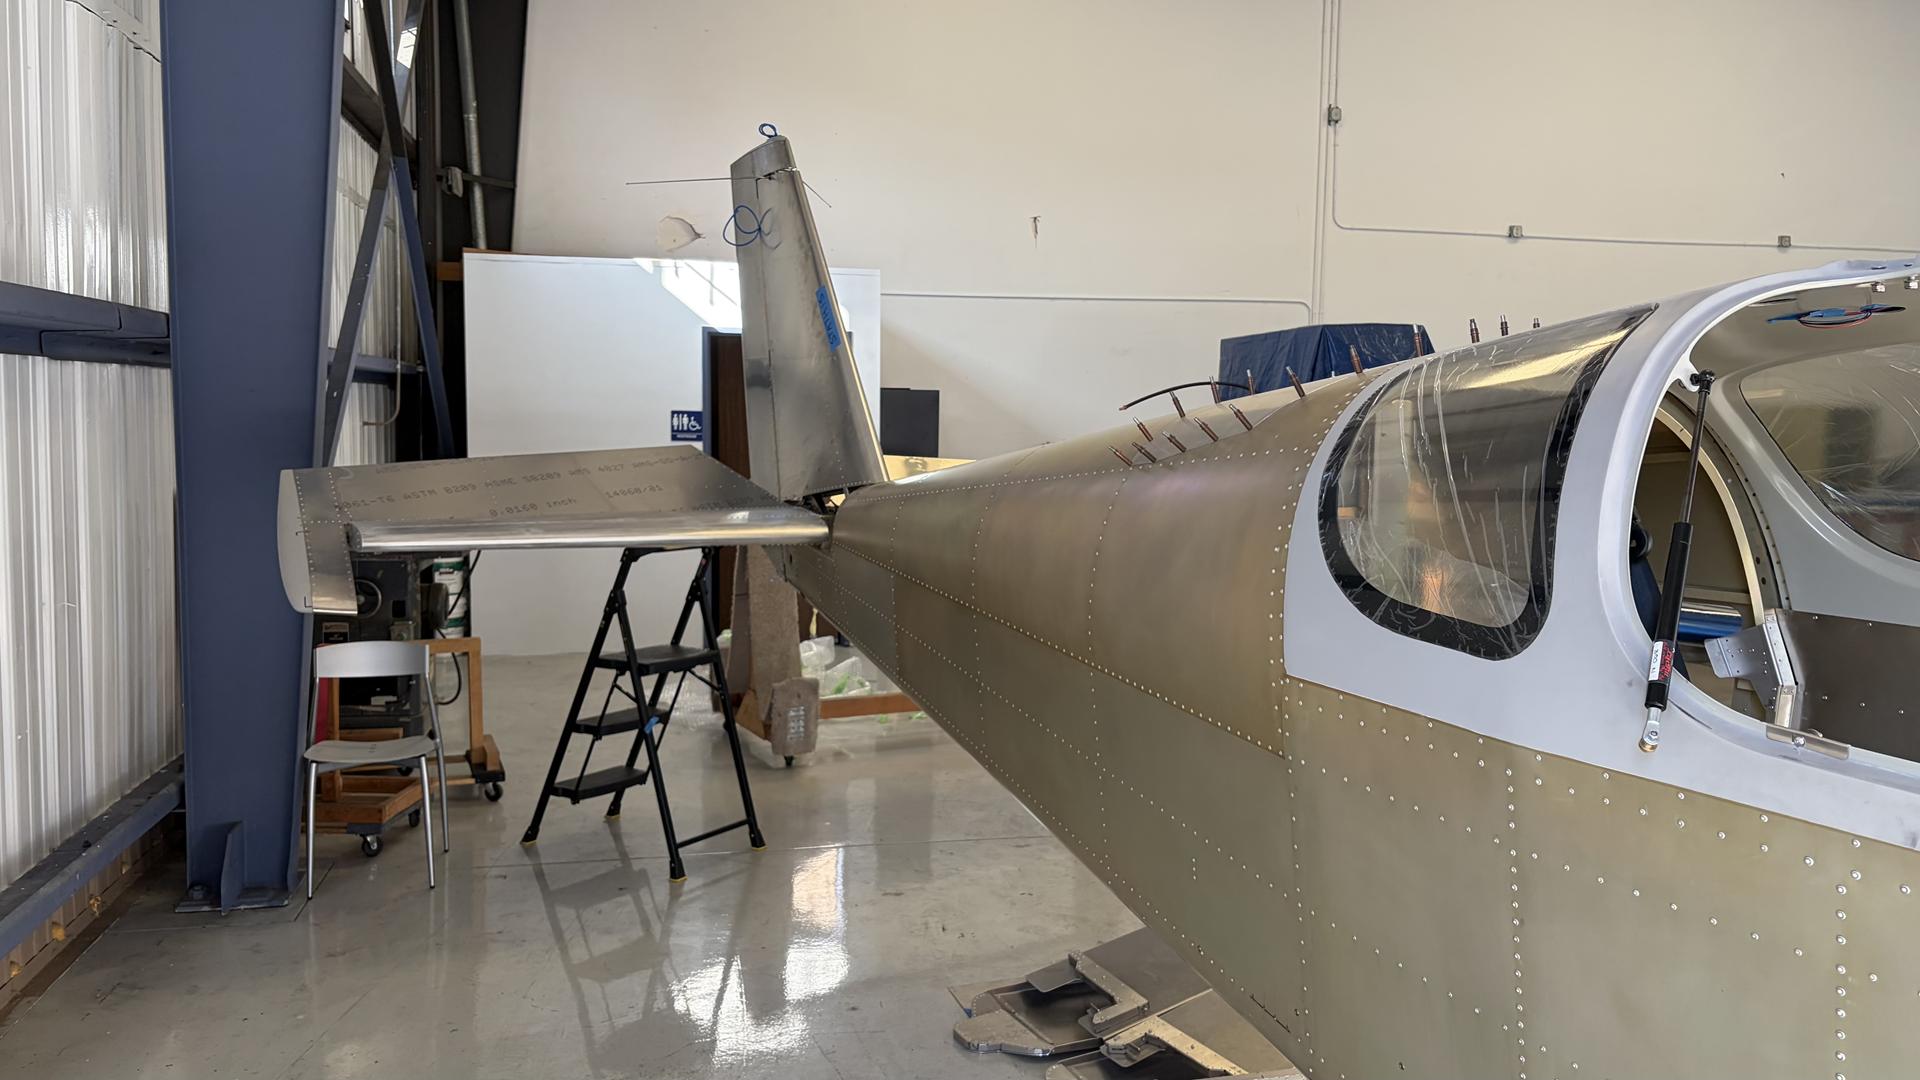
Empennage Mated to the Fuselage
This empennage will be disassembled again prior to painting.
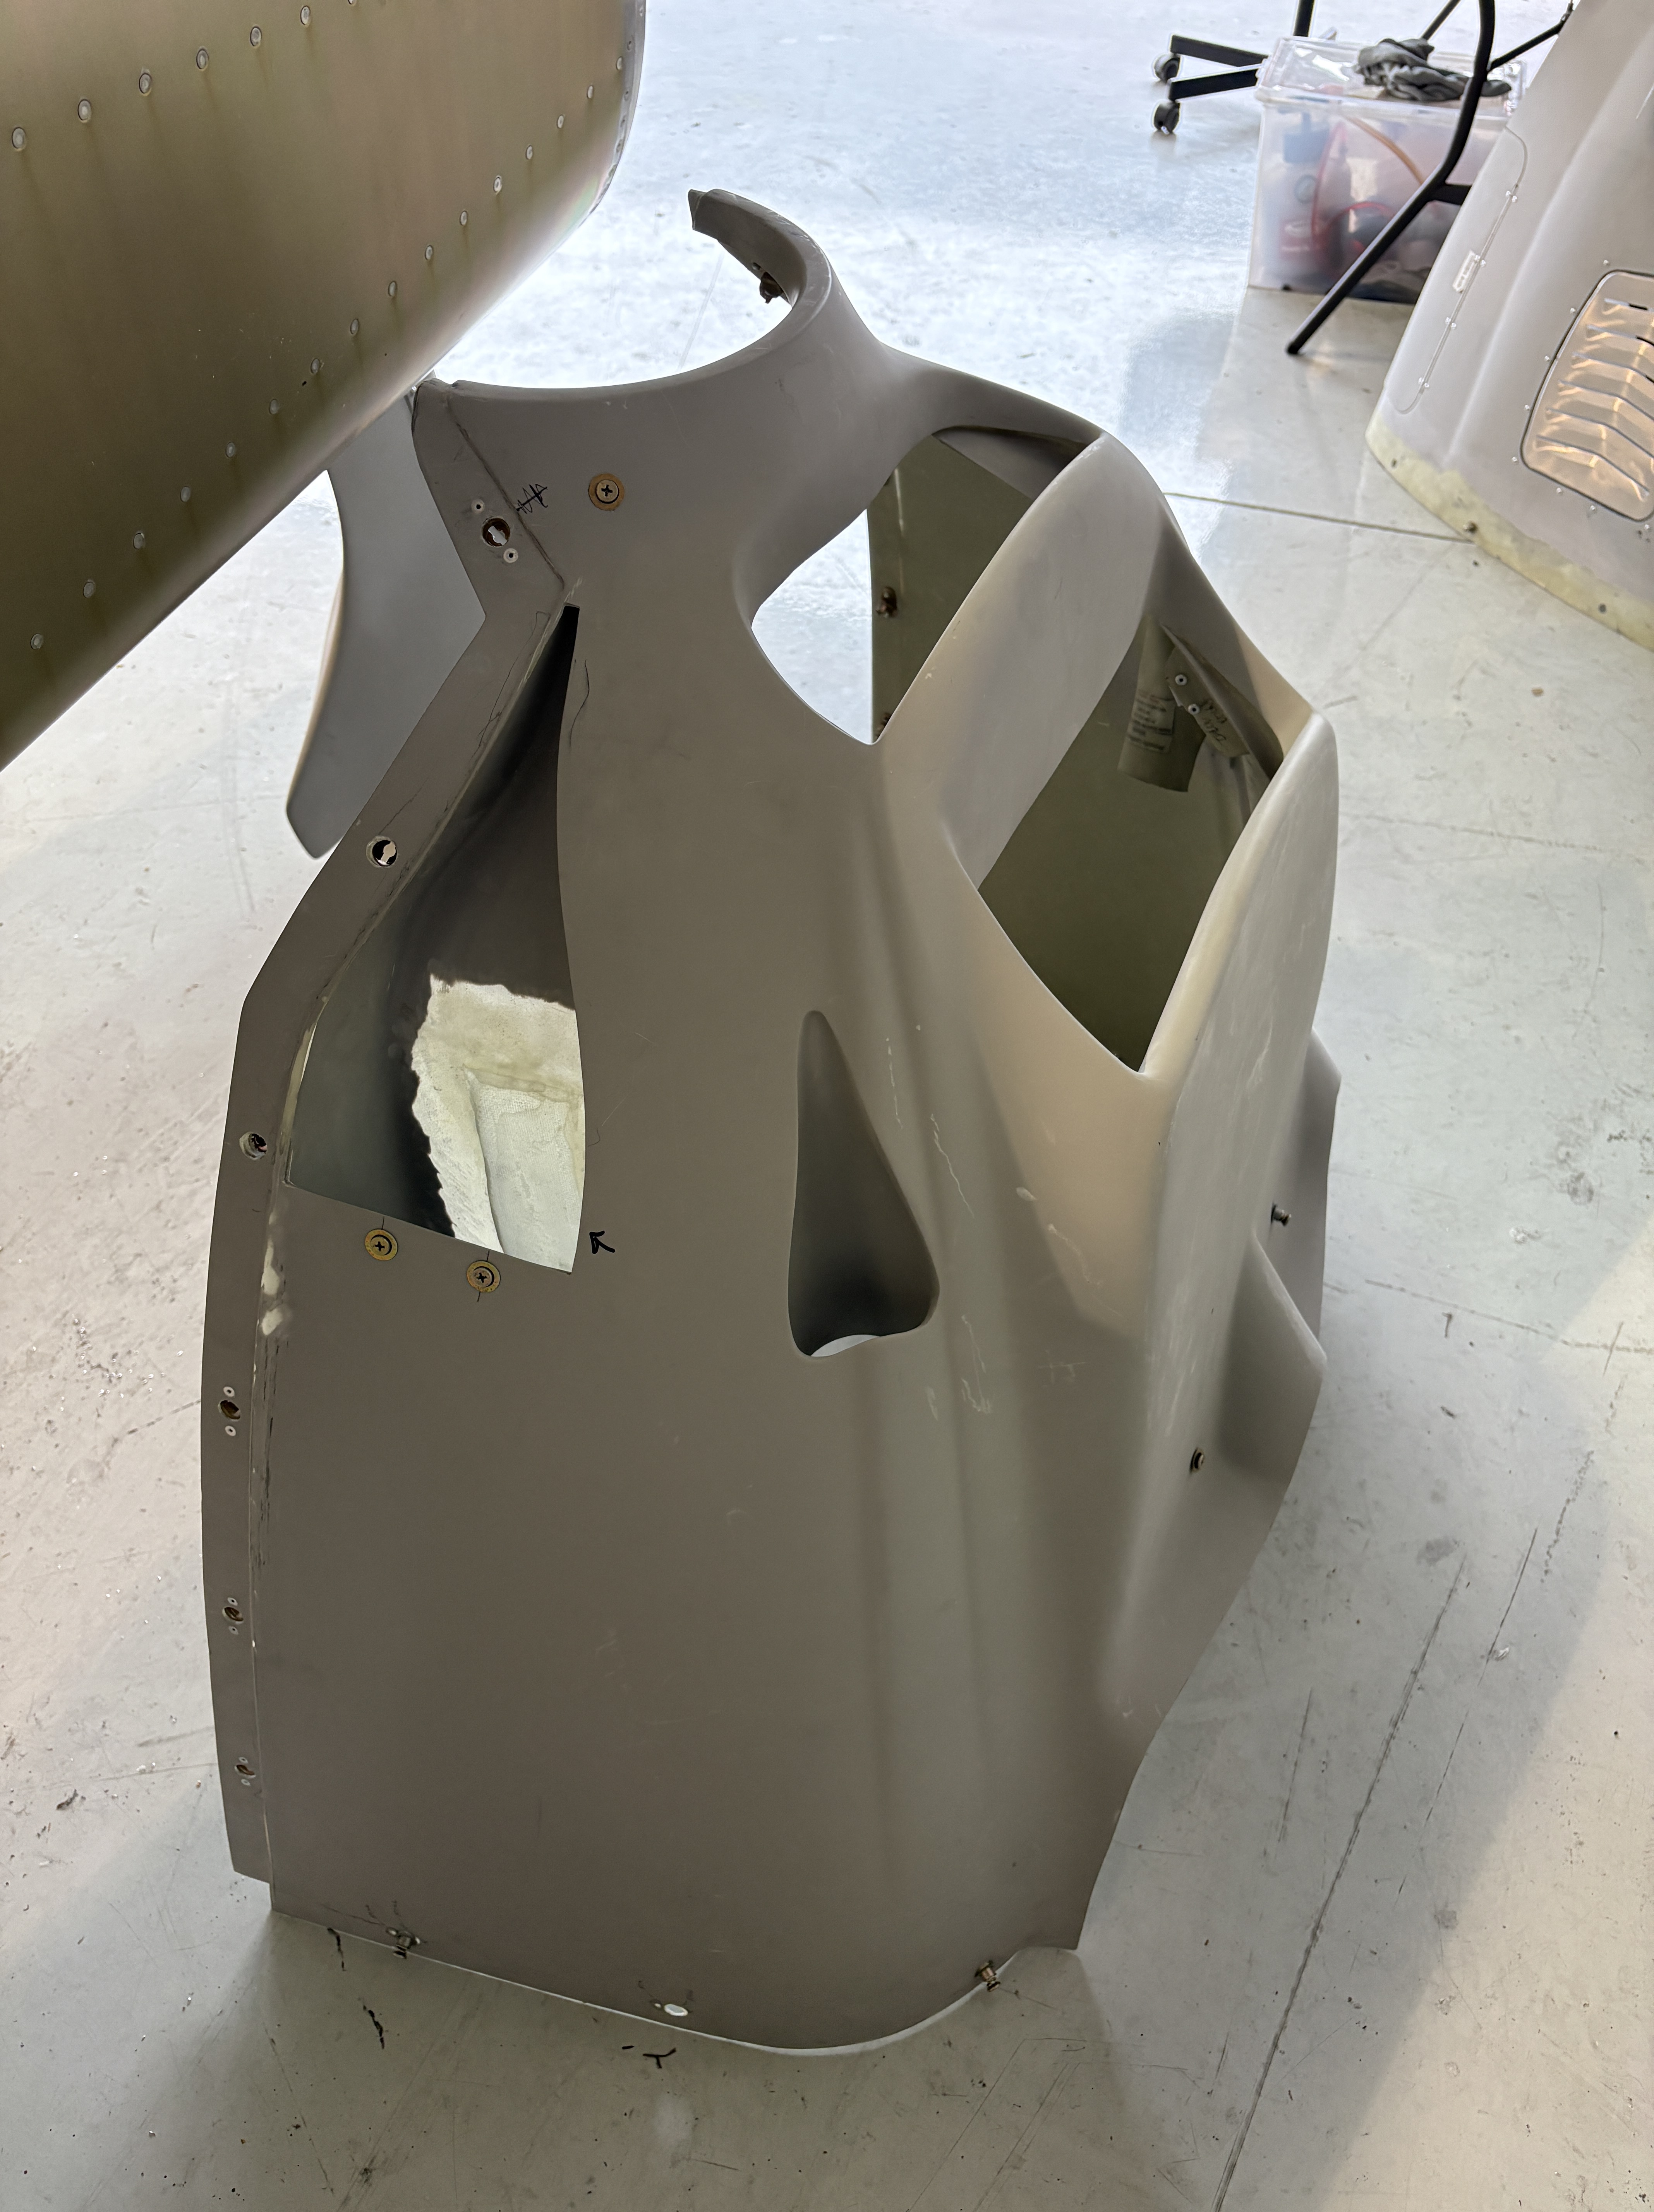
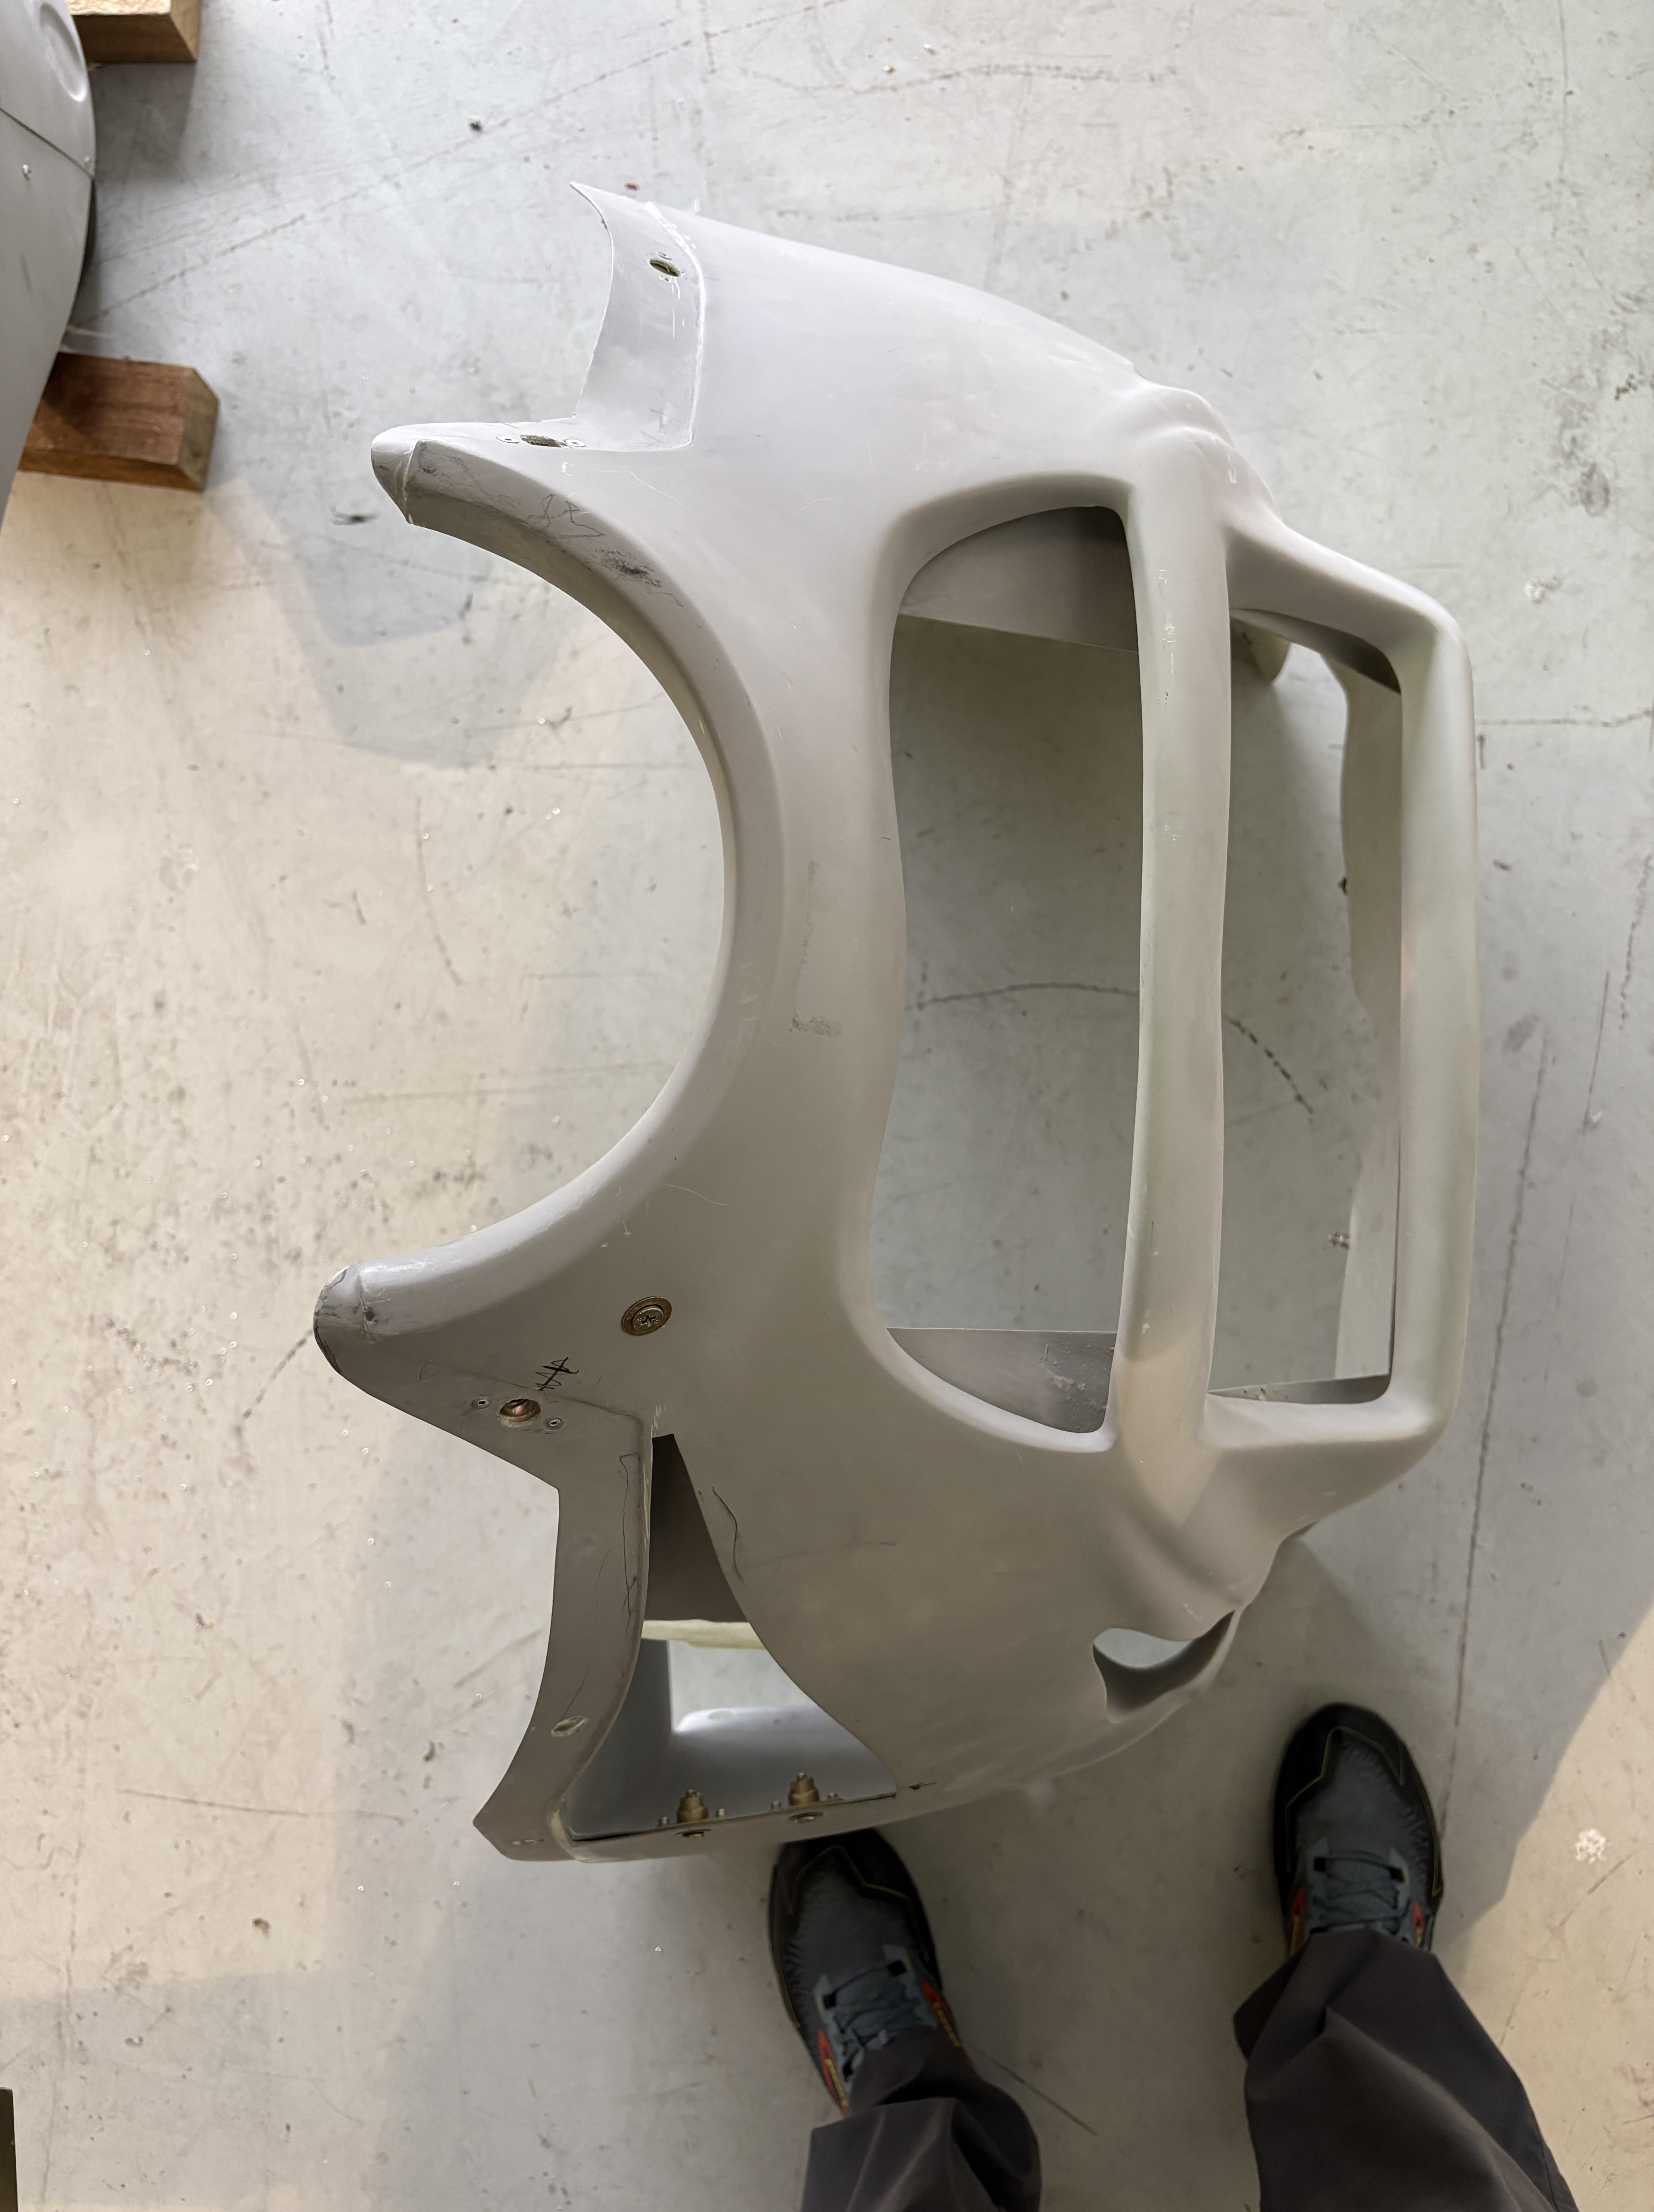
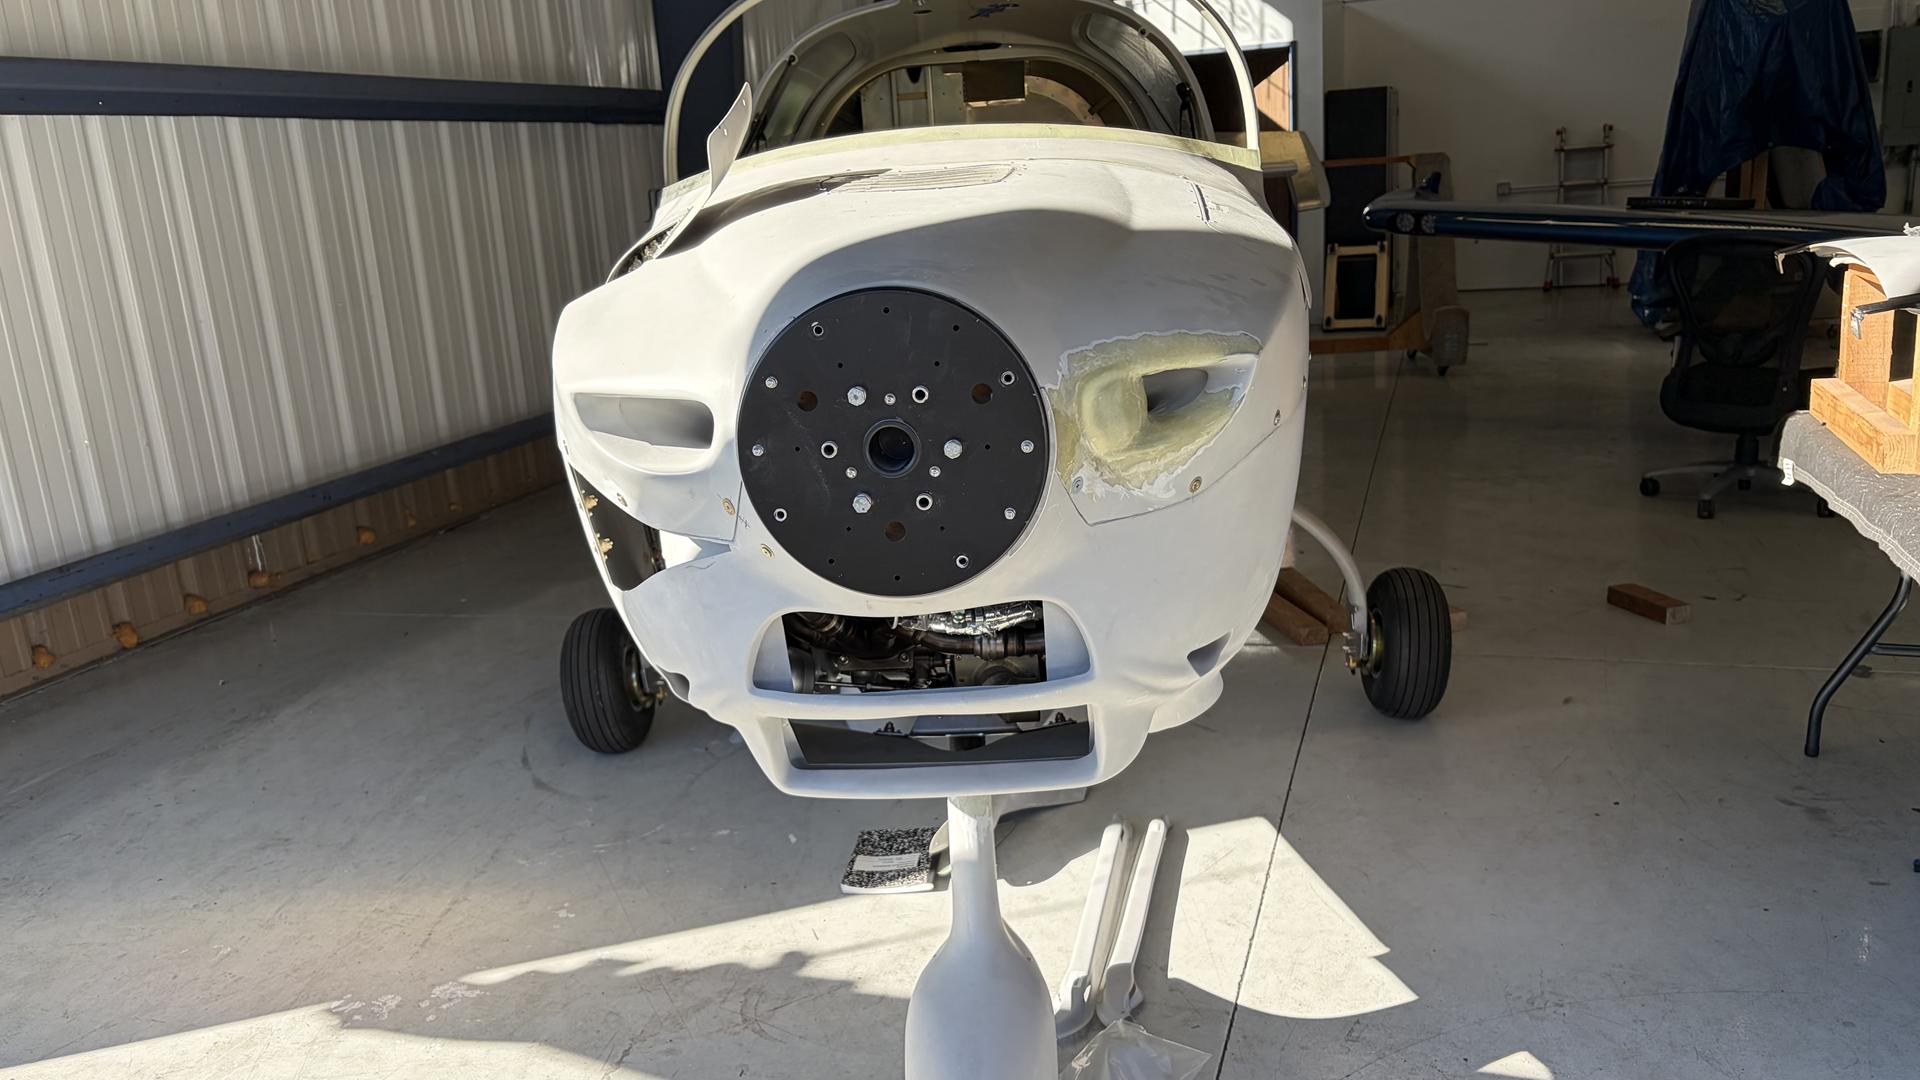
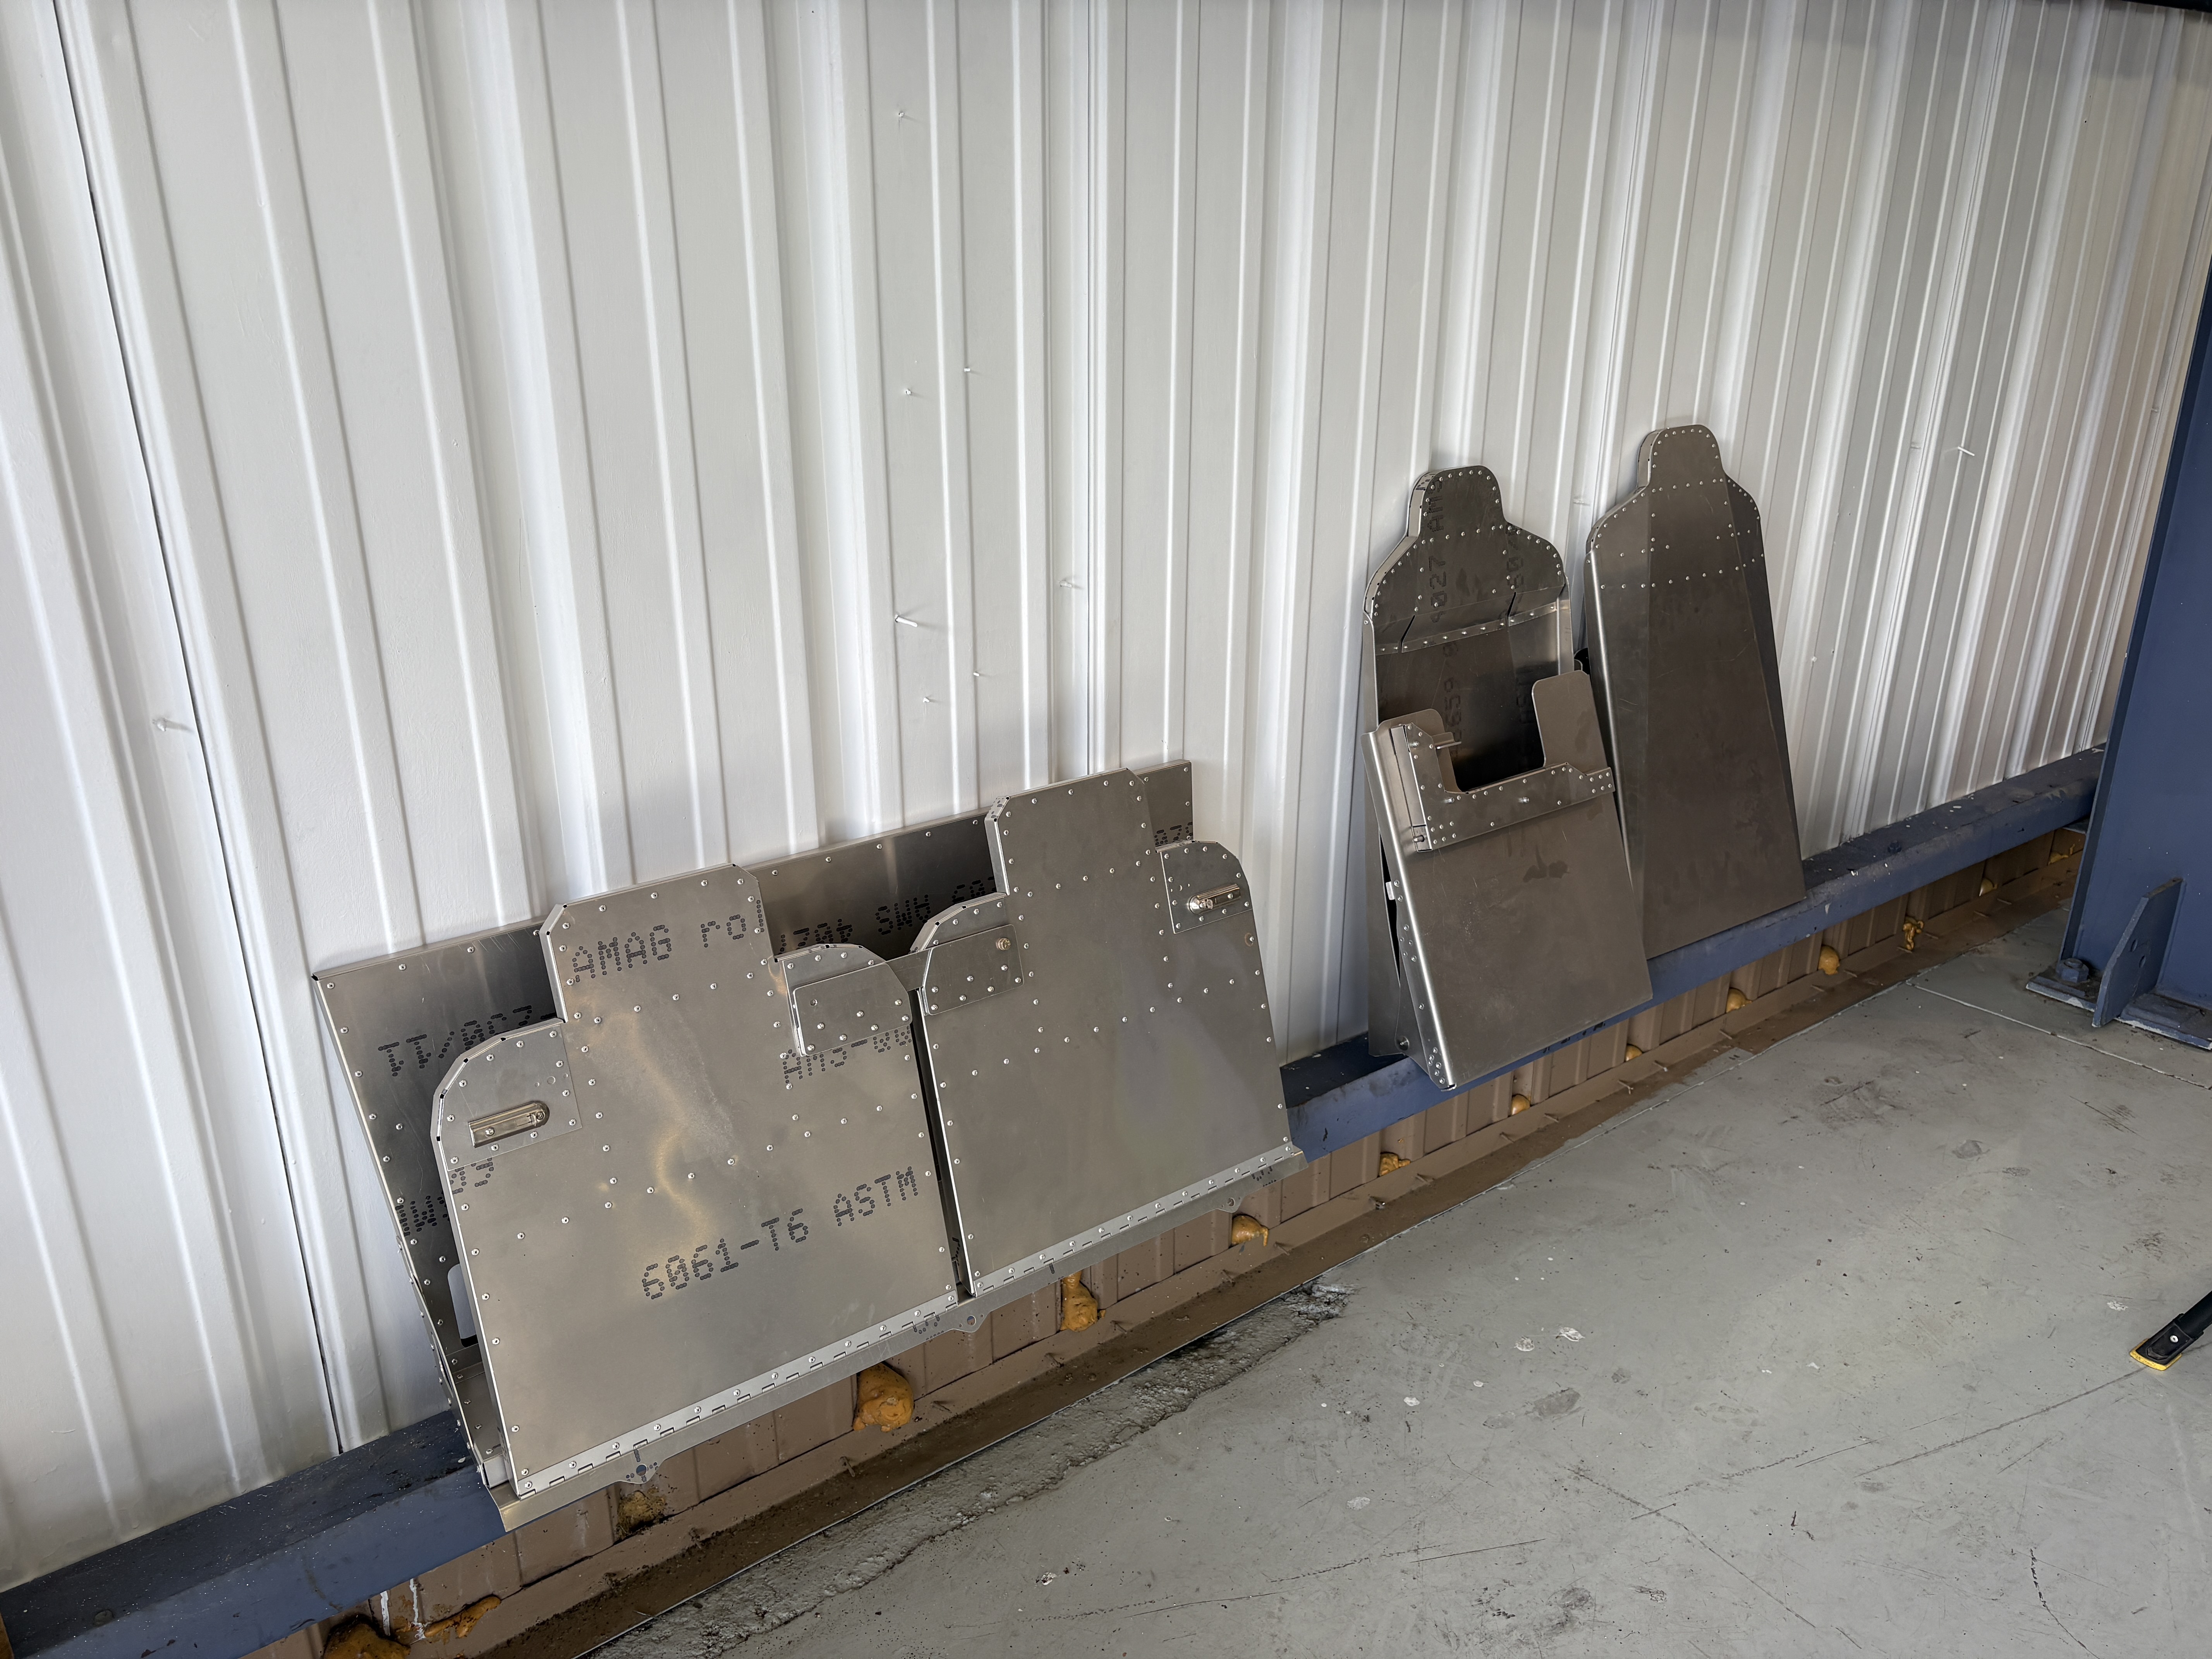
Composites
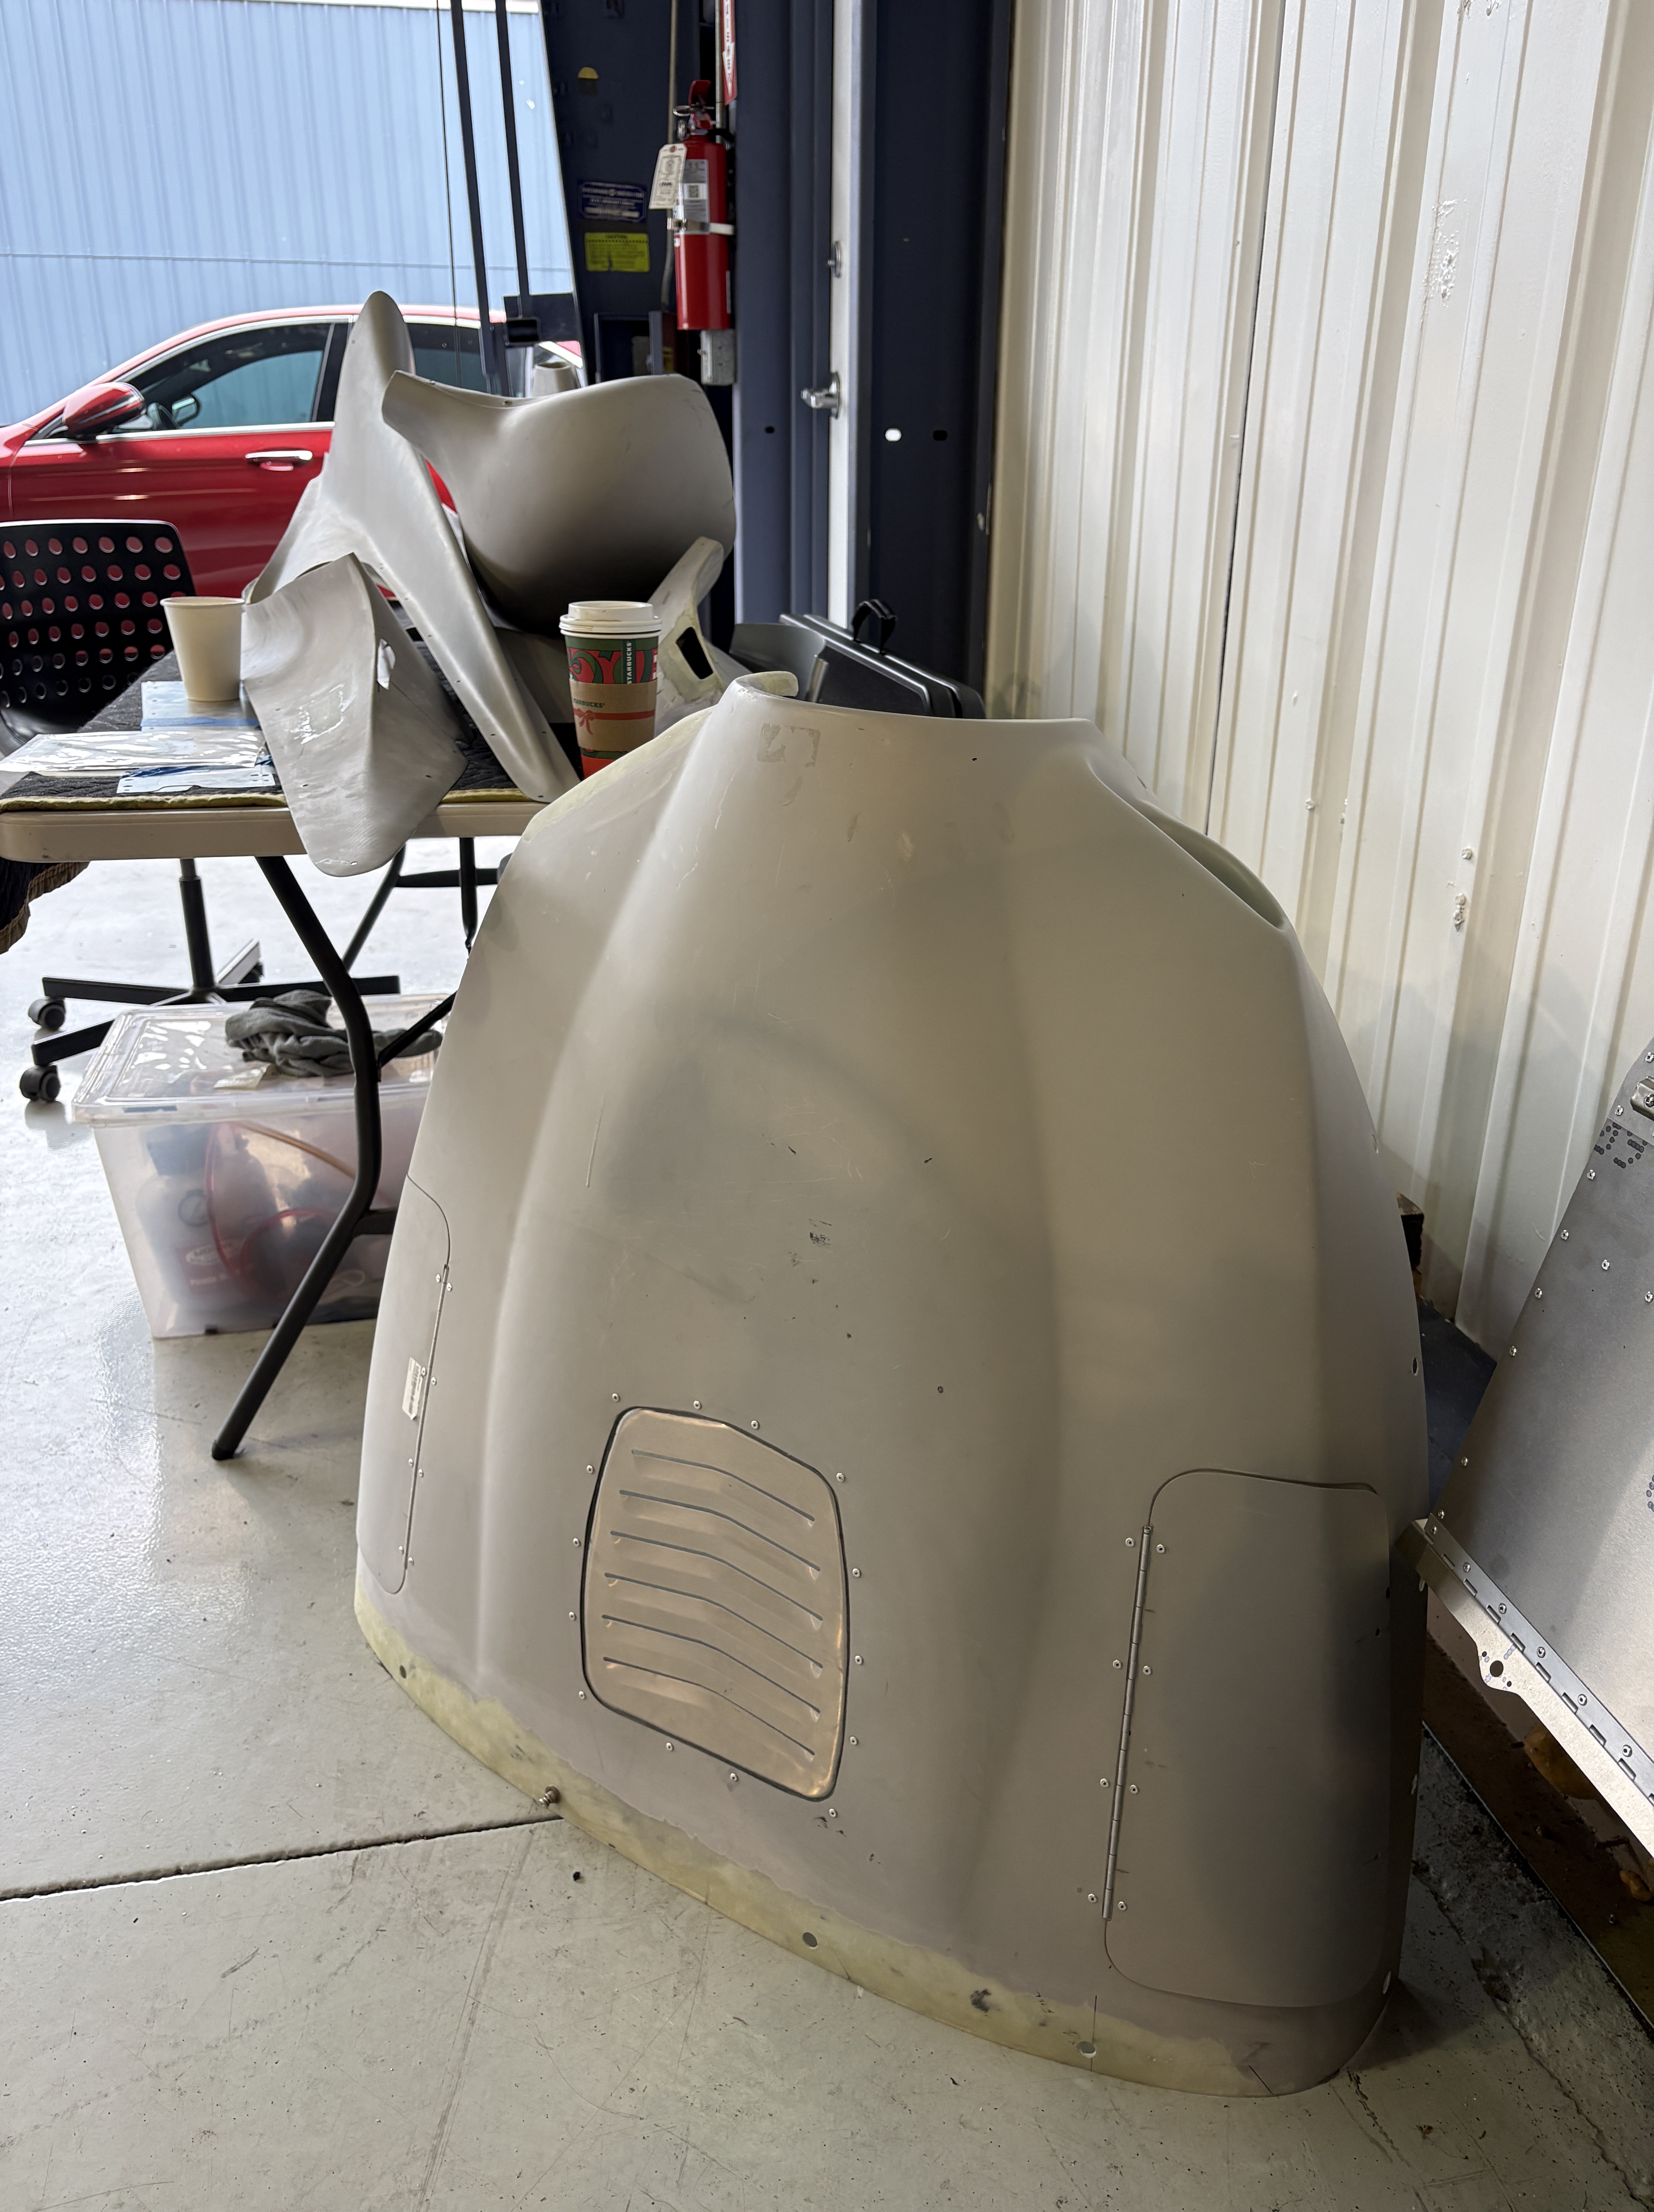
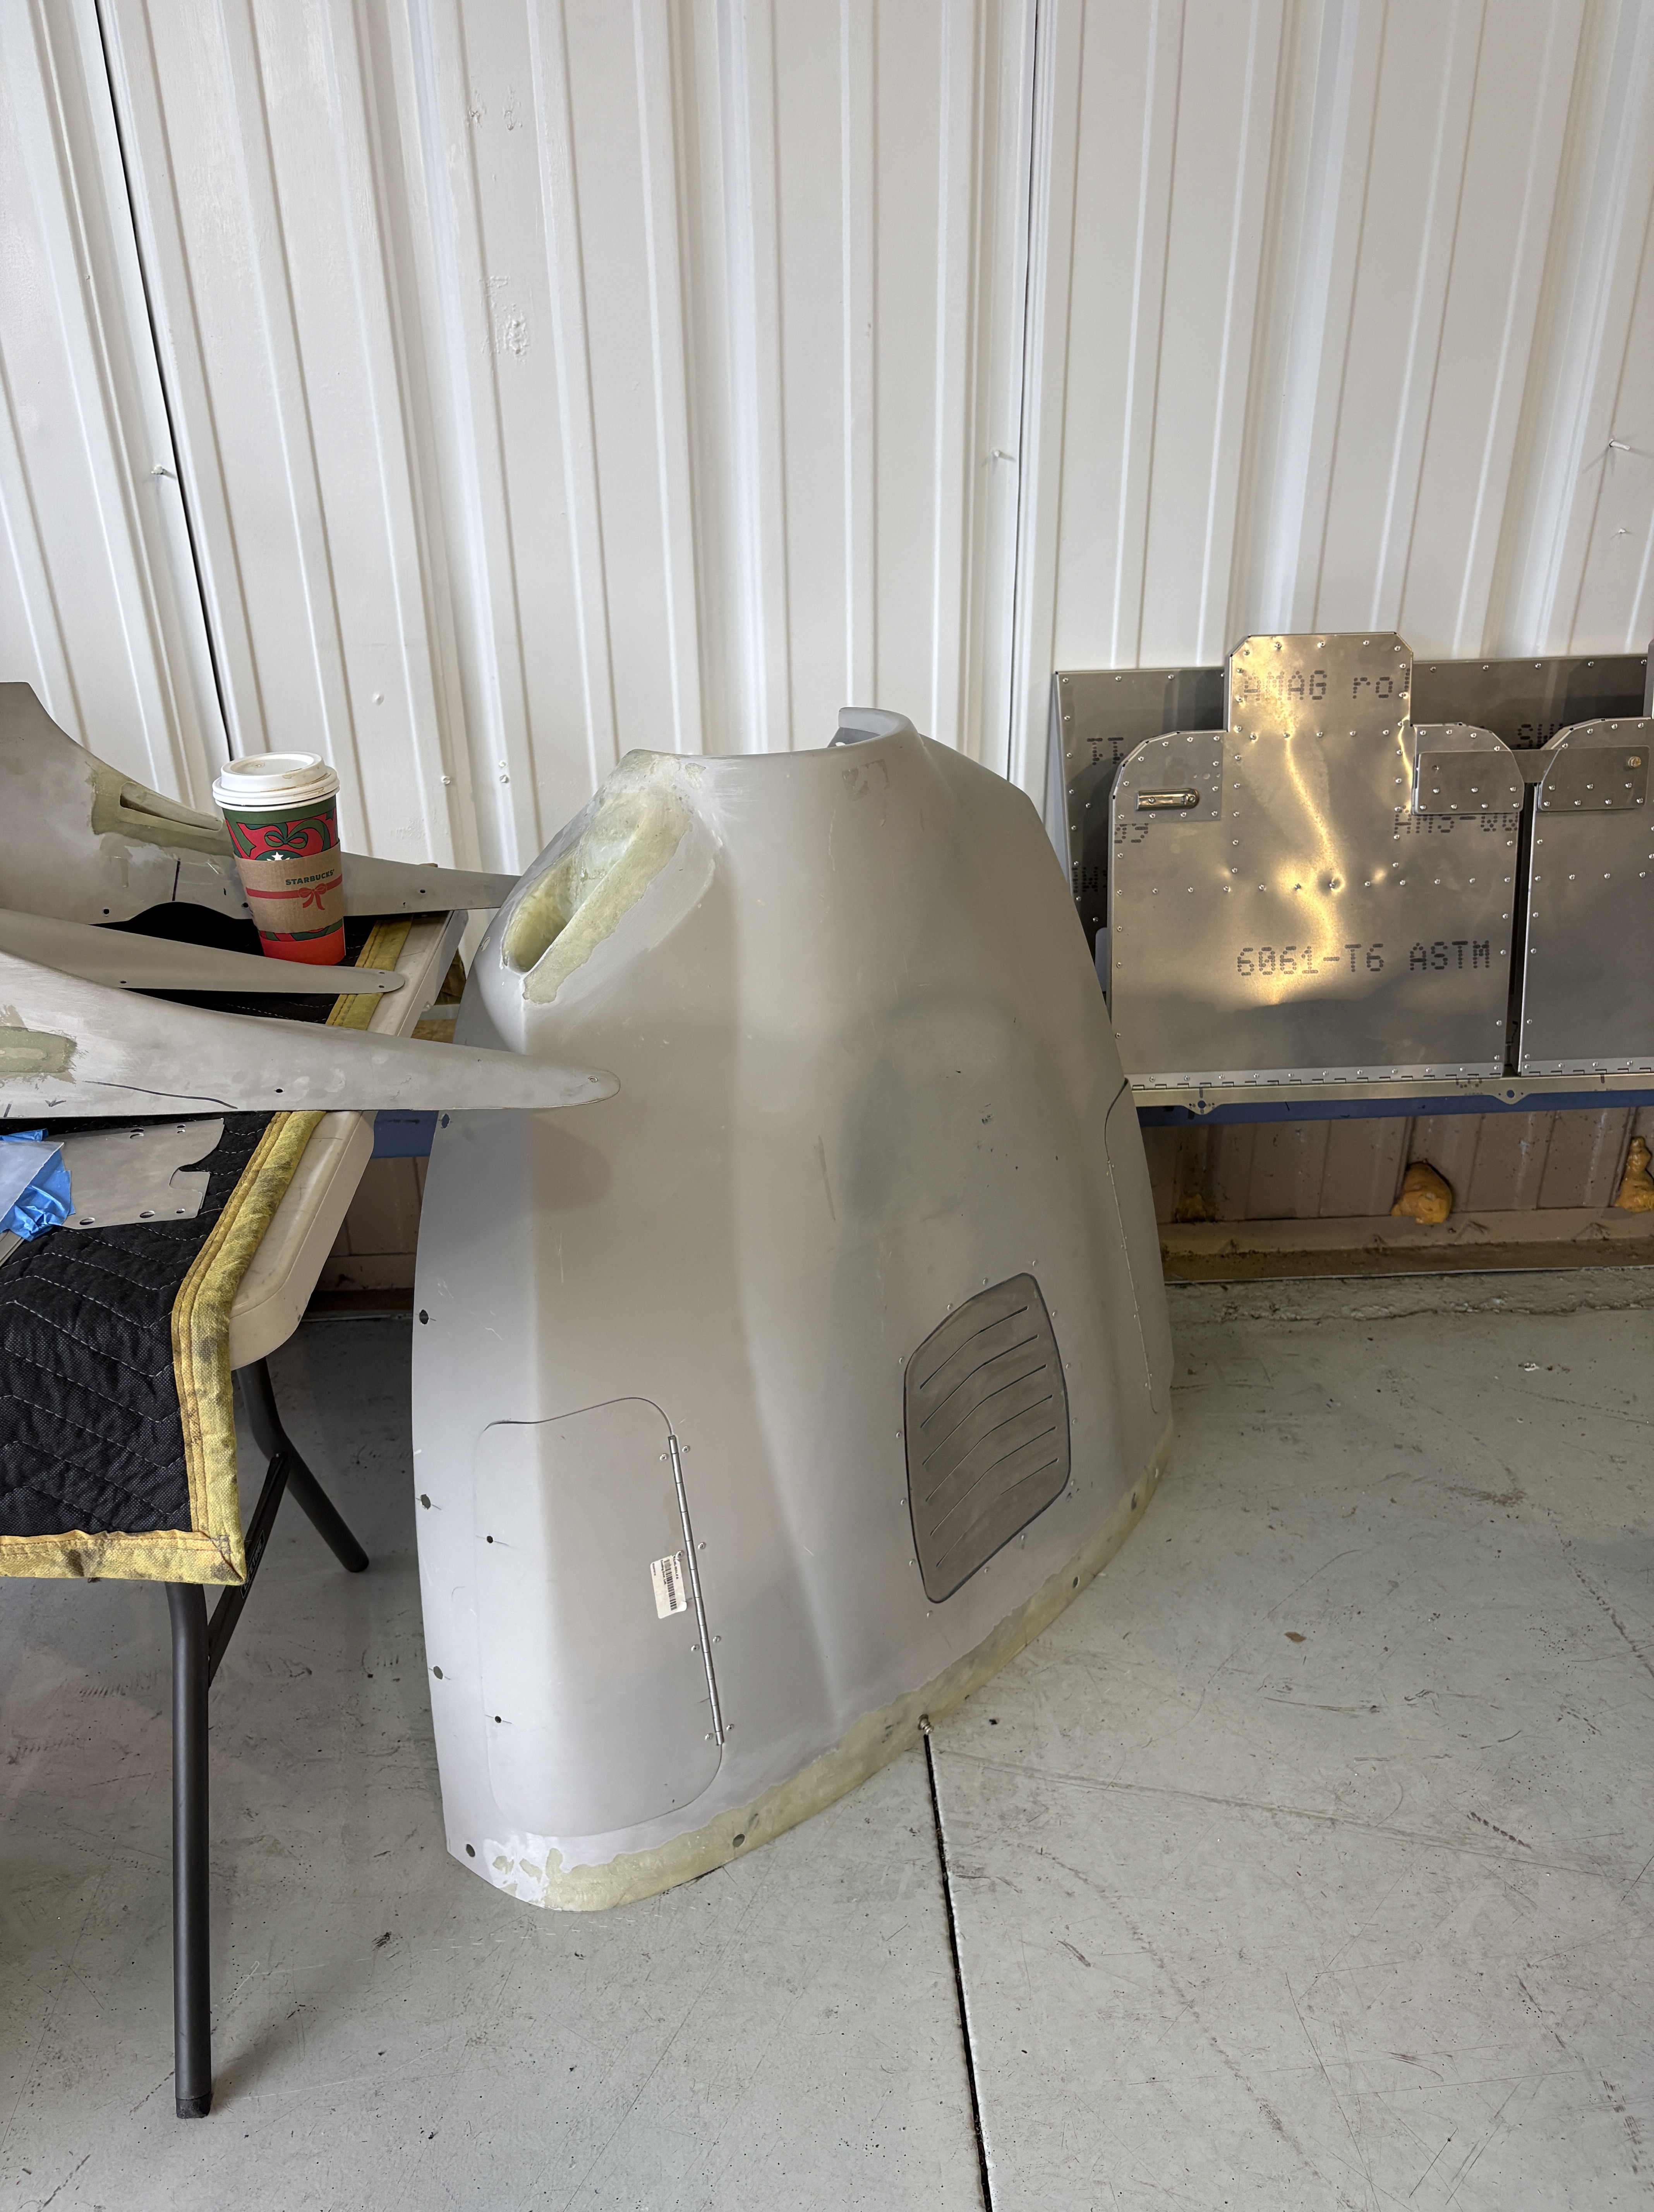

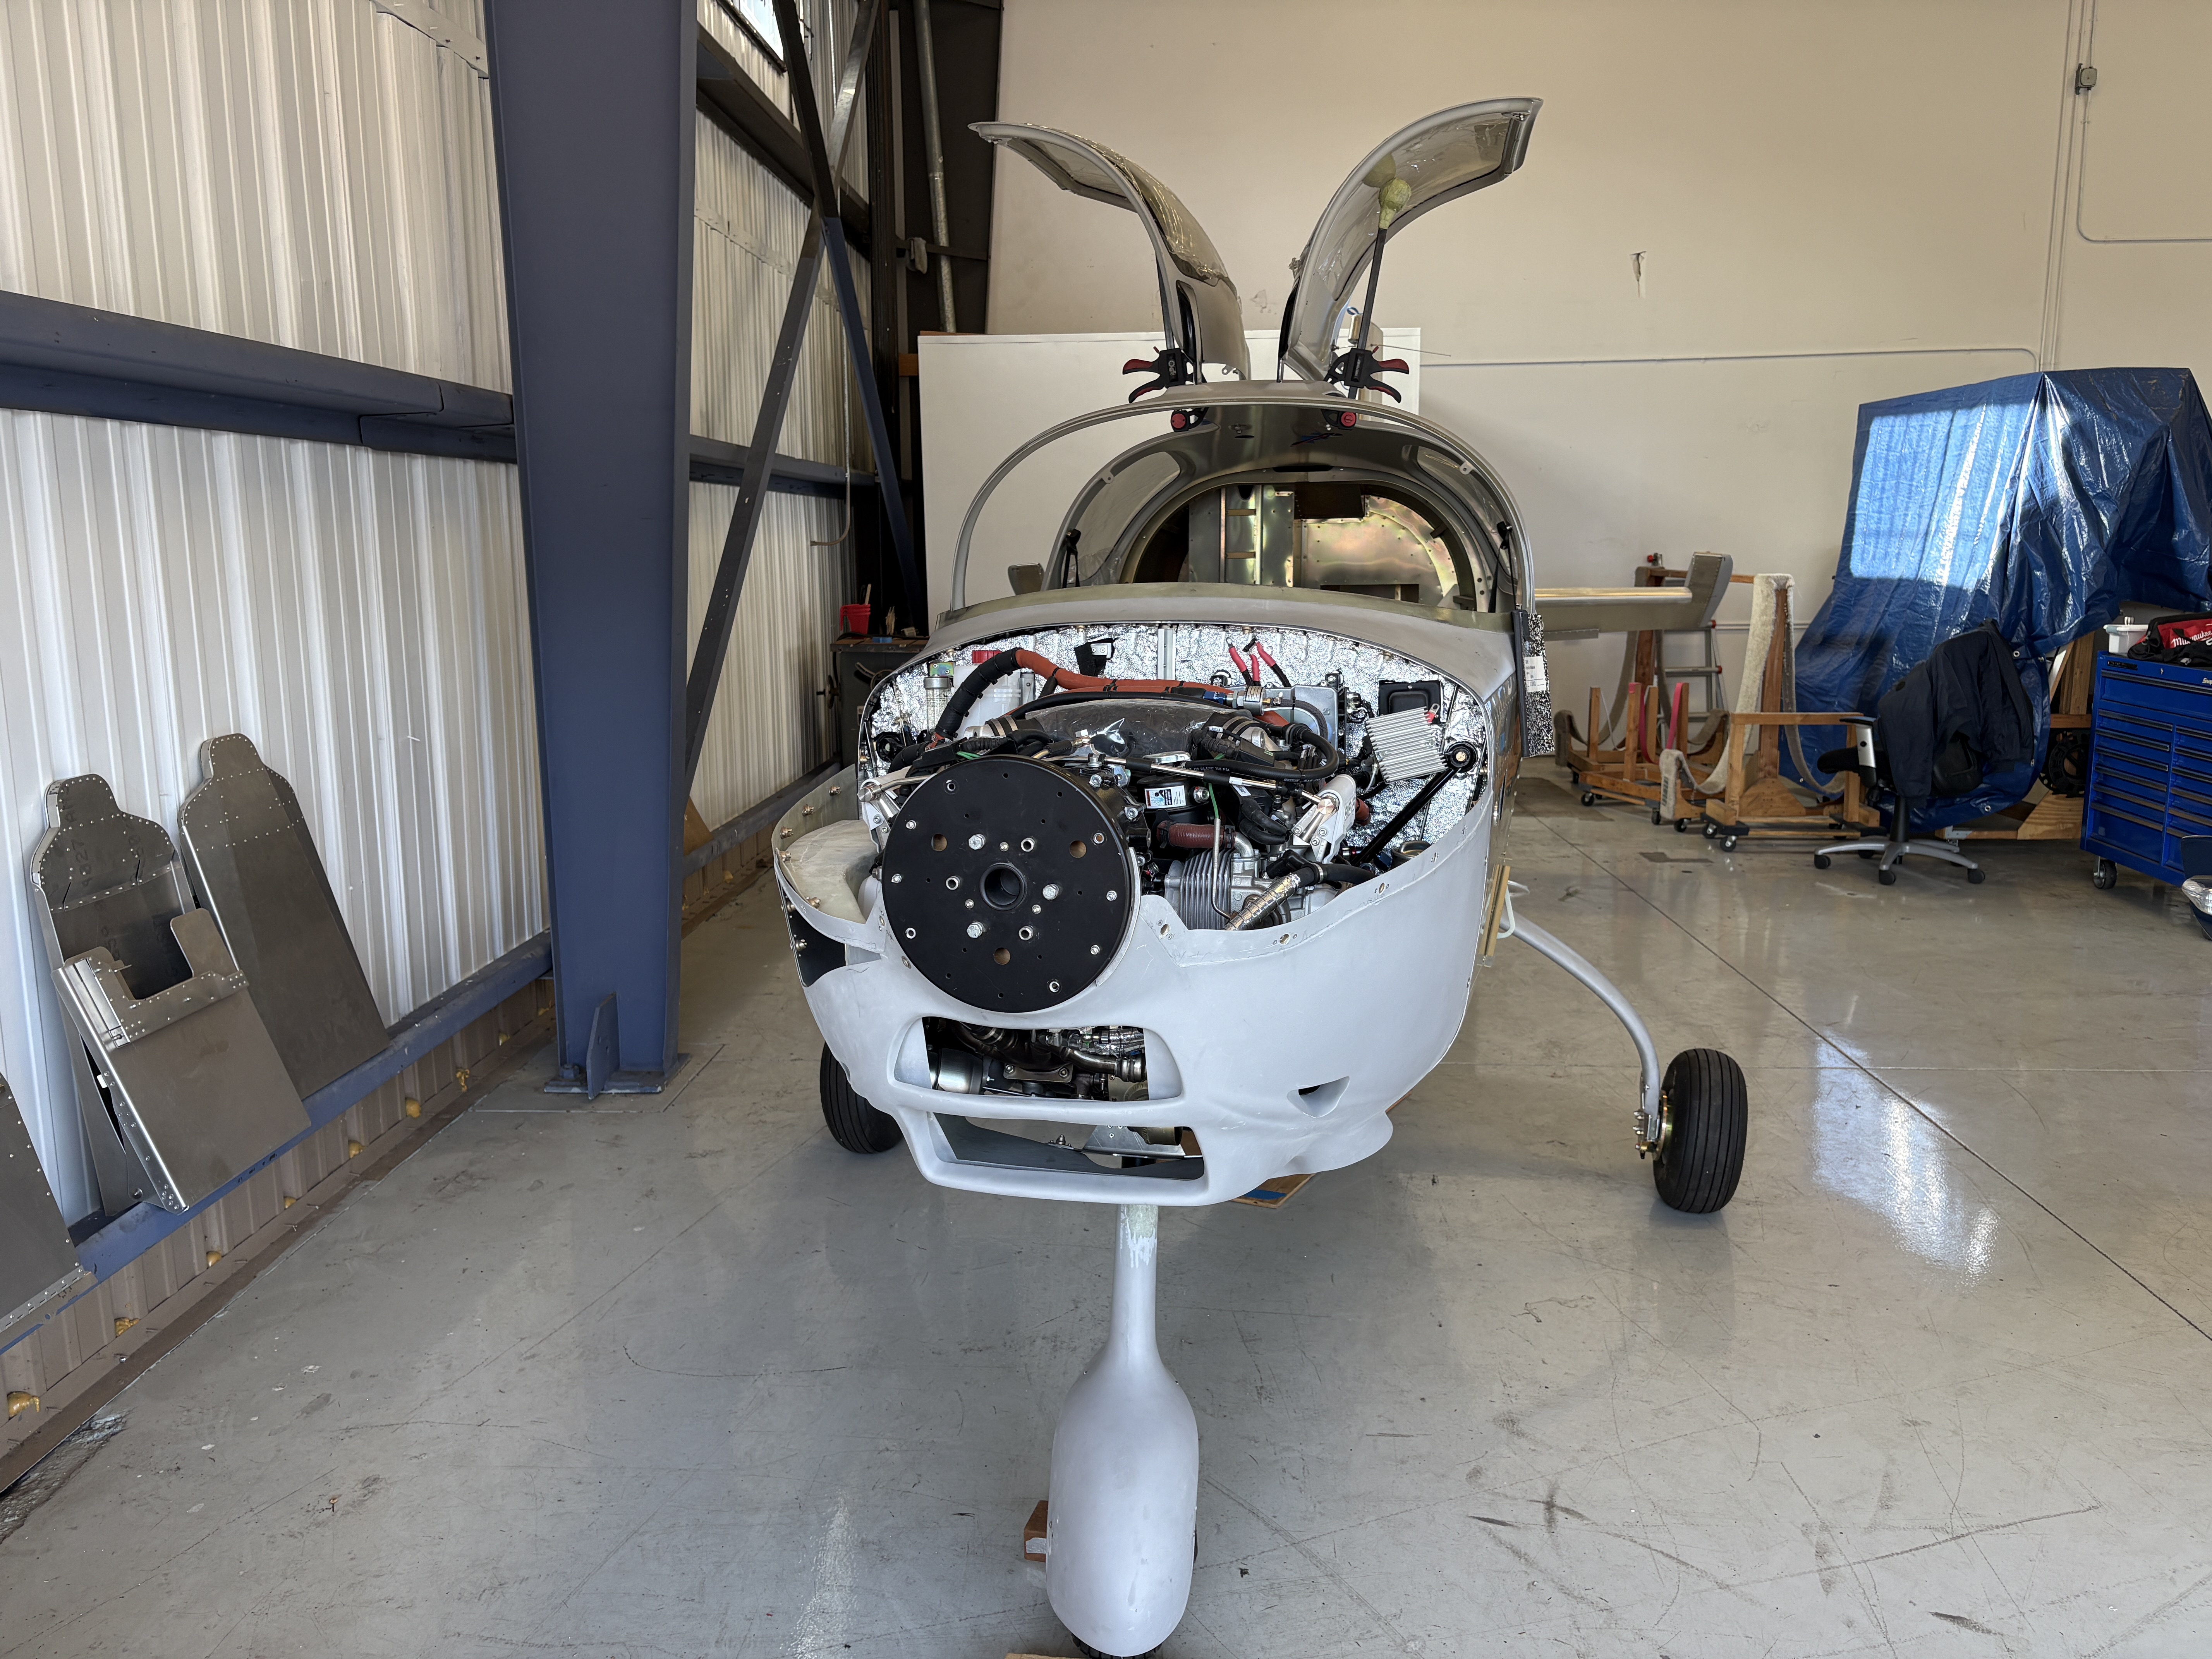
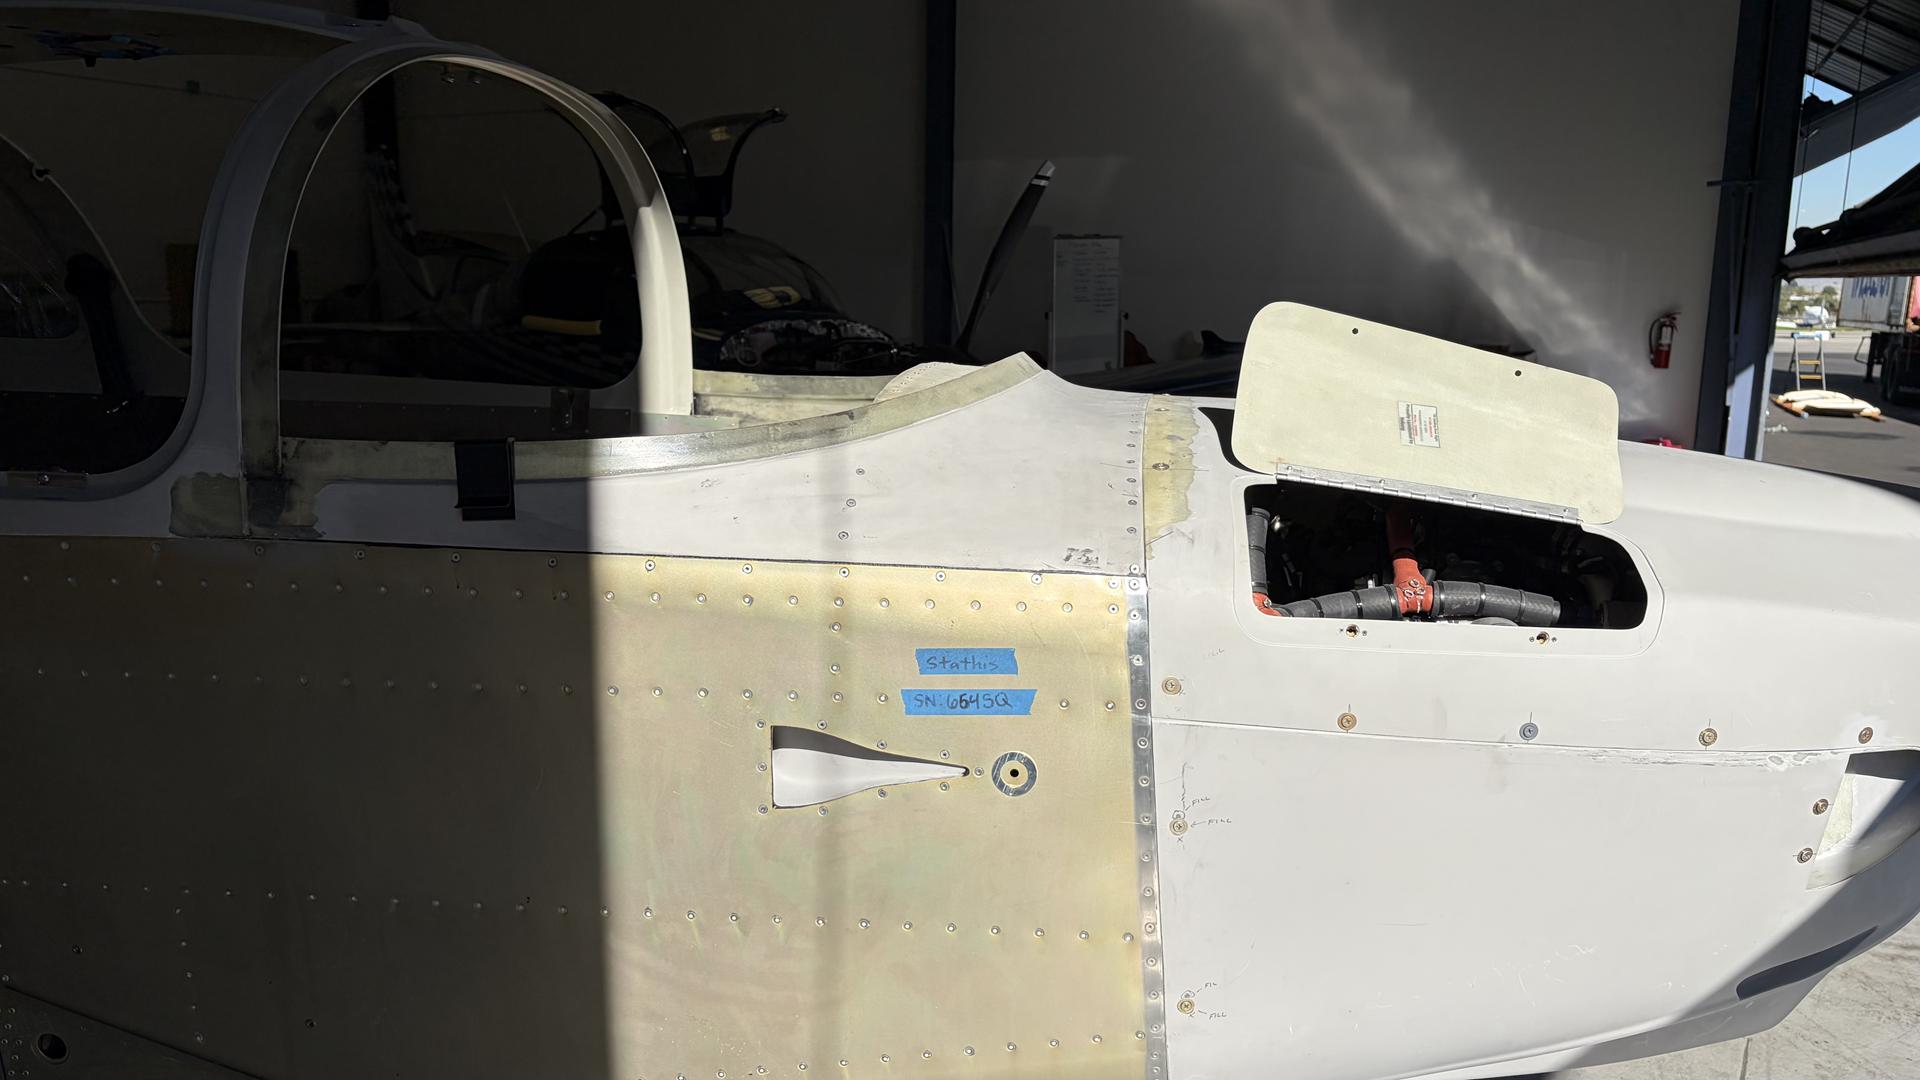
Engine with Cowling Installed
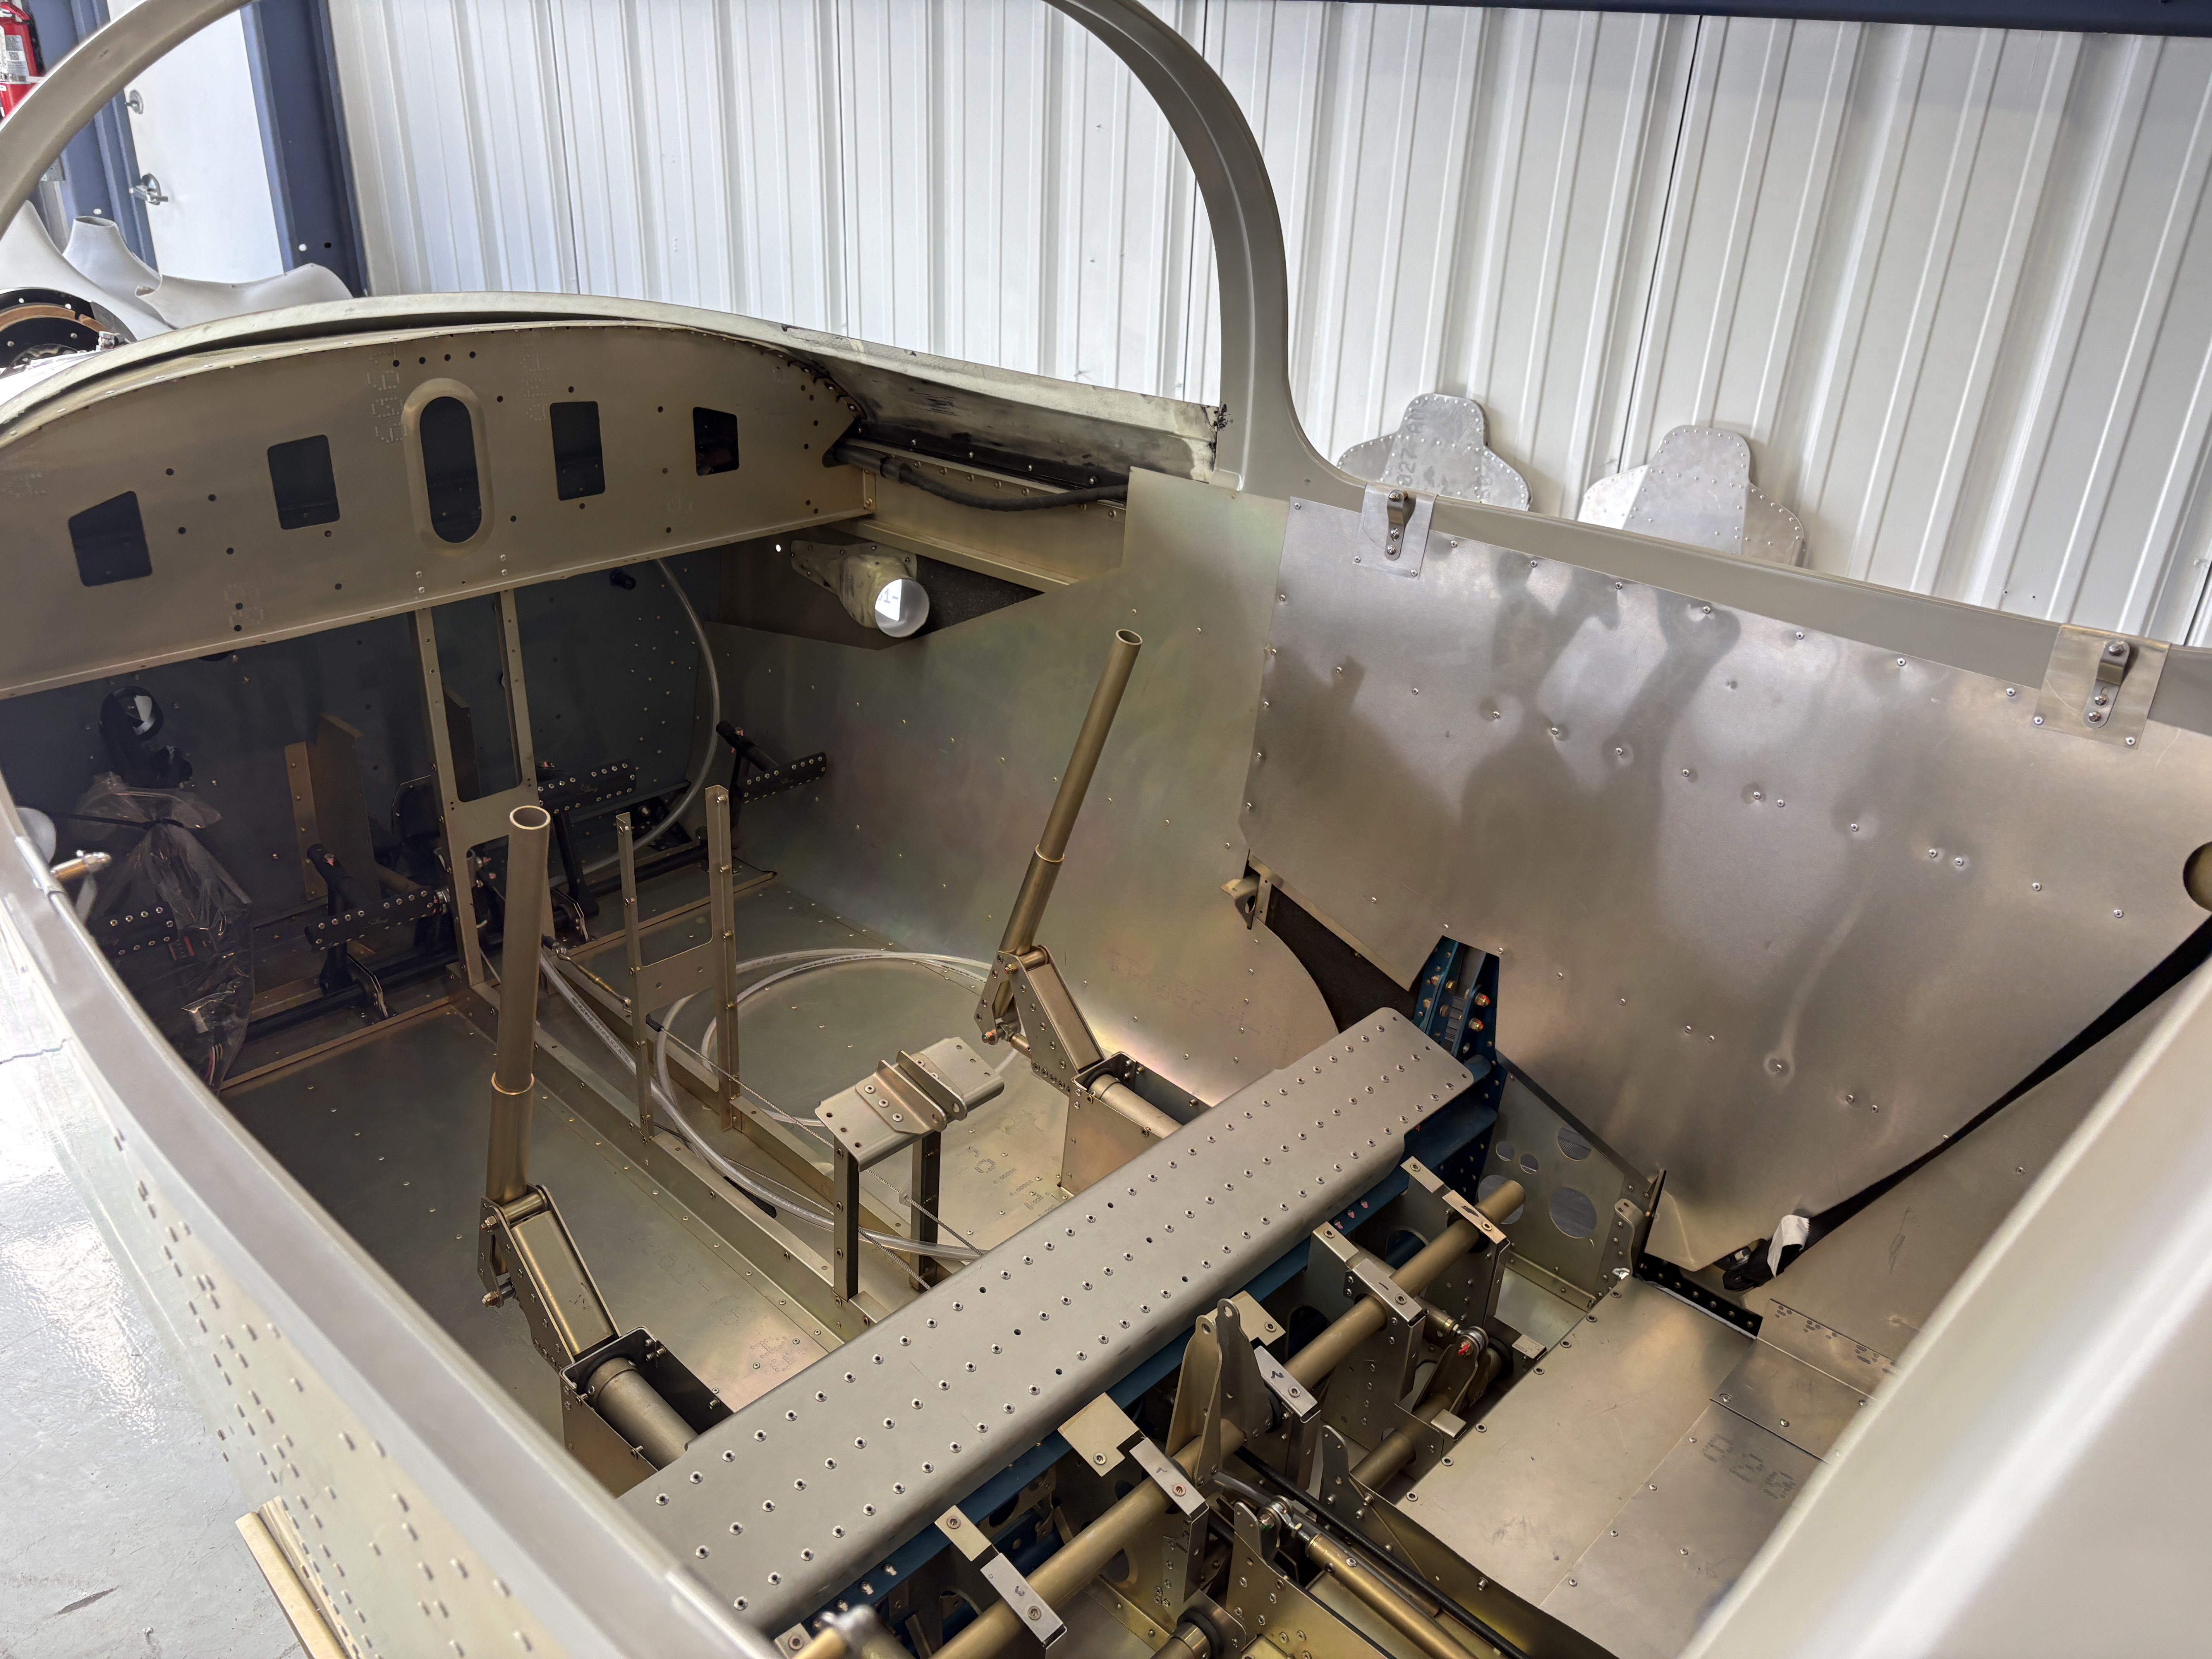
Interior and controls
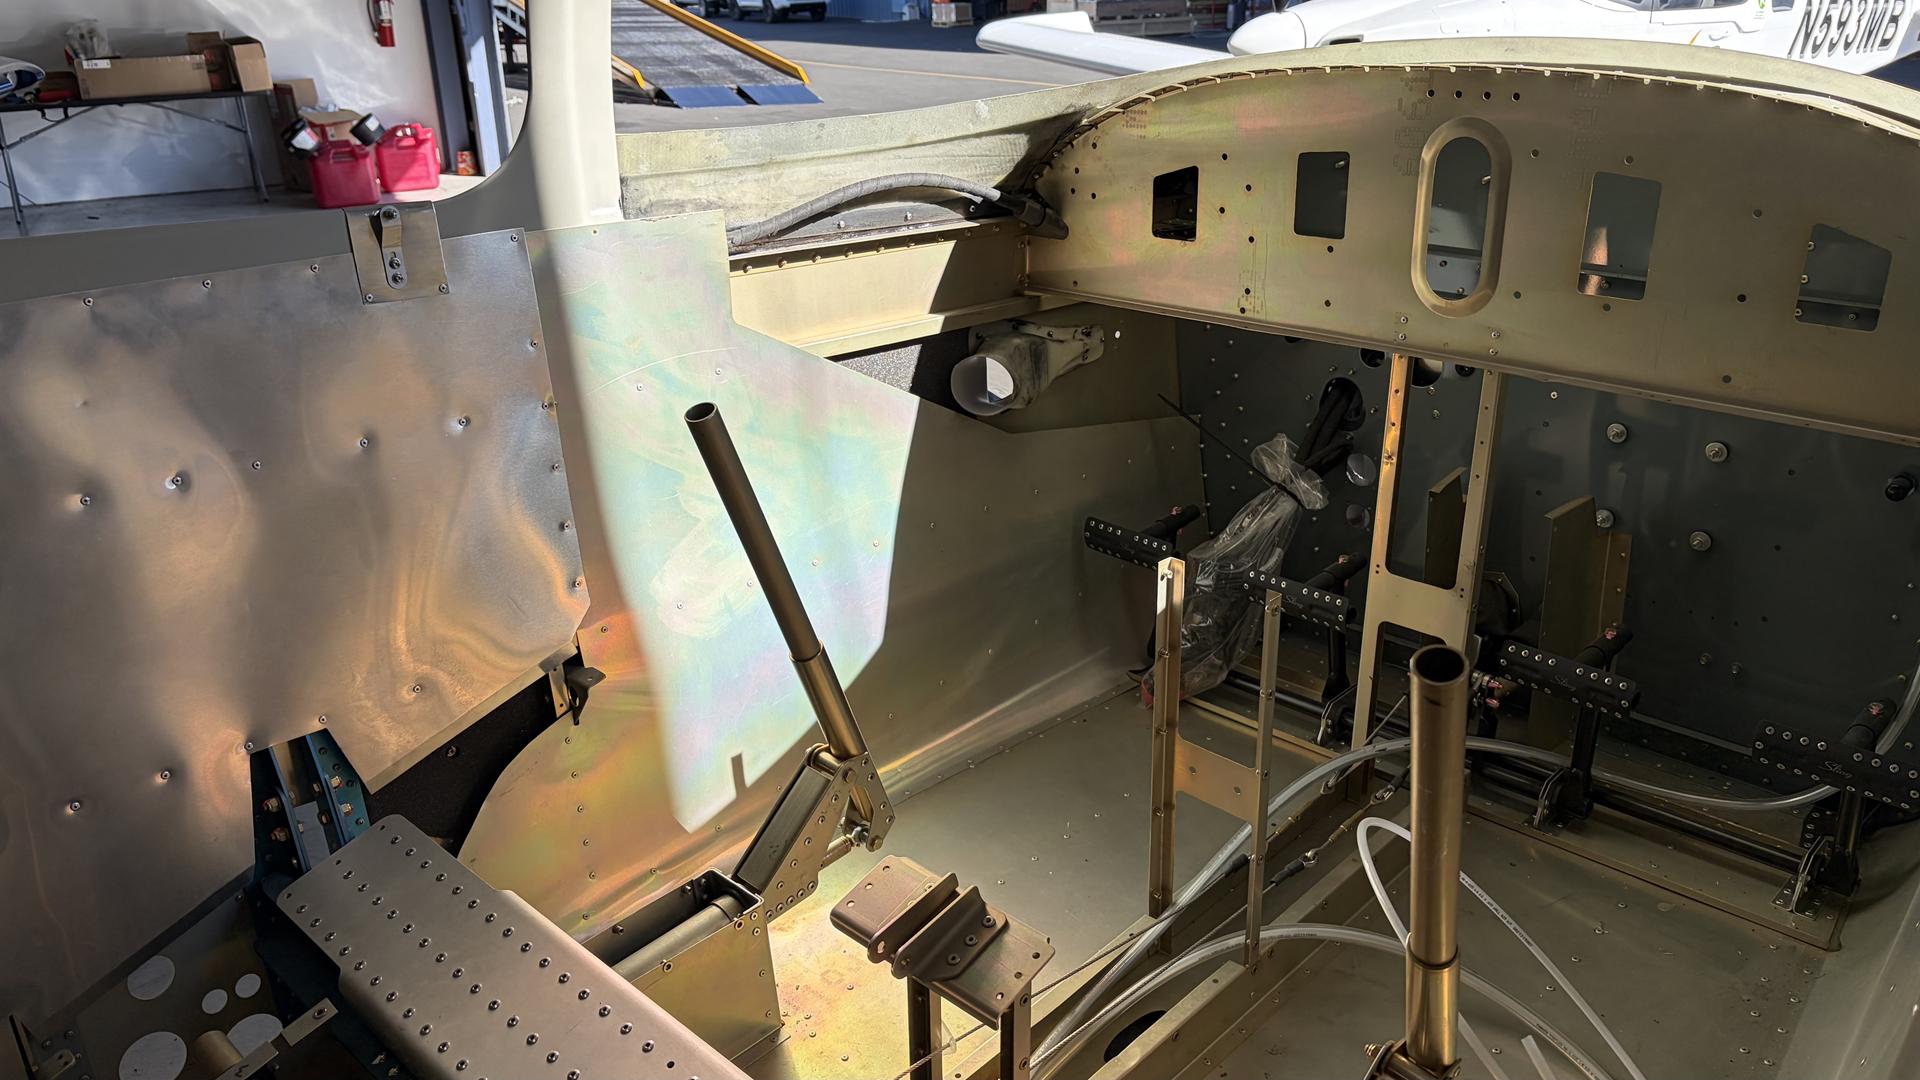

New Rudder Trim System
According to the Airplane Factory team, my aircraft is the first to be equipped with this new rudder trim configuration. This is not pilot controlled but can be statically adjusted to assure rudder neutral alignment on the ground.

On the Edge of Transformation
With Main Construction complete and the aircraft heading into paint, this feels like a natural pause point in the build. Structurally and mechanically, the airplane is done. Everything that makes it an airplane is already there—controls, systems, engine, and structure. What comes next is less about building and more about refinement.
The painting stage marks a real transition. The aircraft moves from being a collection of assemblies and subsystems to something visually unified and unmistakably personal. When it comes back, the focus shifts quickly to final integration, system checks, and first engine start—milestones that move the project out of the shop and toward the runway.
The next update will look very different. The aluminum will be gone, the paint will define the airplane’s identity, and the build will be entering its final chapter before flight testing begins.


Leave a comment